Configuration Guidelines
3CX API Connector Plugin Installation
info
The 3CX Call Control API is a developer interface that lets external applications monitor and control phone calls in real time on a 3CX system. Uniconnect needs the 3CX Call Control API access for real-time call data, call control, recording tracking, automation and acts as the integration backbone.
-
Log in to the 3CX server as the root user.
-
Add the following Debian package.
echo 'deb [trusted=yes] http://package.uniconnect.io/uniconnect bookworm main' | sudo tee /etc/apt/sources.list.d/uniconnect.list && sudo apt update
- Add the Microsoft repository if .NET is not installed.
sudo apt install -y apt-transport-https gpg
wget https://packages.microsoft.com/config/debian/10/prod.list -O /etc/apt/sources.list.d/microsoft-prod.list && wget https://packages.microsoft.com/keys/microsoft.asc -O- | sudo tee /etc/apt/trusted.gpg.d/microsoft.asc && sudo apt update
- Install the 3CX API Connector Plugin.
sudo apt install uniconnect-wrapper -y
note
During the installation, you need to specify two ports for the plugin.
- HTTP Port Ex. 5000
- TCP Port Ex. 5050
3CX API Access Key Generation
- Log in to the 3CX Admin Console.
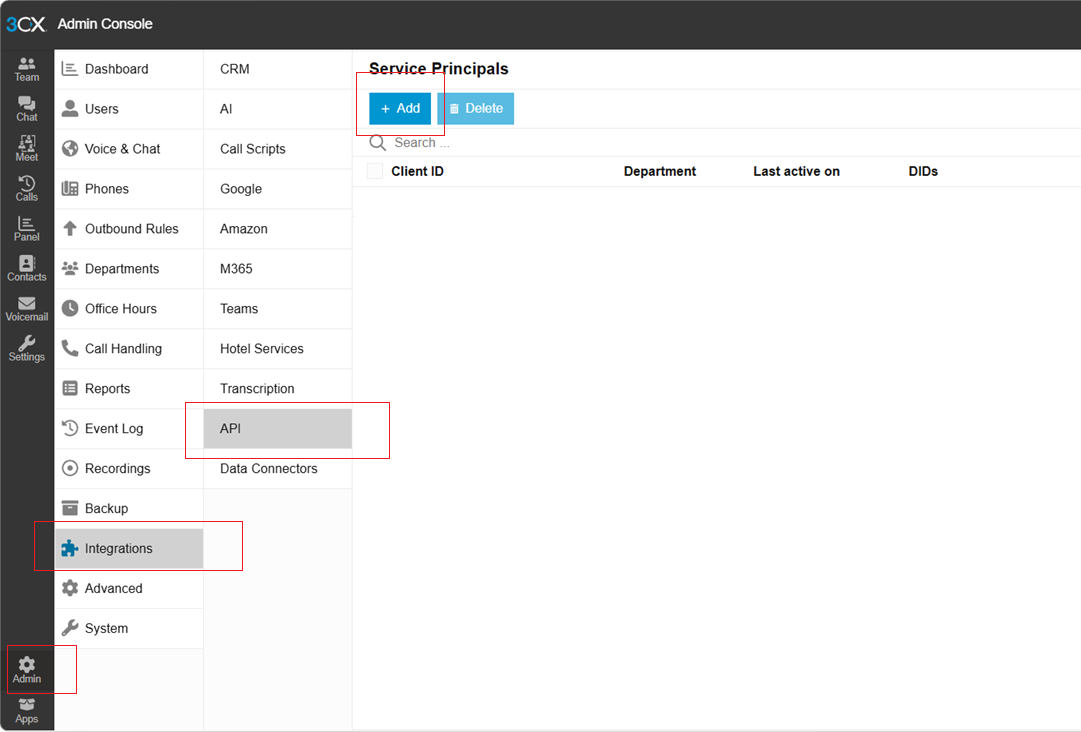
- Navigate to “Integrations” → “API”, then click “Add”.
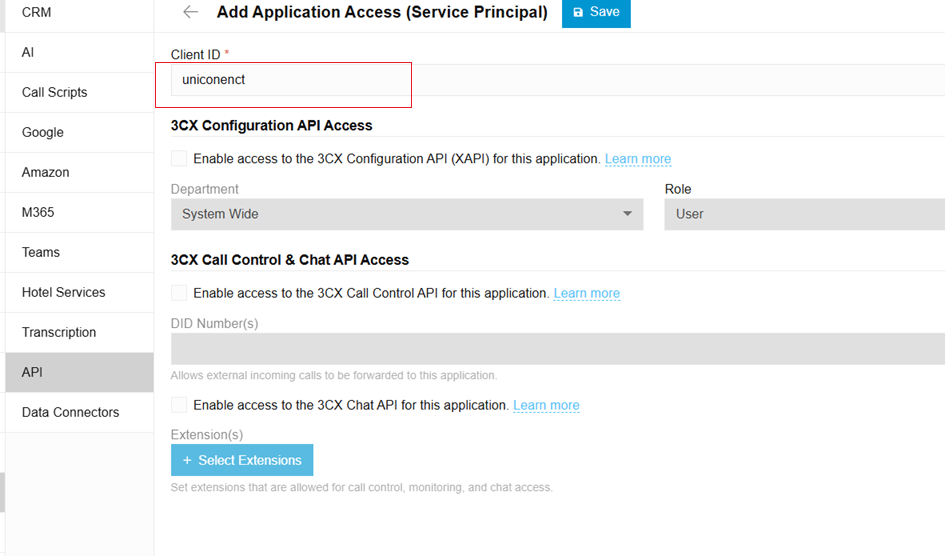
- In the “Client ID” field, enter a suitable application name (e.g., “uniconnect”).
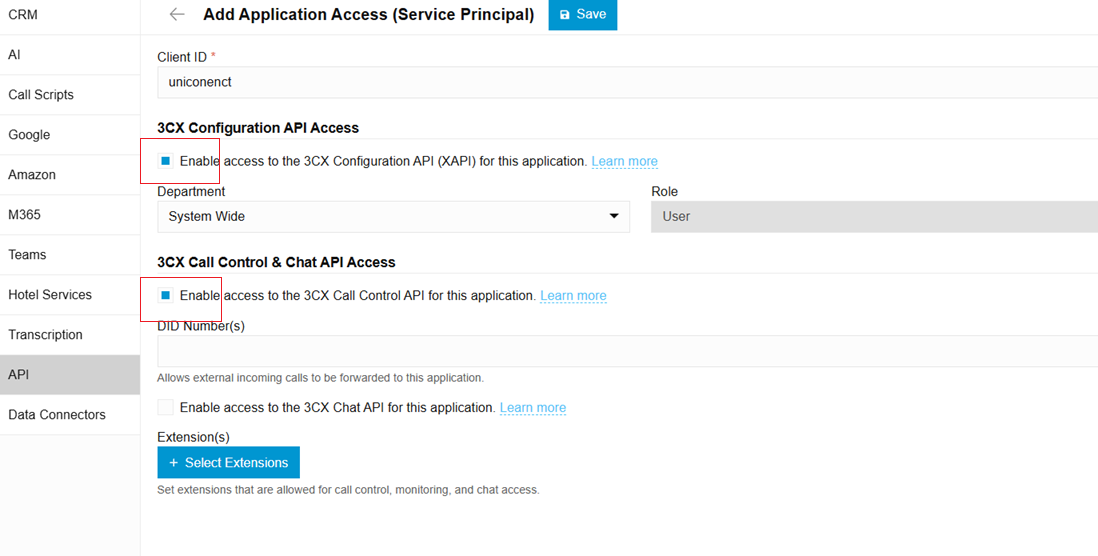
- Enable the following permissions and then click "Save":
- 3CX Configuration API Access
- 3CX Call Control & Chat API Access
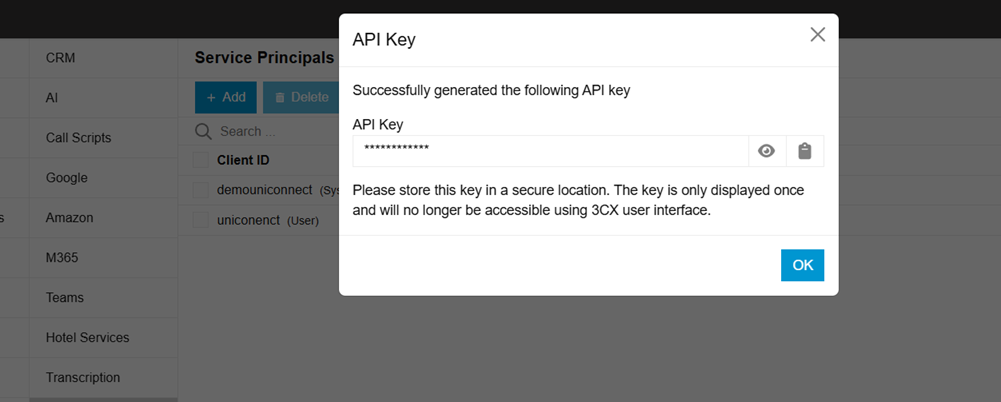
- Generate the API key and securely copy it for later use in the Uniconnect configuration.
Uniconnect Side Configurations
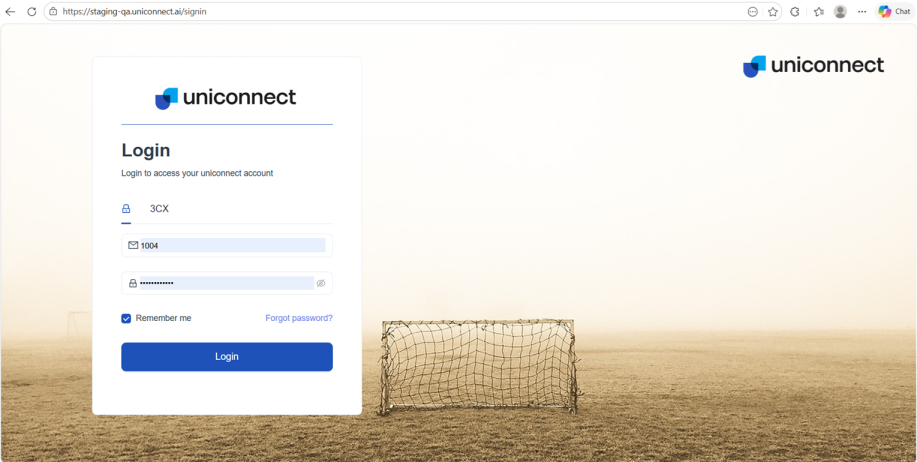
- Log in to Uniconnect with administrator privileges.
- Navigate to “Configuration” → “System” → “Plugins” → “3CX”.
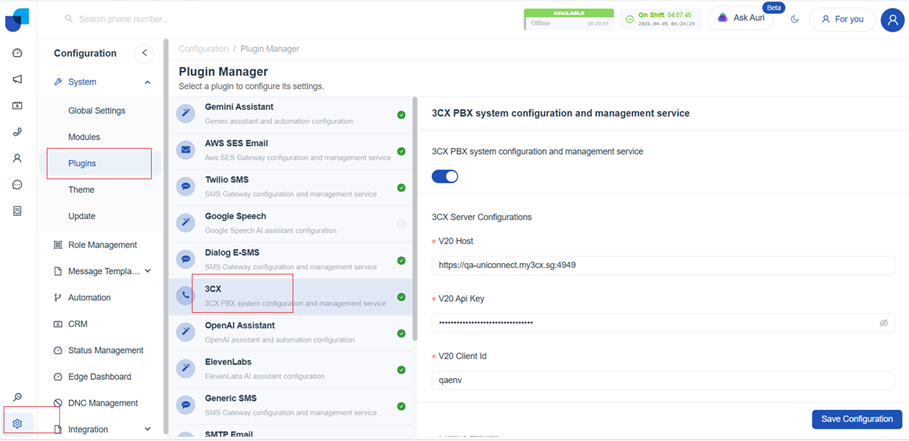
- Enable the 3CX integration and configure the following settings. Finally, click “Save” to apply the configuration.
- Enter the 3CX FQDN under “3CX Host”.
- Enter the Client ID generated in the 3CX configuration under “3CX Client ID”.
- Paste the API Key generated from the 3CX side under “3CX Key”.
- Select the desired data synchronization interval.
- Enable “3CX Single Sign-On (SSO)” if required. (Optional)

- You have now successfully configured 3CX as your telephony platform.