Theme Configuration Guide
Introduction
Uniconnect Enterprise offers a flexible and intuitive Theme Configuration feature that allows administrators to personalize the visual appearance of the CRM platform according to organizational branding and user preferences.
With these customization options, users can switch between Light Mode and Dark Mode to suit different lighting environments and improve usability. In addition, administrators can upload branded images such as logos, system icons, and background images to create a visually consistent and engaging workspace.
The platform also allows customization of the Primary Theme Color, which controls the main accent colors used across buttons, menus, highlights, and interface elements. This ensures a consistent and professional user interface aligned with company branding.
Together, these settings provide a complete toolkit to create a CRM environment that is visually appealing while supporting productivity and user satisfaction.
Who Can Access This?
Access to Theme Configuration is managed through Role Management.
Only users with the appropriate permissions under:
Configuration → Role Management
will be able to access and modify theme settings.
Users with permission can:
- View theme settings
- Modify branding assets
- Upload images
- Save theme changes
[!NOTE] If the Theme menu is not visible, confirm that the user role includes System Configuration permissions.
Learn how to assign these permissions.
(Role Permission Link)
Navigation Path
To access the Theme Configuration page:
Configuration → System → Theme
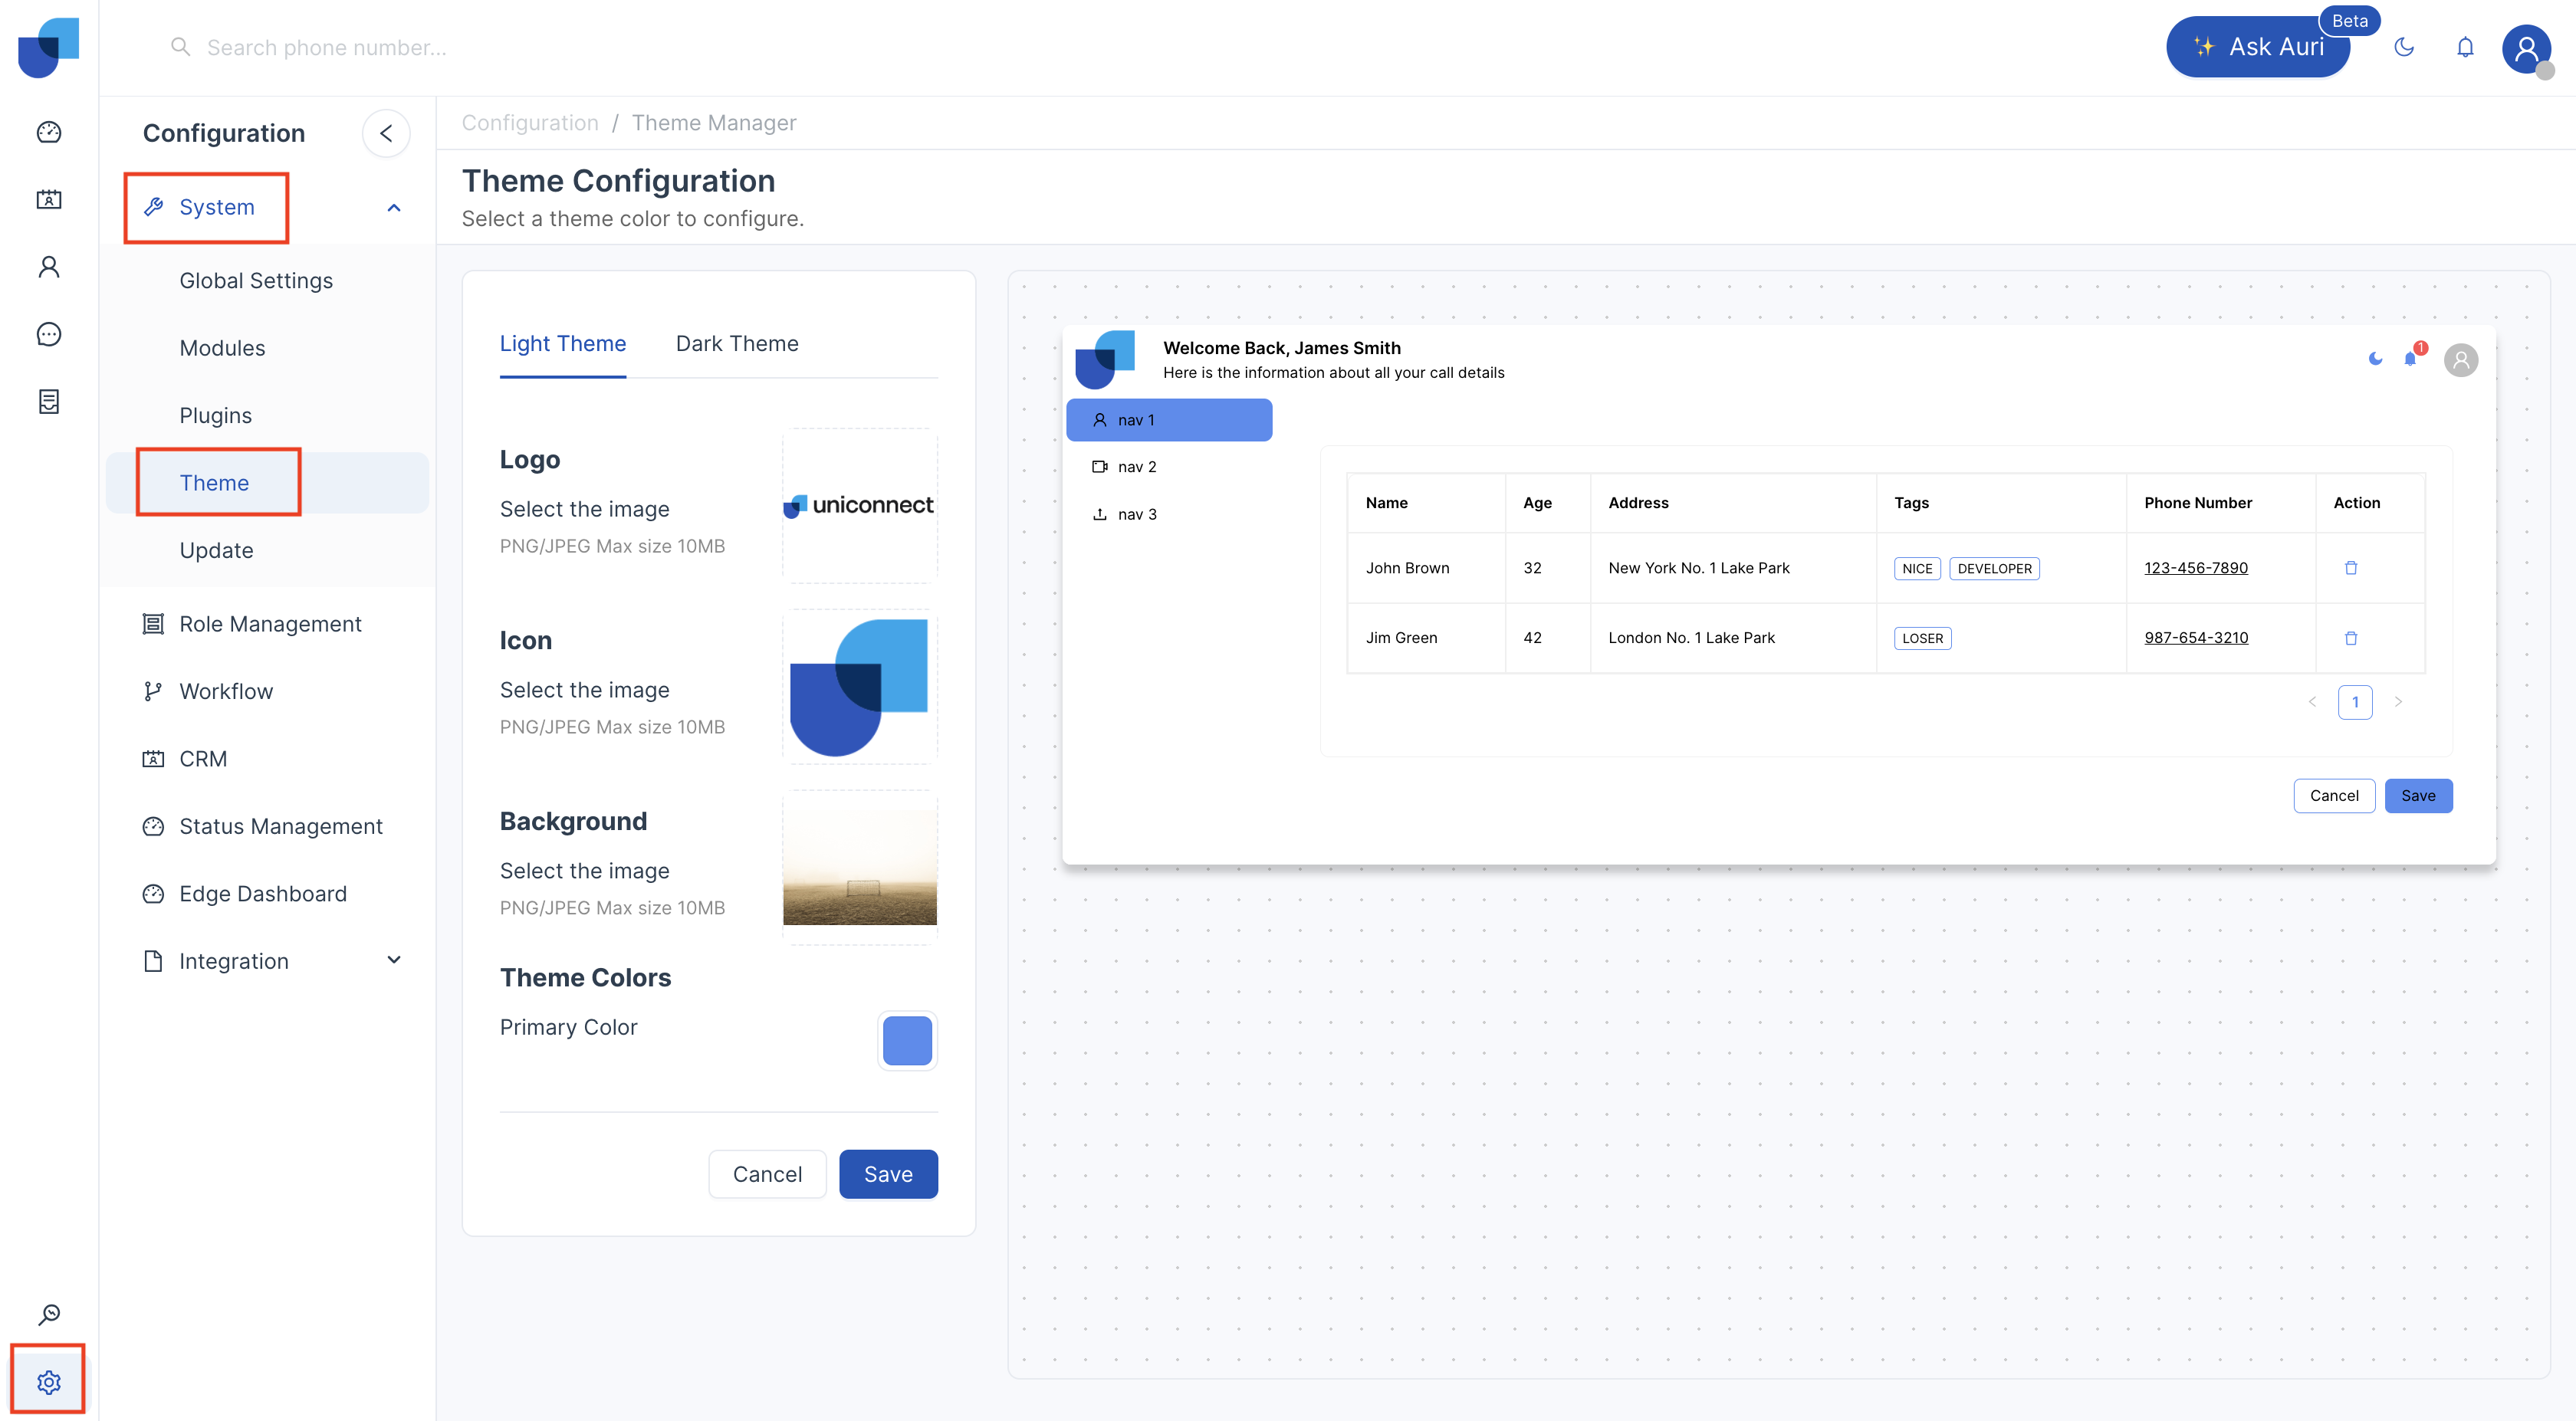
Theme Configuration Overview
The Theme Configuration page allows users to:
- Switch between Light Theme and Dark Theme
- Upload Company Logo
- Upload System Icon
- Upload Background Image
- Configure Primary Theme Color
- Preview changes before saving
All changes are reflected in the Live Preview Panel before being applied.
Switching Between Light Theme and Dark Theme
Light Theme: The default theme designed for standard UI display.
Dark Theme: Optimized for low-light environments and helps reduce eye strain during extended use.
Users can configure branding separately for both themes.
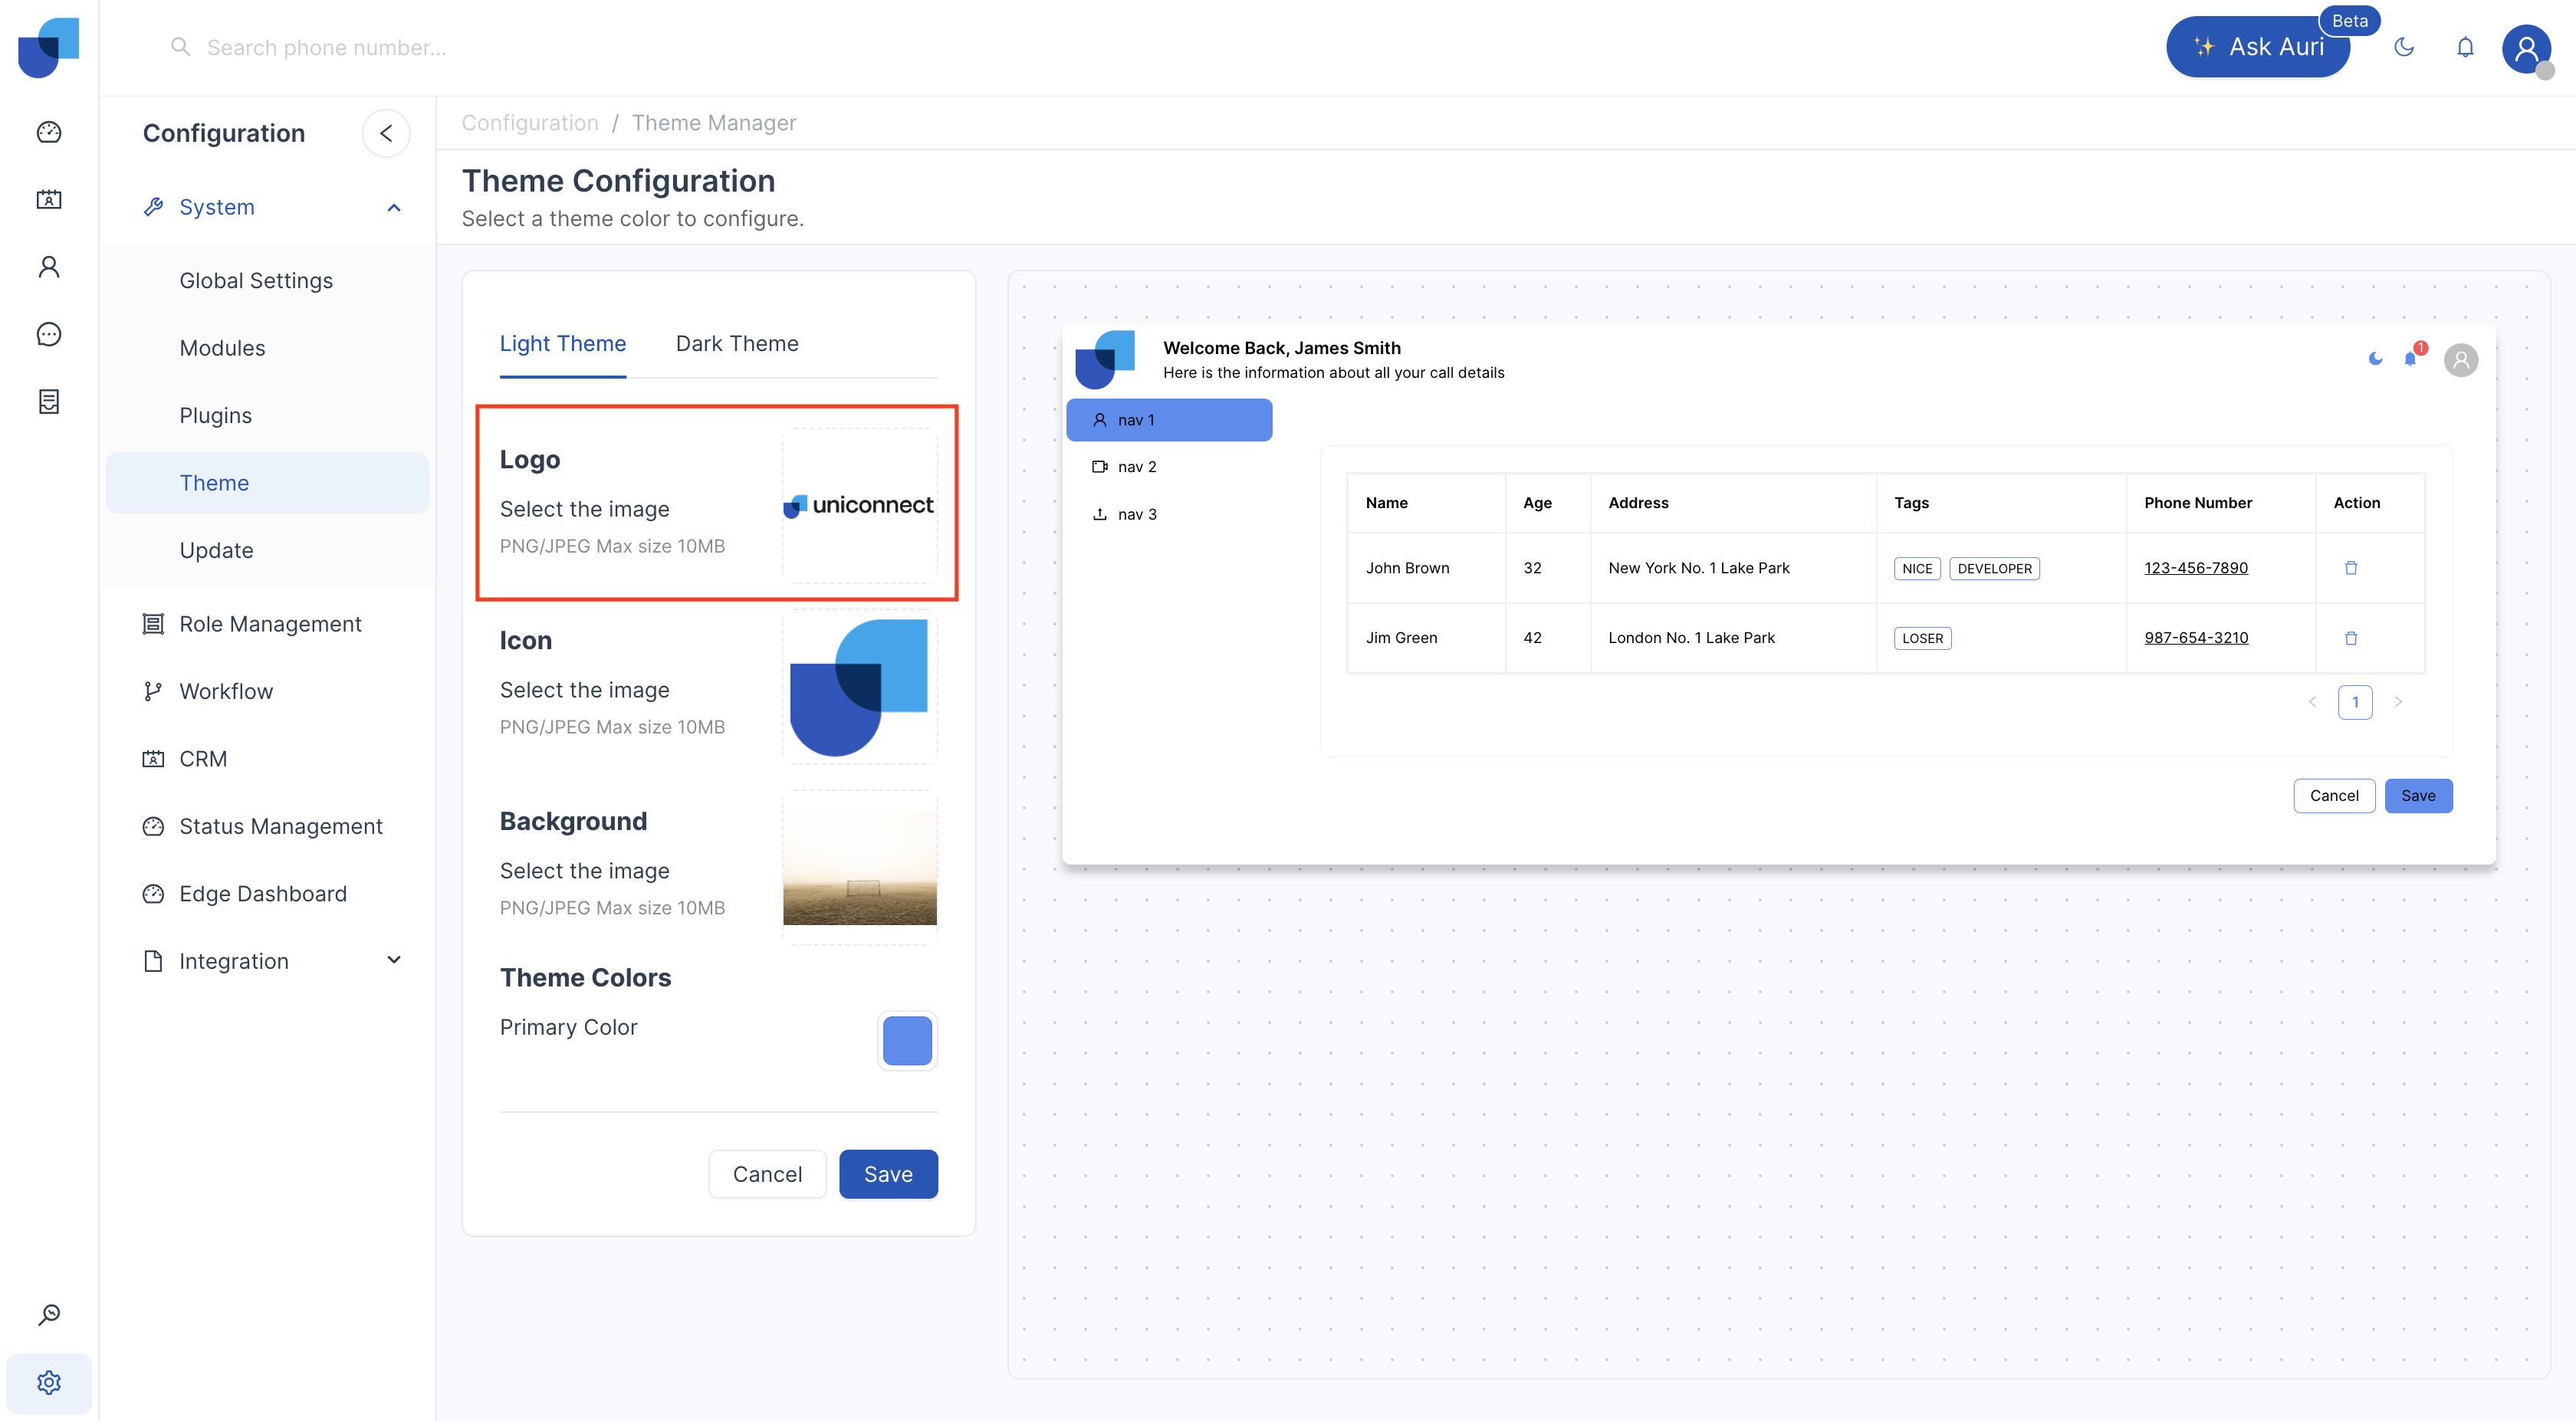
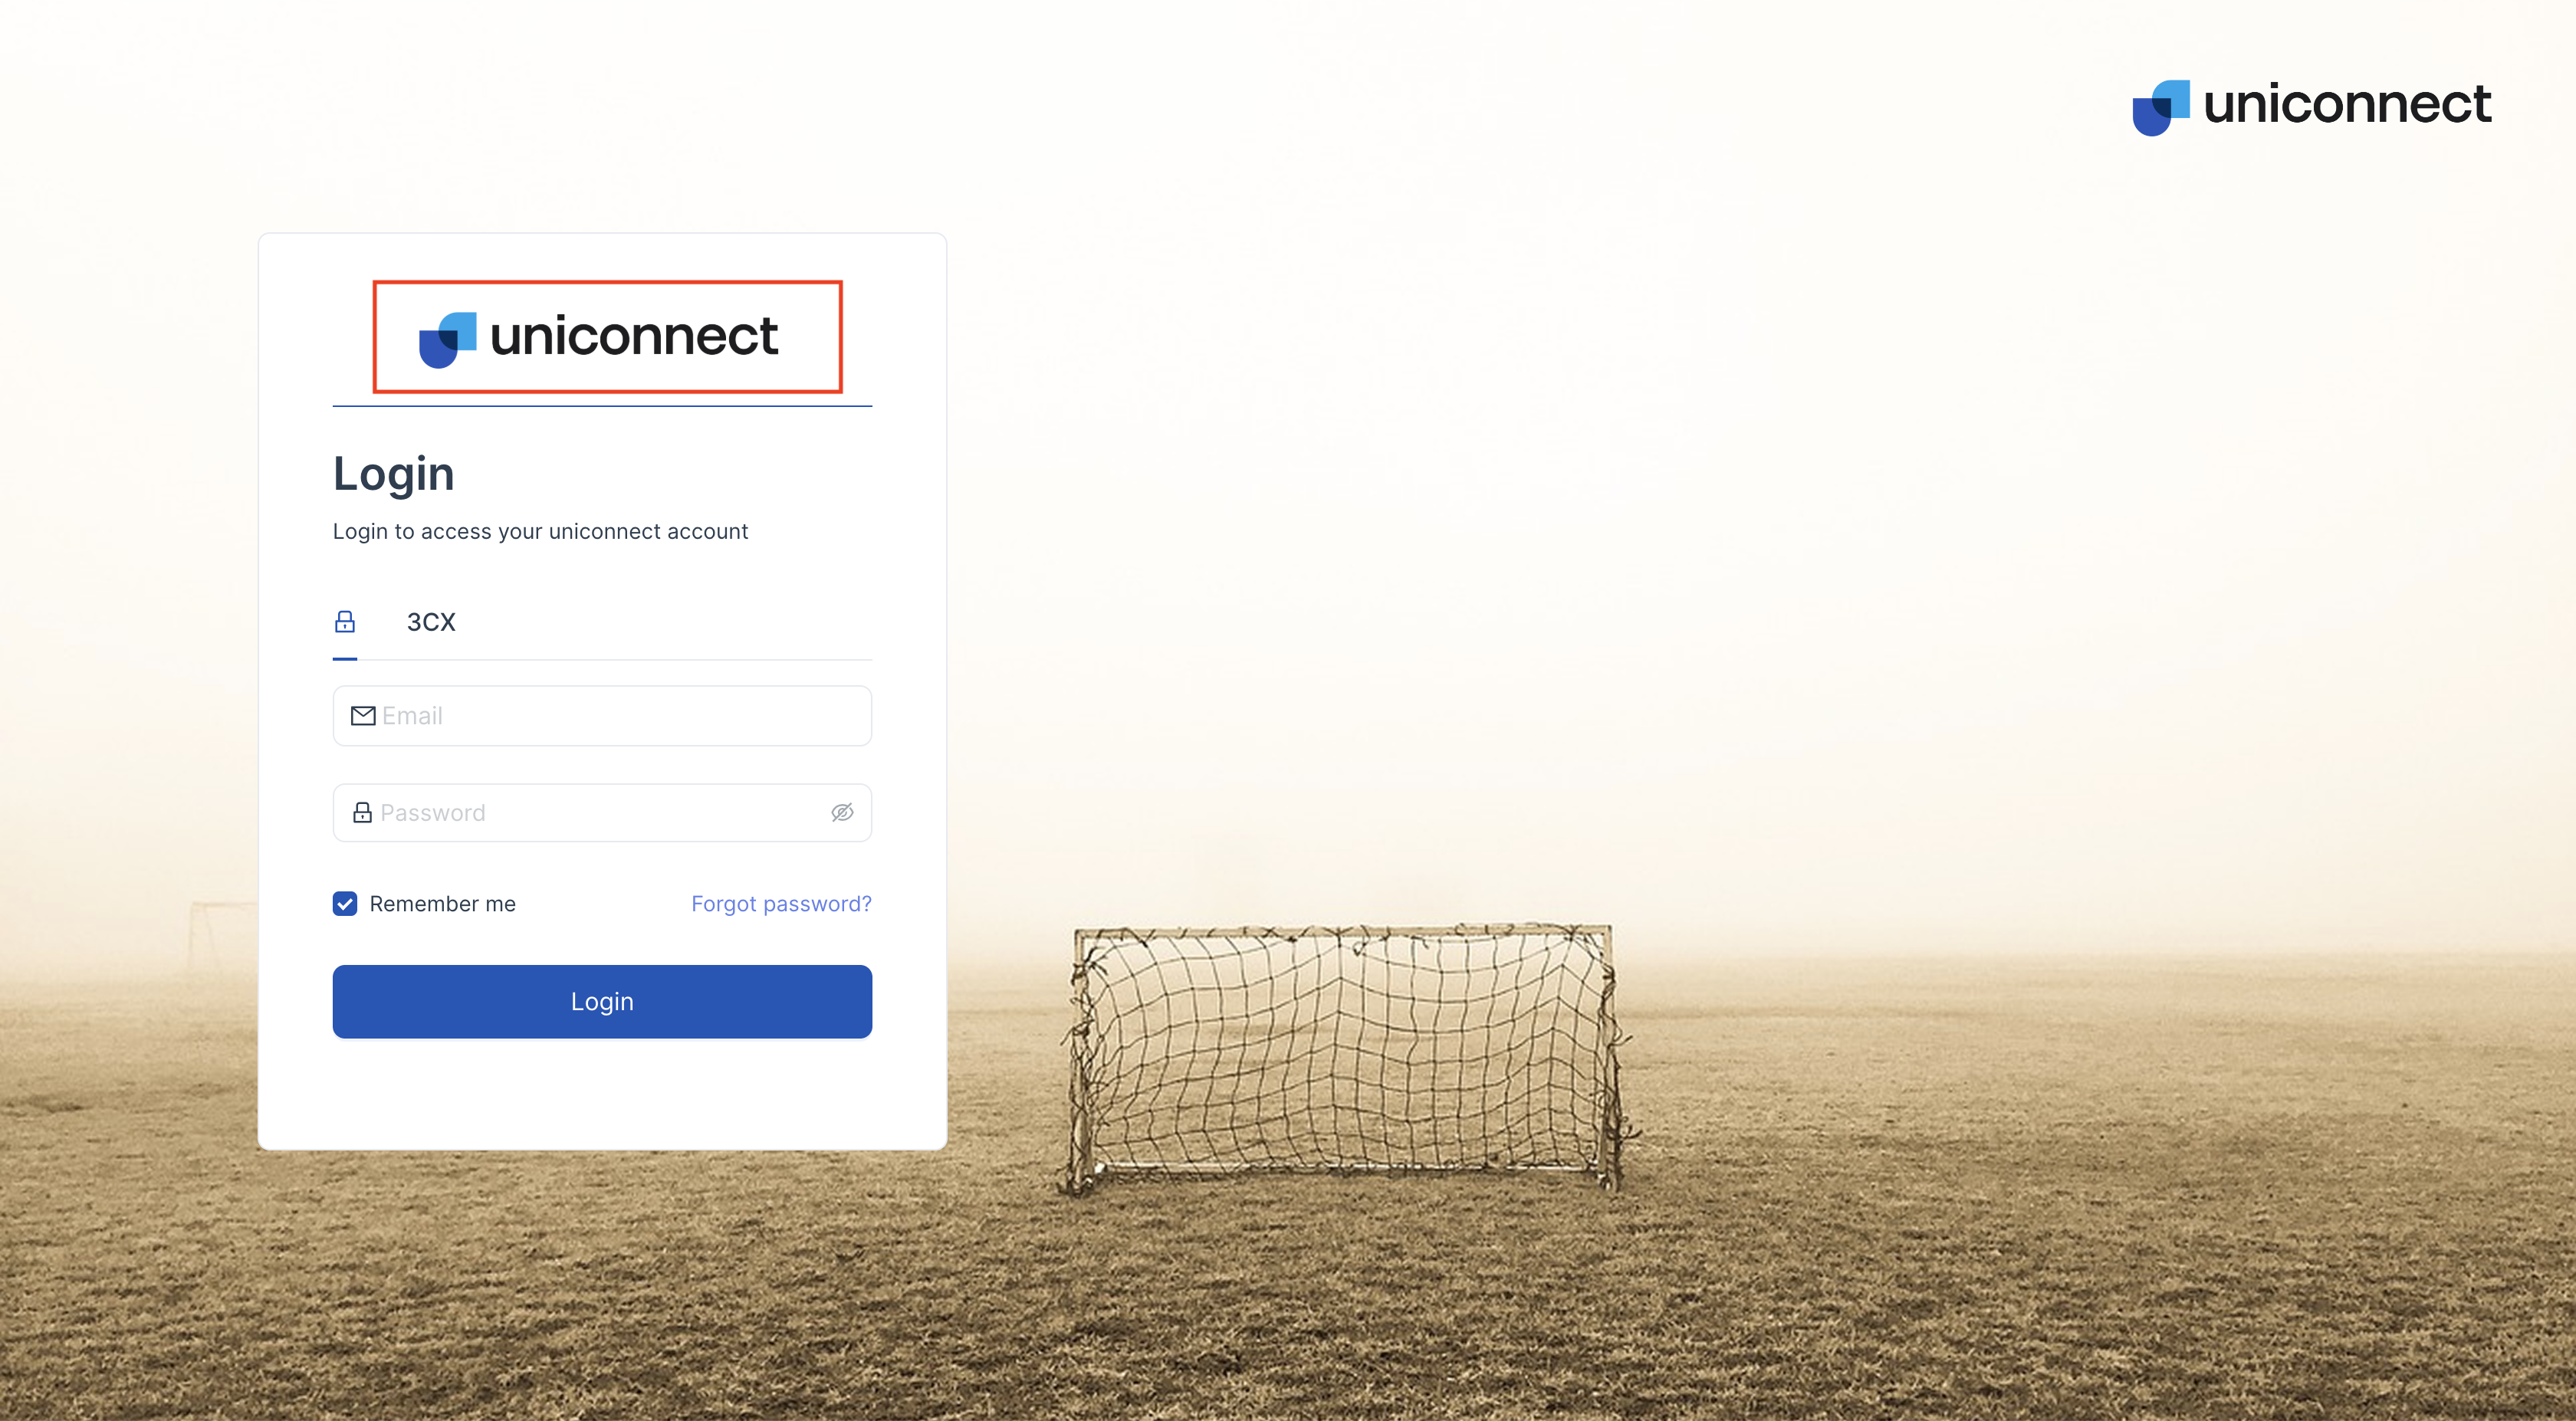
Upload Company Logo
What's it for: The company logo represents your organization's brand within the system.
Where You'll See It: Login screen
Supported File Types: PNG, JPEG
File Size: Defined by system upload limits in Global Configuration. (Global Configuration Link)
Recommended Image Resolution: To be added._
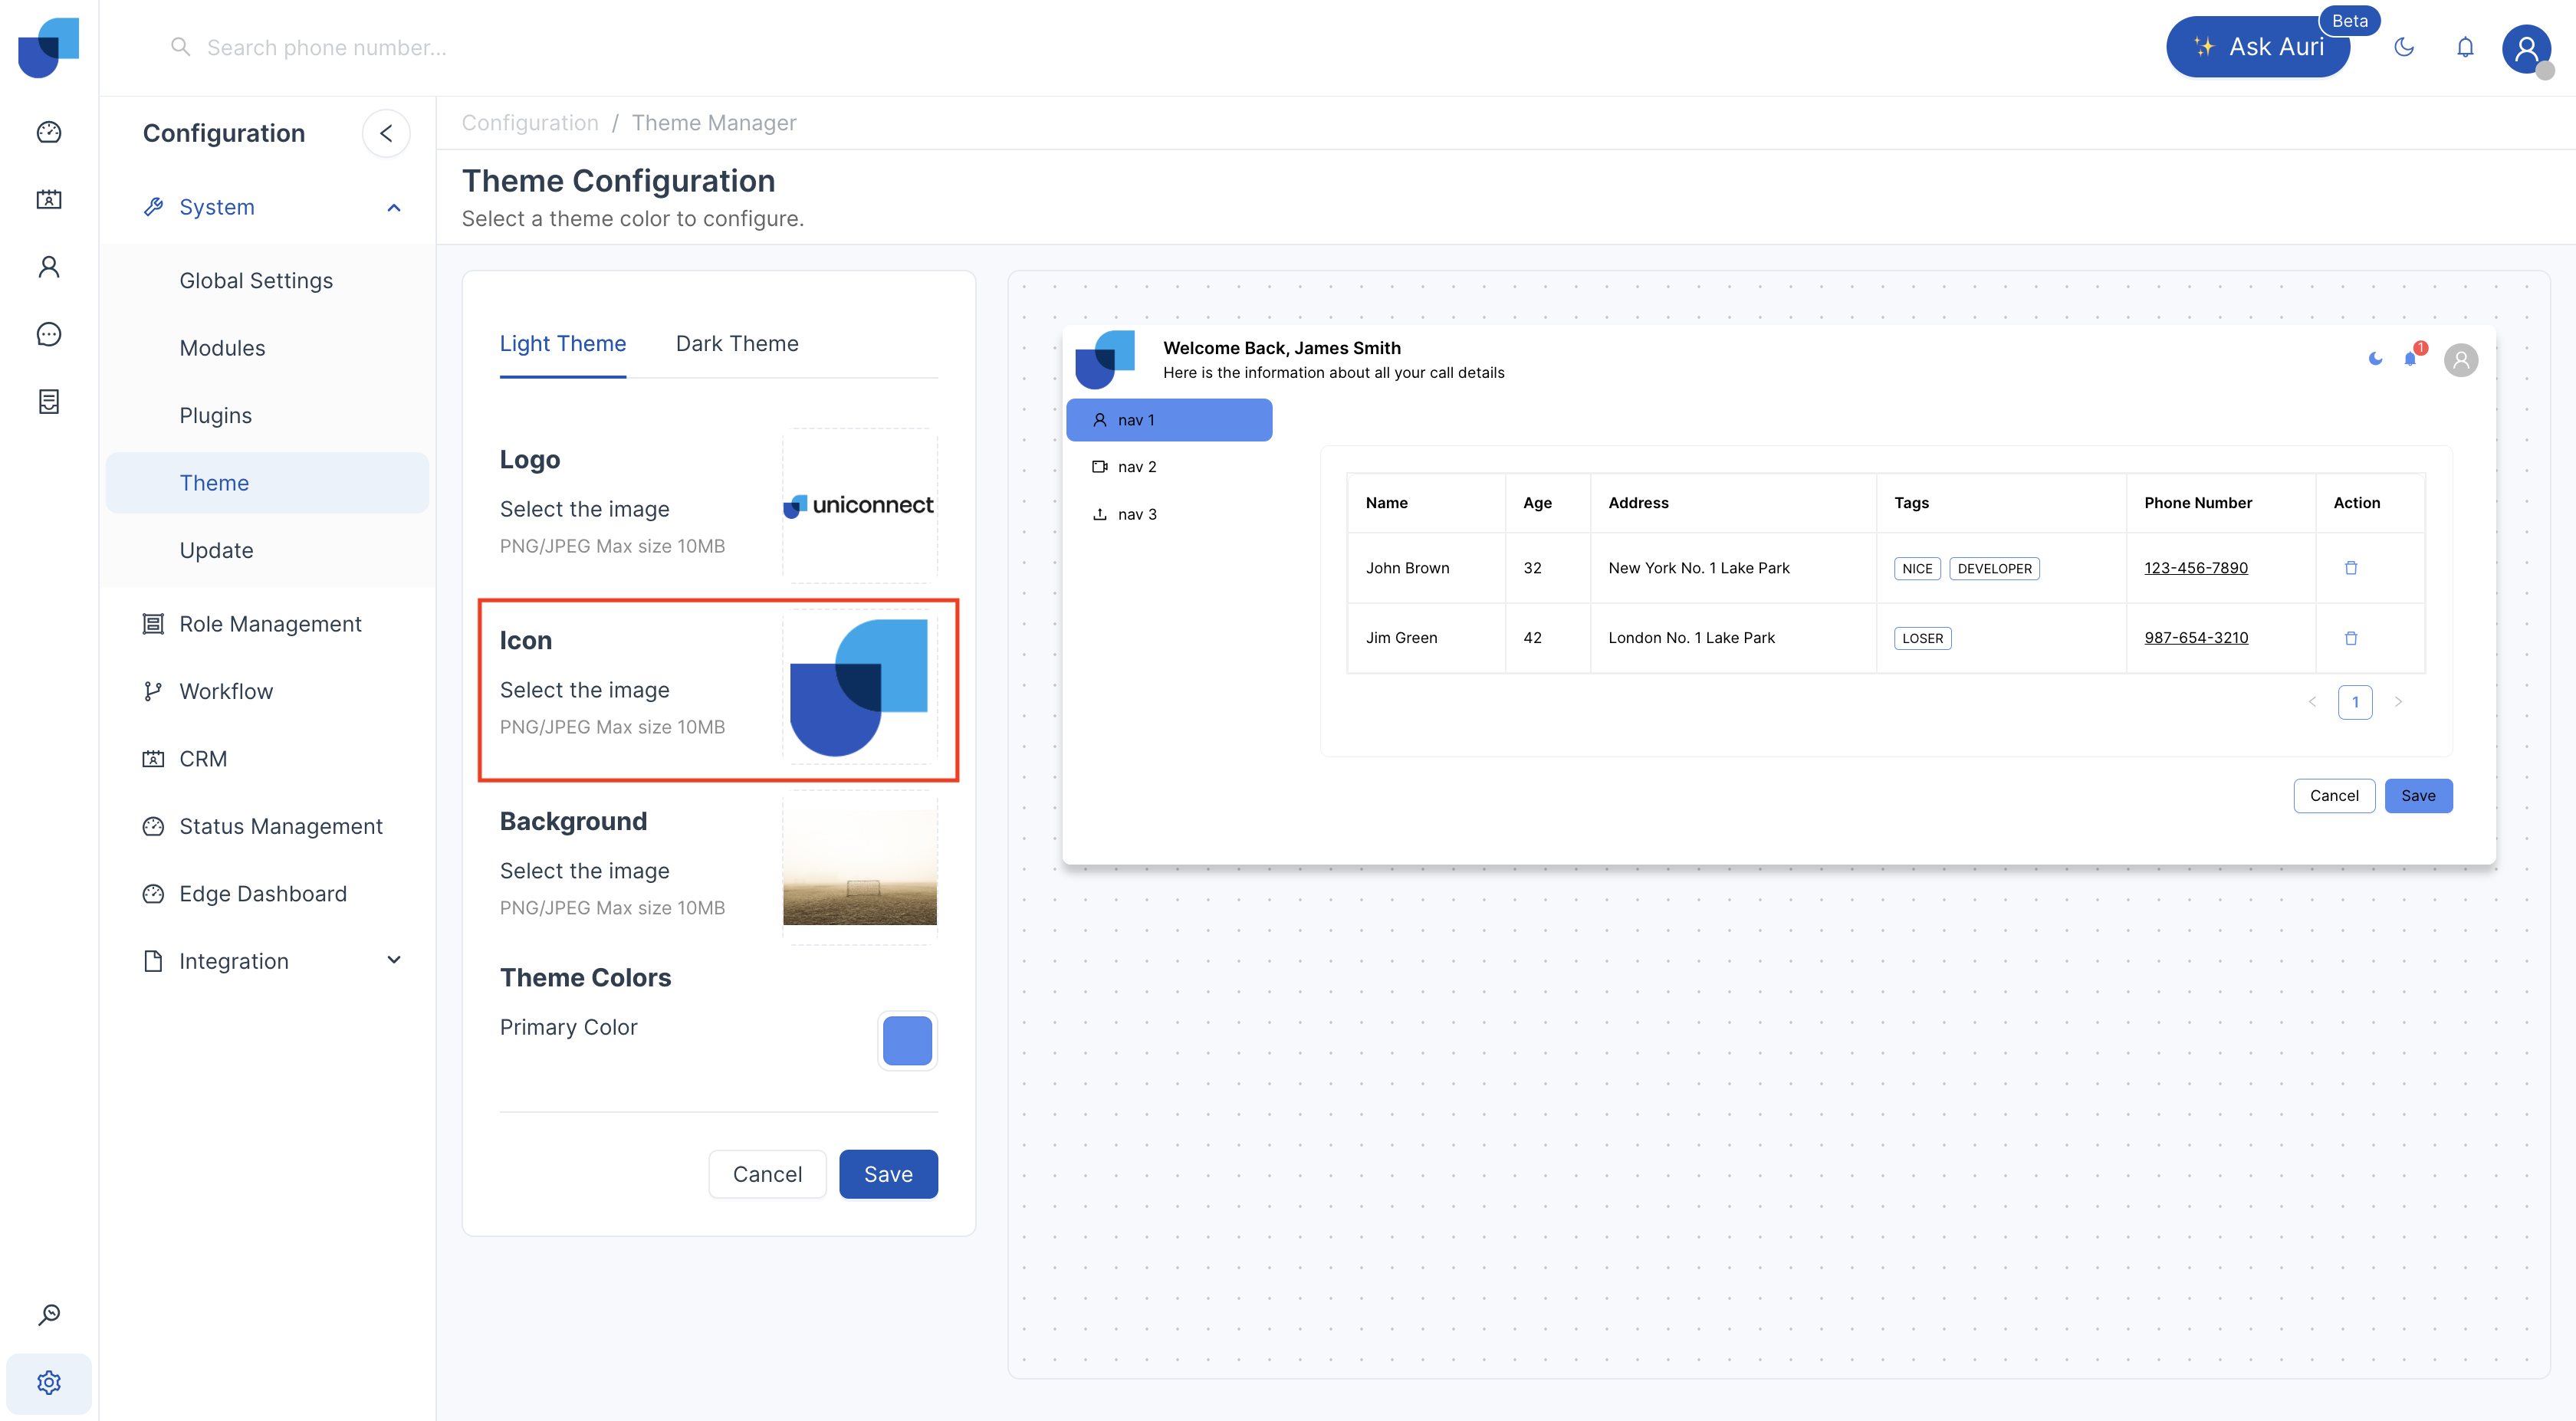
Upload System Icon
What's it for: The System Icon is a smaller version of the company logo used for compact interface areas.
Where You'll See It: Collapsed sidebar
Supported File Types: PNG, JPEG
Recommended Image Resolution: To be added.
Upload Background Image
What's it for: The background image enhances the visual appearance of the CRM login interface with branding or custom design.
Where You'll See It: Login screen
Supported File Types: PNG, JPEG
Recommended Image Resolution: To be added.
[!TIP] Use high-resolution images for better clarity Avoid overly bright or busy images that may distract users from the login form


Configure Primary Theme Color
What's it for: The Primary Theme Color defines the main brand color used across the CRM interface.
Where It Appears:
- Buttons
- Active menu items
- Links
- Highlights
- Selected tabs
How to Choose a Color:
- Color Palette: Select from a predefined list of colors.
- Custom Color: Enter a HEX code or use the color picker to define a custom brand color.
[!TIP] Changes appear instantly in the preview panel, allowing users to evaluate the theme before saving.
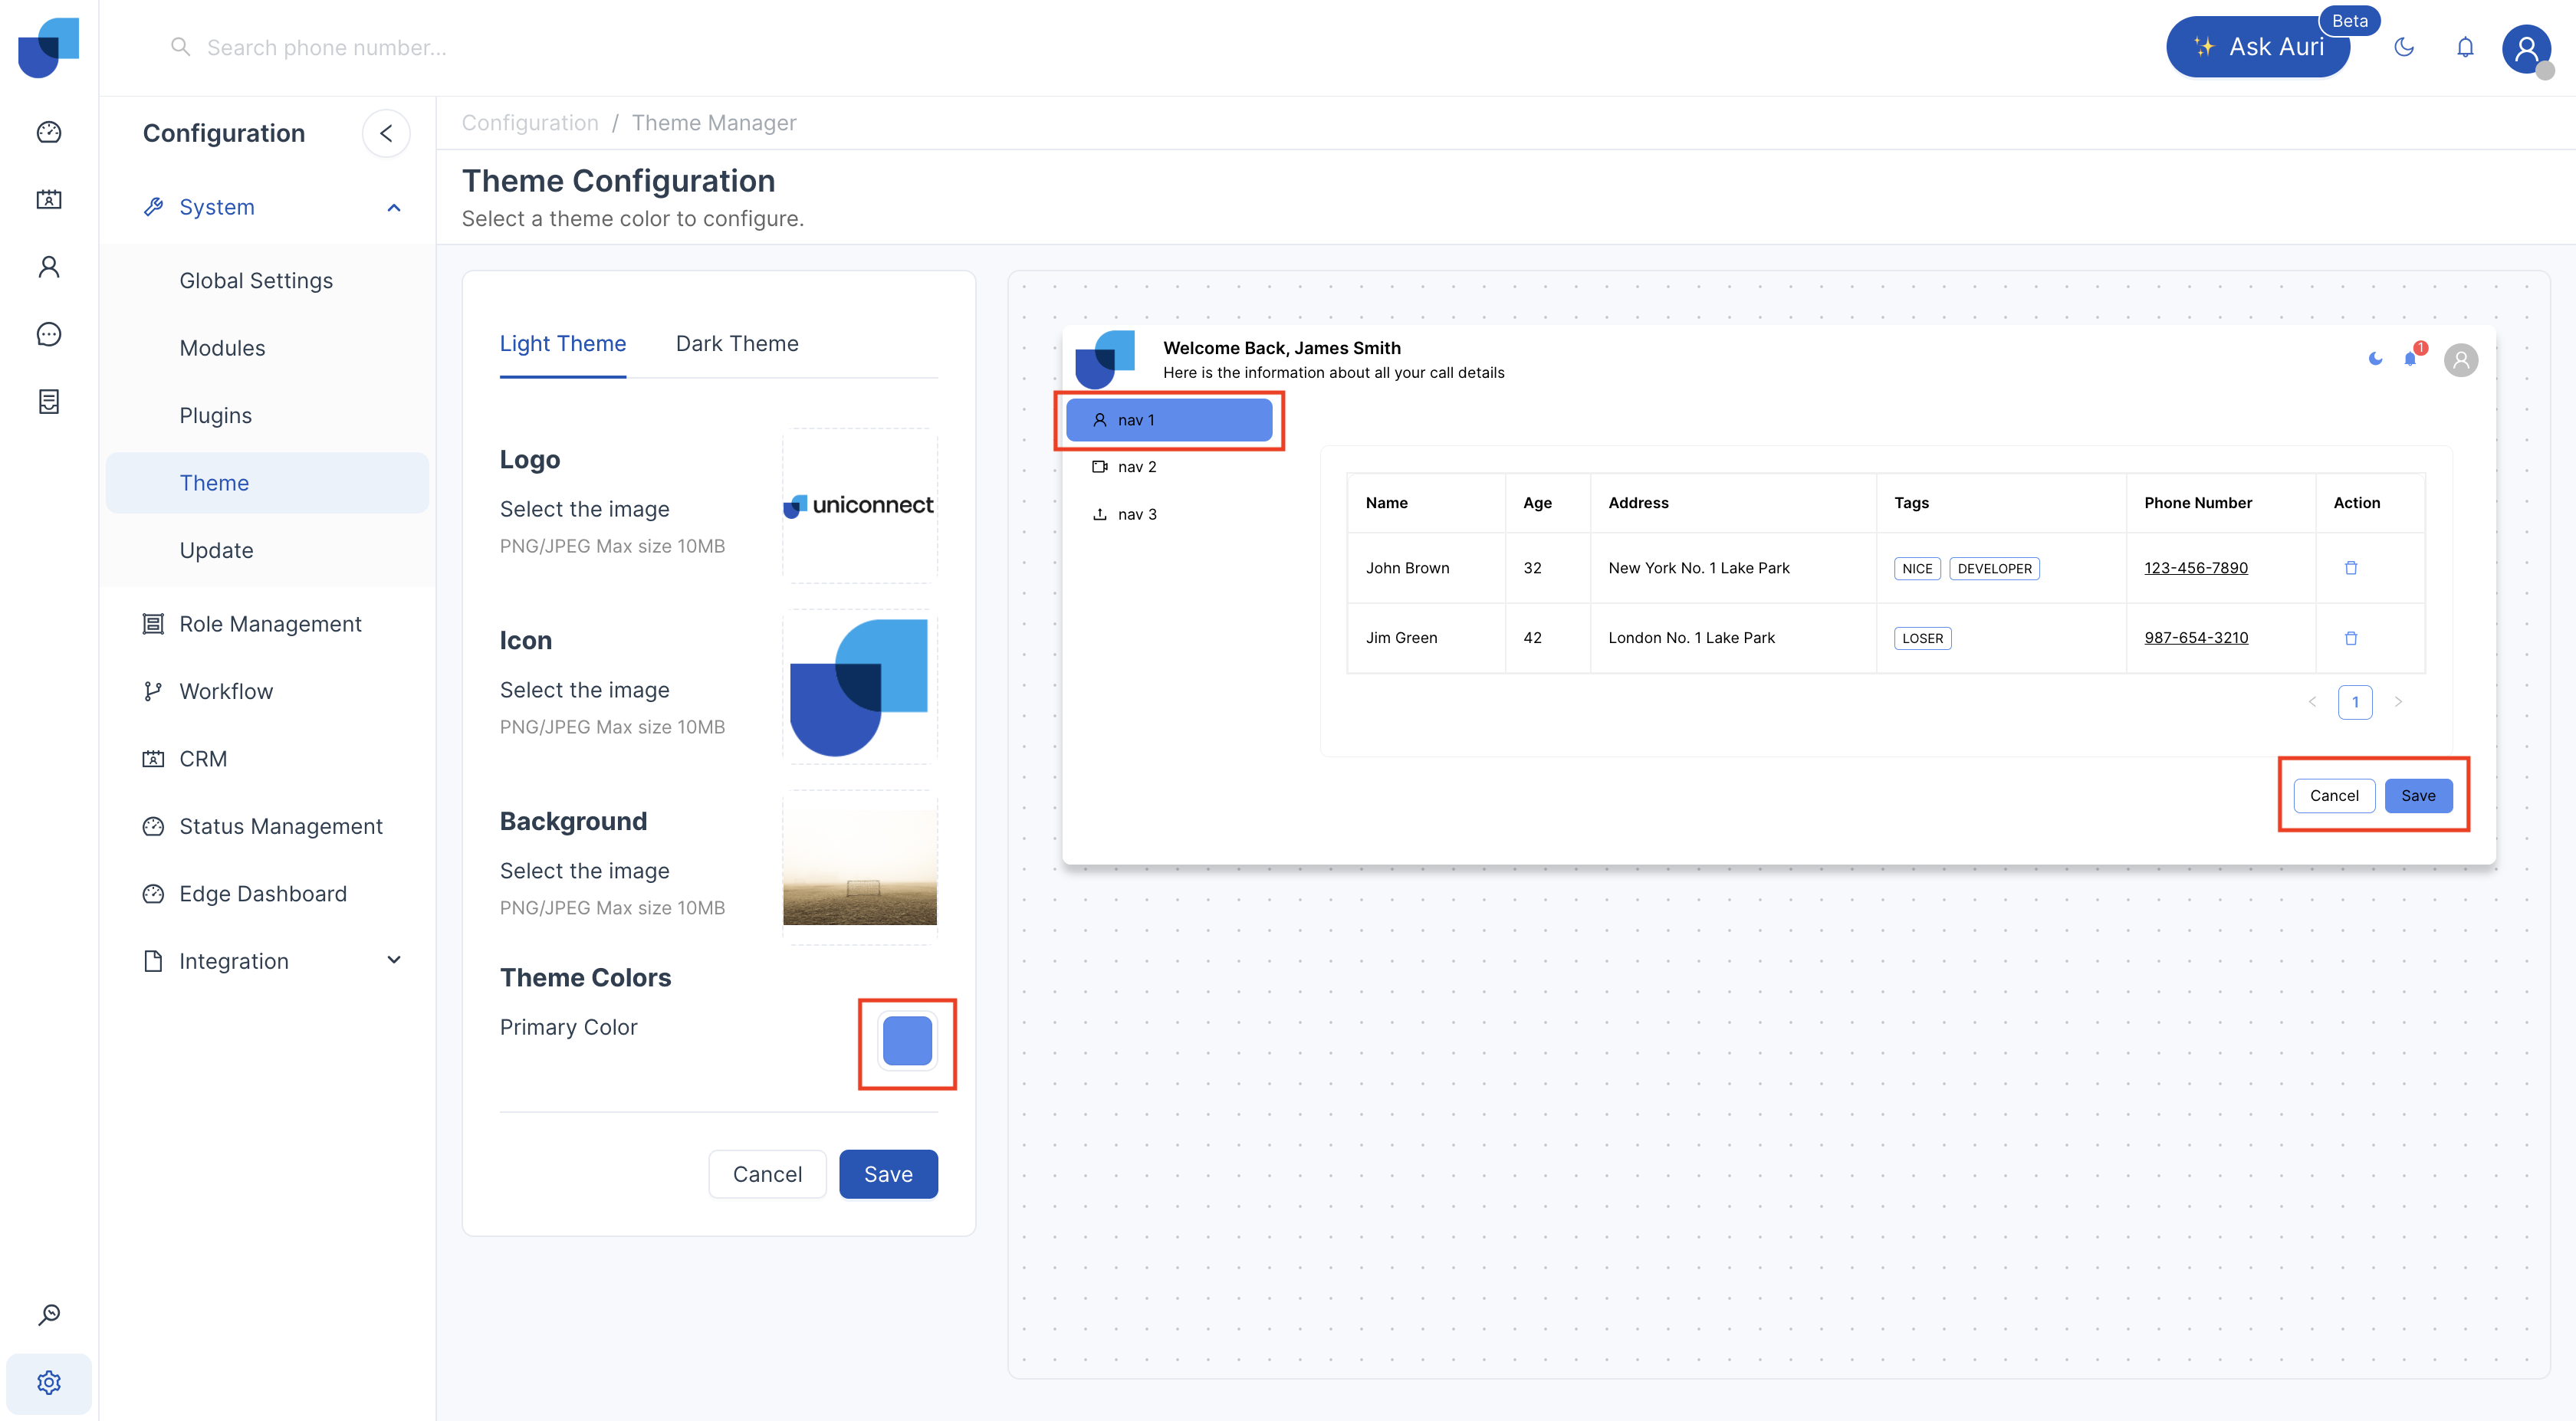
Preview Changes Before Saving
The Live Preview Panel displays how your theme will appear across key UI components.
This includes:
- Navigation menu
- Dashboard layout
- Data tables
- Buttons and tags
This allows users to validate branding and appearance before applying the configuration.
Saving Theme Changes
After configuring the theme:
- Click Save
- The system will apply changes immediately
- Users may need to refresh their browser to see the updated interface
[!NOTE] Changes apply to all users within the organization.
Best Practices
Before applying theme changes:
- Ensure brand colors meet accessibility standards
- Test both Light and Dark themes
- Use optimized images to prevent UI distortion
- Restrict editing rights to authorized users only
Troubleshooting
Theme Not Updating
If theme changes are not visible:
- Refresh the browser
- Clear browser cache
- Confirm that Save was clicked
Menu Not Visible
If the theme configuration menu is missing:
- Verify role permissions
- Confirm access under Role Management
If issues persist, contact the system administrator.