All Module Configurations
The Modules page and the settings of every module, from users and groups to campaigns, telephony and AI.
Module Configuration Overview
How the Modules page and its setting forms work: switches, numbers and the Keep all or Remove all control.
The Modules Page
The Modules page lists every module of the platform. A green check on the right of a row means the module is on. A grey check means it is off. Select a row to open its panel on the right.
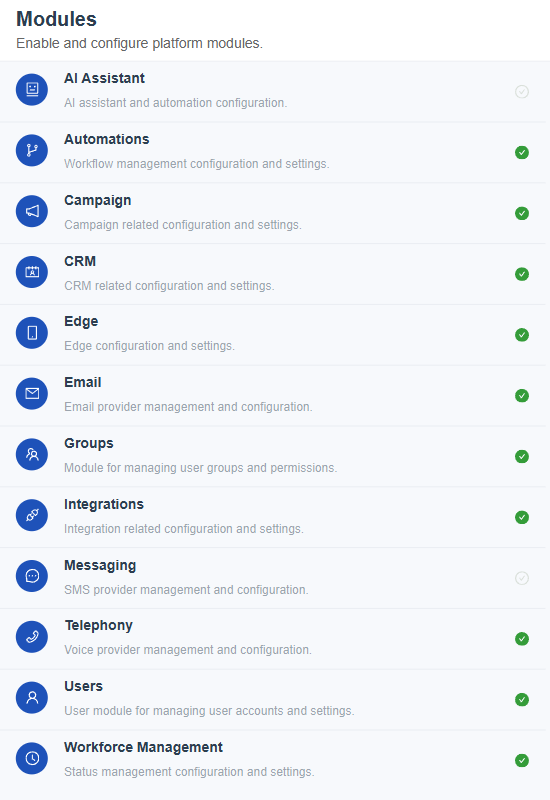
Figure 1. The Modules page. AI Assistant and Messaging show a grey check because they are off. The other ten modules are on.
| Module | What it is for |
|---|---|
| AI Assistant | AI assistant and automation configuration. |
| Automations | Workflow management configuration and settings. |
| Campaign | Campaign related configuration and settings. |
| CRM | CRM related configuration and settings. |
| Edge | Edge configuration and settings. |
| Email provider management and configuration. | |
| Groups | Managing user groups and permissions. |
| Integrations | Integration related configuration and settings. |
| Messaging | SMS provider management and configuration. |
| Telephony | Voice provider management and configuration. |
| Users | Managing user accounts and settings. |
| Workforce Management | Status management configuration and settings. |
How a Setting Form Works
Every module panel follows the same pattern. The module name and a short description sit at the top. Below them, a switch turns the module on or off. The settings of the module follow, and Save Configuration at the bottom right stores them.
- Select the module in the list.
- Use the switch to turn the module on or off. Where a module has no switch, such as Groups and Users, it is always part of the platform.
- Change the settings. Each setting has a short help line under it that explains what it does.
- Click Save Configuration. Nothing changes until you save.
The settings use a small set of controls.
| Control | How to use it |
|---|---|
| Switch | Click to turn a feature on or off. |
| Number box | Type a value, or use the arrows. A minimum is stated in the help line where one applies. |
| Drop down list | Choose one value, for example a default agent status. |
| Multi select list | Choose several values. Each chosen value appears as a tag that you remove with its cross. |
| Checkbox | Tick to turn a single option on, for example Echo Cancellation. |
| Number, Keep all or Remove all | A retention setting. Choose Number and type how many items to keep, choose Keep all to retain everything, or choose Remove all to retain nothing. |
| Ordered list | A list whose rows can be moved up or down and deleted, such as the codec order on the Edge module. |
Rules to Remember
- The license decides which modules can be turned on. A module that the license does not include cannot be enabled.
- Turning a module off hides its pages and menu entries for everyone. The data stays in place.
- Settings are saved one module at a time. Switching to another module without saving discards the change.
Turn a module off only when it is no longer needed. Agents lose access to its screens straight away.
Make one change at a time and save it, so that it is easy to see what changed if behavior looks different afterwards.
Users, Groups and Workforce Management Settings
Invitation expiry, group access and agent shift defaults.
Users
The Users module controls how new people are invited. To invite supervisors who may not sign in on the first day, keep the invitation link valid for a full working day.
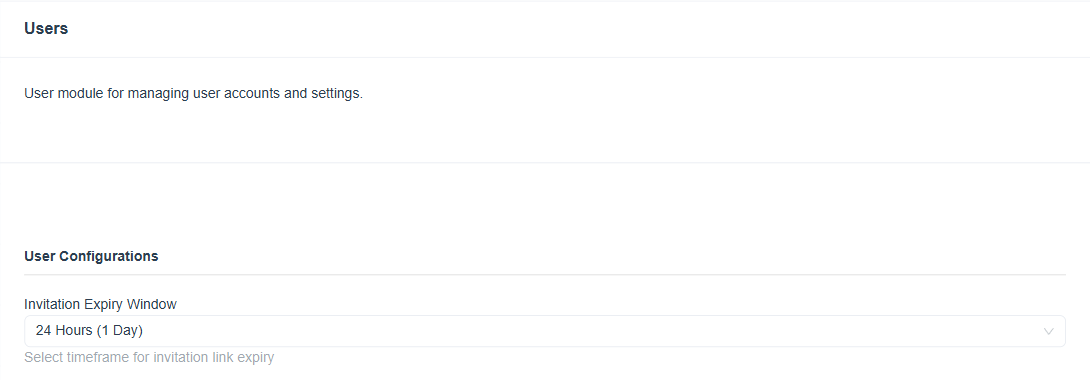
Figure 2. The Users module, with the Invitation Expiry Window set to 24 Hours (1 Day).
| Setting | What it does | Default |
|---|---|---|
| Invitation Expiry Window | How long the link in an invitation email stays valid. After that time the person needs a new invitation. | 24 Hours (1 Day) |
Choose a longer window for staff who join in batches, such as a new training class.
Groups
The Groups module decides how group membership limits what a person can see. For example, a Support group should only see its own records.
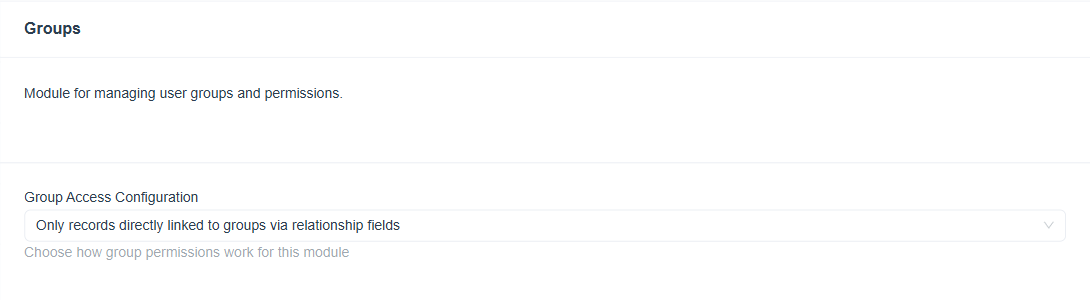
Figure 3. The Groups module, with Group Access Configuration set to the direct relationship option.
| Setting | What it does | Default |
|---|---|---|
| Group Access Configuration | Chooses how group permissions work for this module. The option shown limits a person to records that are directly linked to their groups through relationship fields. | Only records directly linked to groups via relationship fields |
Roles decide what a person can do. Groups decide which records the person can see. See Group Management.
Workforce Management
The Workforce Management module sets the starting status of agents and the shift timers. A common setup is for agents to start as Available and for a shift to end on its own after eight hours.
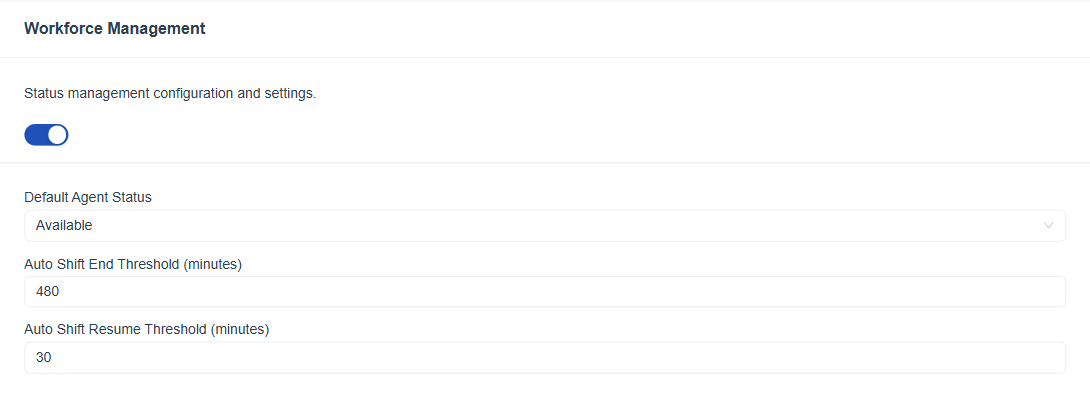
Figure 4. The Workforce Management module, with Available as the default status, a shift end threshold of 480 minutes and a resume threshold of 30 minutes.
| Setting | What it does | Default |
|---|---|---|
| Default Agent Status | The status an agent has after signing in. | Available |
| Auto Shift End Threshold (minutes) | How long a shift can run before it ends automatically. | 480 |
| Auto Shift Resume Threshold (minutes) | How soon after an automatic end a shift can be resumed. | 30 |
Statuses themselves are managed on the Status Management page. The monitoring side is covered in the Workforce use case.
Messaging and Email Settings
Choose the email and SMS providers that the platform sends through.
Email
The Email module chooses which email provider the platform uses. In this example email is sent through Mailgun, so the module is on and Mailgun Email is selected.
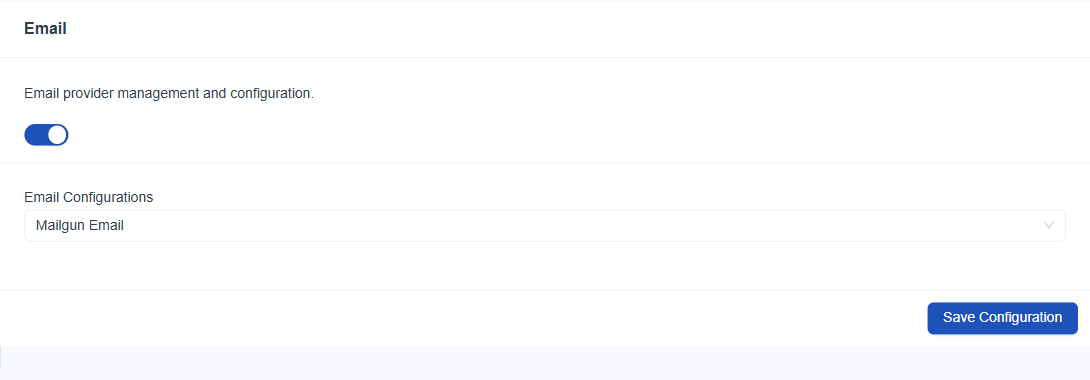
Figure 5. The Email module, with the switch on and Mailgun Email selected in Email Configurations.
| Setting | What it does |
|---|---|
| Email Configurations | The provider that sends email. The list offers the email plugins that are turned on: Mailgun Email, SMTP Email and AWS SES Email. |
A provider appears in the list only after its plugin is turned on and saved. Set it up first in Mailgun Email, SMTP Email or AWS SES Email.
Messaging
The Messaging module covers SMS and WhatsApp style messaging. It is off in this example, which is the usual state until you decide to send text messages.
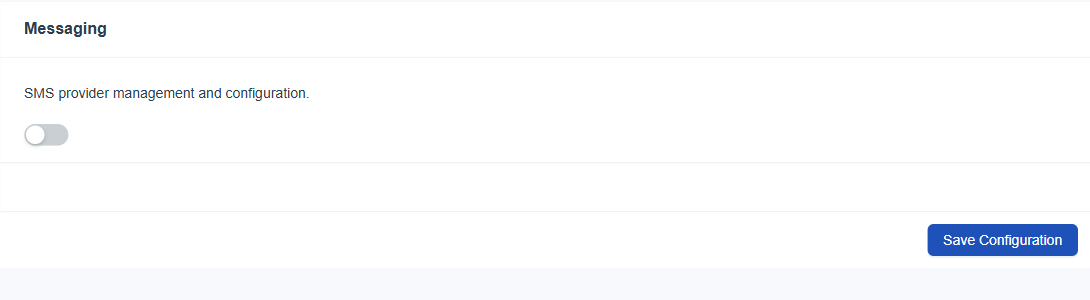
Figure 6. The Messaging module with its switch off. Turn it on and choose a provider in Messaging Configurations to start sending text messages.
| Setting | What it does |
|---|---|
| Messaging Configurations | The SMS provider that sends text messages. The list offers the SMS plugins that are turned on: Generic SMS, Twilio SMS and Dialog E-SMS. |
- Turn on and save the SMS plugin first. See Twilio SMS, Generic SMS and Dialog E-SMS.
- Open the Messaging module and turn the switch on.
- Choose the provider in Messaging Configurations.
- Click Save Configuration.
While Messaging is off, the SMS and WhatsApp template pages ask you to enable the relevant module, and the message icon on CRM records is not available.
CRM, Campaign, Telephony and Edge Settings
The settings of the four modules that run customer records, outbound campaigns, voice calls and the browser phone.
CRM
The CRM module switch makes the CRM screens available. Its record types, fields and layouts are configured on the CRM page of the Configuration menu, not here.
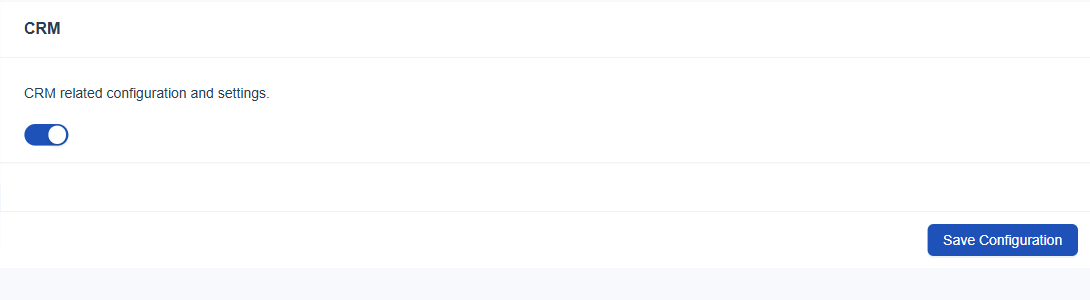
Figure 7. The CRM module, which has a switch and no further settings on this page.
See the CRM use case for how records are configured.
Campaign
The Campaign module controls how outbound campaigns run. Keep the retry rules strict and the number of simultaneous calls low for reminder style campaigns.
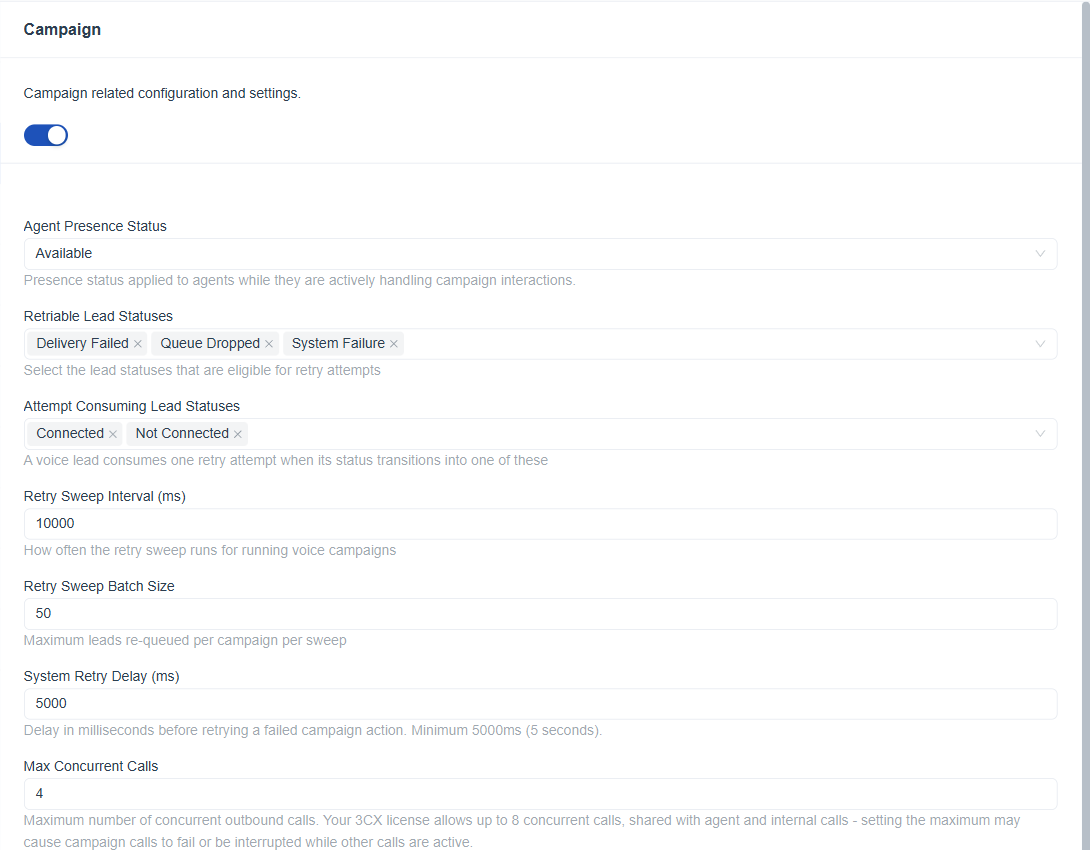
Figure 8. The first part of the Campaign module: agent presence, retry statuses, retry sweep settings and the concurrent call limit.
| Setting | What it does |
|---|---|
| Agent Presence Status | The status applied to agents while they handle campaign interactions. |
| Retriable Lead Statuses | Lead statuses that are eligible for another attempt, for example Delivery Failed, Queue Dropped and System Failure. |
| Attempt Consuming Lead Statuses | Statuses that use up one retry attempt when a voice lead moves into them, for example Connected and Not Connected. |
| Retry Sweep Interval (ms) | How often the retry sweep runs for running voice campaigns. |
| Retry Sweep Batch Size | The most leads put back in the queue per campaign in one sweep. |
| System Retry Delay (ms) | The wait before a failed campaign action is tried again. The minimum is 5000 ms. |
| Max Concurrent Calls | The most outbound calls at one time. The help line reminds you that the telephony license limits calls and that agent and internal calls share the same limit. |
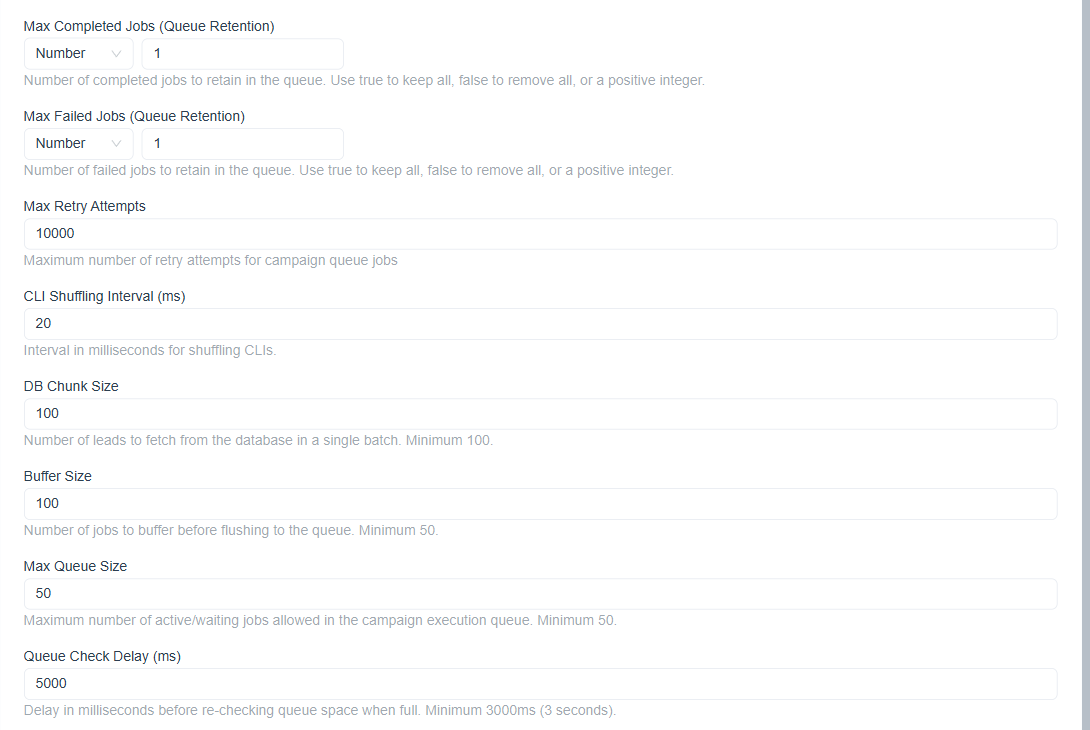
Figure 9. The middle part of the Campaign module: queue retention, retry attempts, shuffling interval and queue sizes.
| Setting | What it does |
|---|---|
| Max Completed Jobs (Queue Retention) | How many completed jobs the queue keeps. Choose Number and type a value, or choose Keep all or Remove all. |
| Max Failed Jobs (Queue Retention) | How many failed jobs the queue keeps. It uses the same Number, Keep all or Remove all control. |
| Max Retry Attempts | The most retry attempts for campaign queue jobs. |
| CLI Shuffling Interval (ms) | How often the calling numbers are shuffled. |
| DB Chunk Size | How many leads are read from the database at once. The minimum is 100. |
| Buffer Size | How many jobs are held before they are sent to the queue. The minimum is 50. |
| Max Queue Size | The most active or waiting jobs in the campaign queue. The minimum is 50. |
| Queue Check Delay (ms) | The wait before checking again for space when the queue is full. The minimum is 3000 ms. |
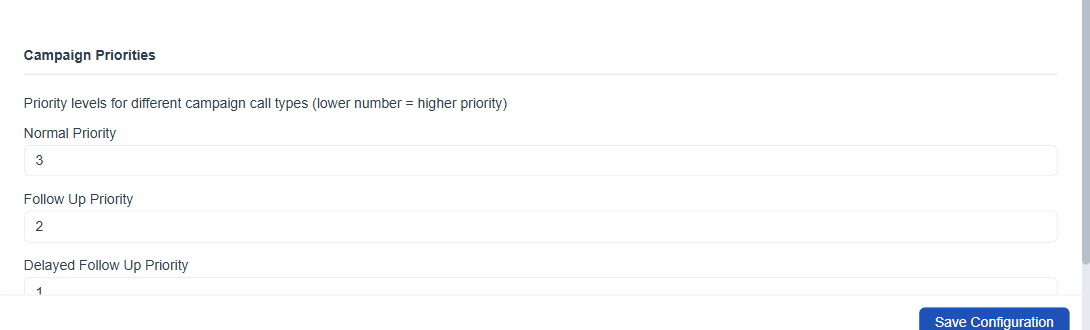
Figure 10. The last part of the Campaign module: the priority numbers for normal, follow up and delayed follow up calls.
| Setting | What it does |
|---|---|
| Normal Priority | Priority of ordinary campaign calls. A lower number means a higher priority. |
| Follow Up Priority | Priority of follow up calls. |
| Delayed Follow Up Priority | Priority of follow up calls that were delayed. |
Keep Max Concurrent Calls below the call limit of the telephony license, so that campaign calls never crowd out agents who are on customer calls.
Campaign design is covered in the Campaign use case.
Telephony
The Telephony module chooses the voice provider. In this example 3CX is selected.
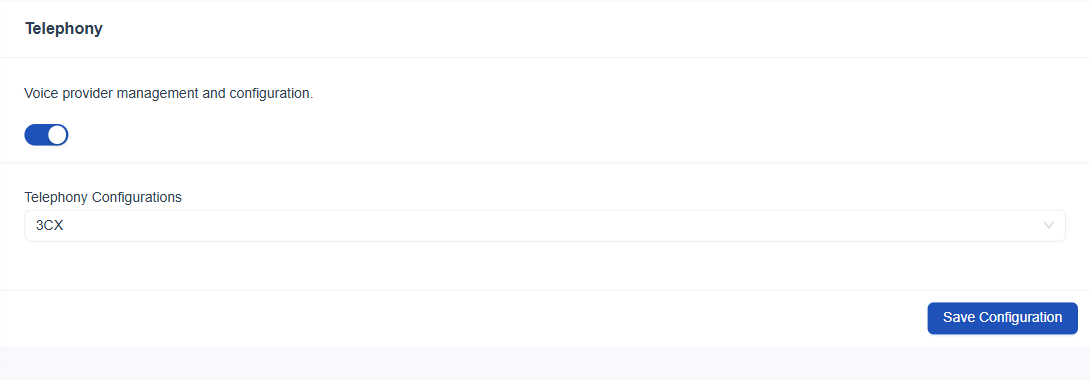
Figure 11. The Telephony module, with 3CX selected in Telephony Configurations.
| Setting | What it does |
|---|---|
| Telephony Configurations | The voice provider in use. It lists the telephony plugins that are turned on. |
The provider connection is set up in 3CX. The wider telephony setup is in the Telephony use case.
Edge
The Edge module sets how the browser phone behaves for agents. Keep the audio options off and the log level at Info, then adjust the codec order if the call quality needs it.
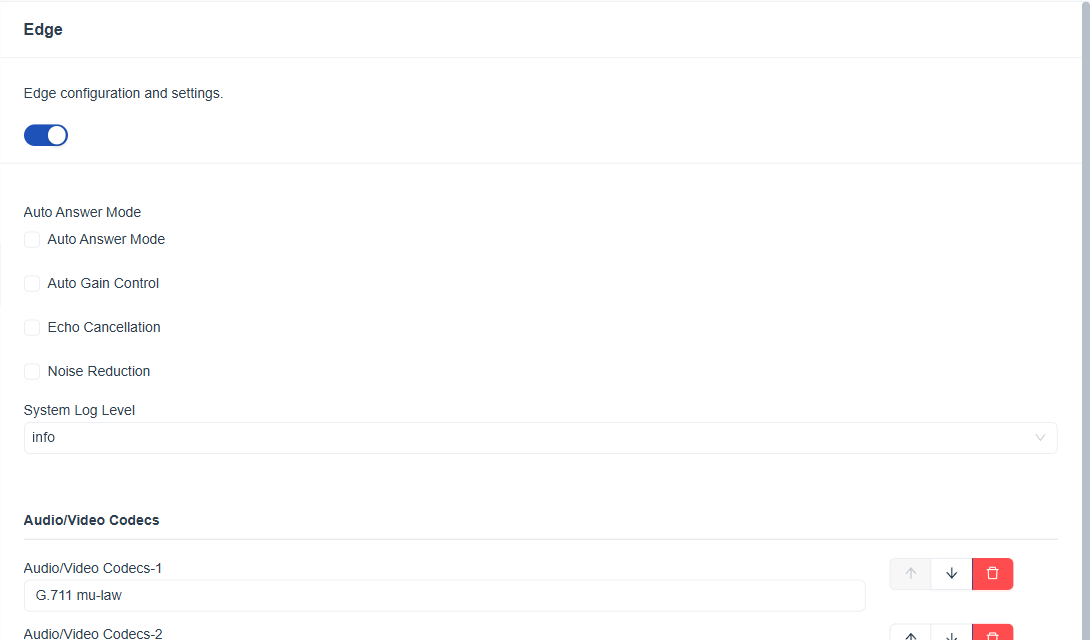
Figure 12. The Edge module, with the audio options, the system log level and the start of the ordered codec list.
| Setting | What it does |
|---|---|
| Auto Answer Mode | Answers incoming calls automatically. |
| Auto Gain Control | Evens out the volume of the microphone. |
| Echo Cancellation | Removes echo from the call audio. |
| Noise Reduction | Reduces background noise. |
| System Log Level | How much detail the Edge client records, from the most detailed level down to none. |
| Audio/Video Codecs | An ordered list of codecs. The first row has the highest priority. Use the arrows to move a row and the red button to delete it. |
Automations, AI Assistant and Integrations Settings
The switches and settings of the modules that automate work and connect outside systems.
Automations
The Automations module switch makes the workflow builder available. It has no further settings here. The workflow log retention is set in Retention, Purge and Export Limits.
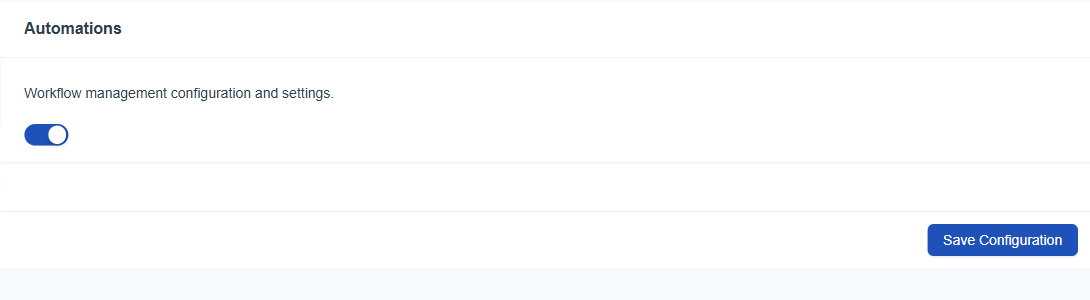
Figure 13. The Automations module, which has a switch and no further settings on this page.
Workflows are explained in the Automations use case.
AI Assistant
The AI Assistant module is off until an AI provider is chosen. Once it is on, two settings appear.
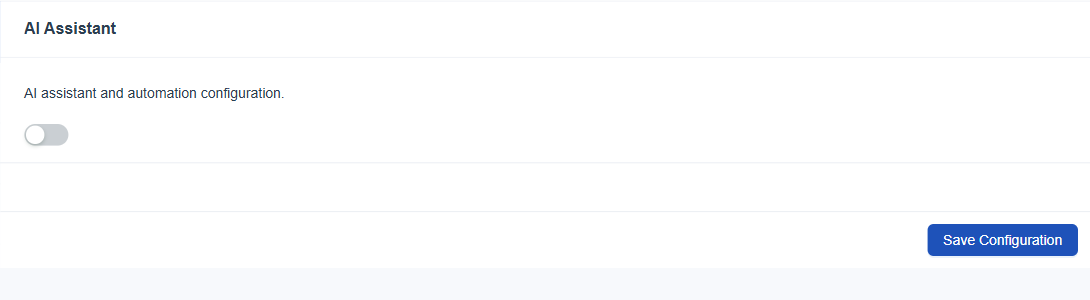
Figure 14. The AI Assistant module with its switch off.
| Setting | What it does | Default |
|---|---|---|
| AI Configurations | The AI provider to use. The list offers the AI plugins that are turned on: OpenAI and Gemini. | None chosen |
| Knowledge Base Worker Concurrency | How many knowledge base jobs run at the same time. The minimum is 1. | 5 |
Turn on a provider first in OpenAI or Gemini, then return here and choose it.
Integrations
The Integrations module switch makes the integration screens available.
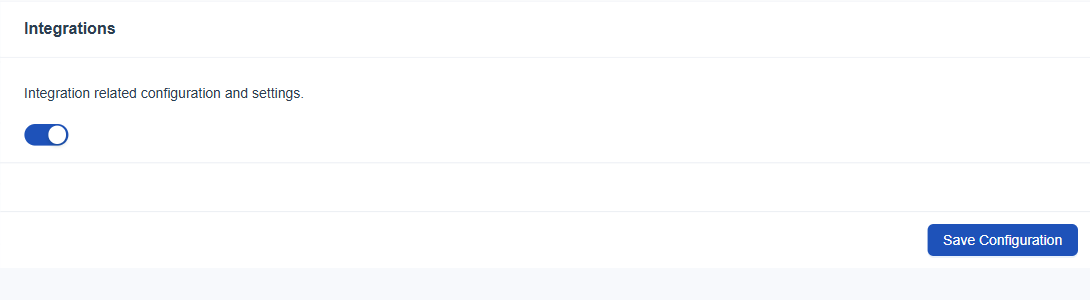
Figure 15. The Integrations module, which has a switch and no further settings on this page.
The integration screens are described in the Integrations Overview.