Permissions
Path: Configuration → User Management → Roles → a role → Automations
Permissions determine who can build workflows, manage system workflows, and use the more advanced parts of the Designer. Permissions are defined on a Role rather than on an individual person: a Role is built once with a complete set of permissions, and every user assigned that Role inherits exactly what it grants. This page walks through every part of it using the Supervisor role as the example throughout.
Opening a Role
Every permission on this page belongs to a Role. Roles are managed from a dedicated screen, separate from the Automations configuration pages covered elsewhere in this guide.
- Go to Configuration → User Management → Roles. Lists every Role already set up, each tagged with how many permissions it currently has, for example Supervisor, 26 permissions set. The Search field above the list filters this list by Role name.
- Click an existing Role to open it. Roles uses a two-pane layout: the role list stays visible on the left, while Edit Role opens in the right-hand pane, with Role Name at the top, Delete, Cancel and Save in the top right, and a Permissions section below, grouped into categories such as AI Configuration, Automations, Campaign, and more.
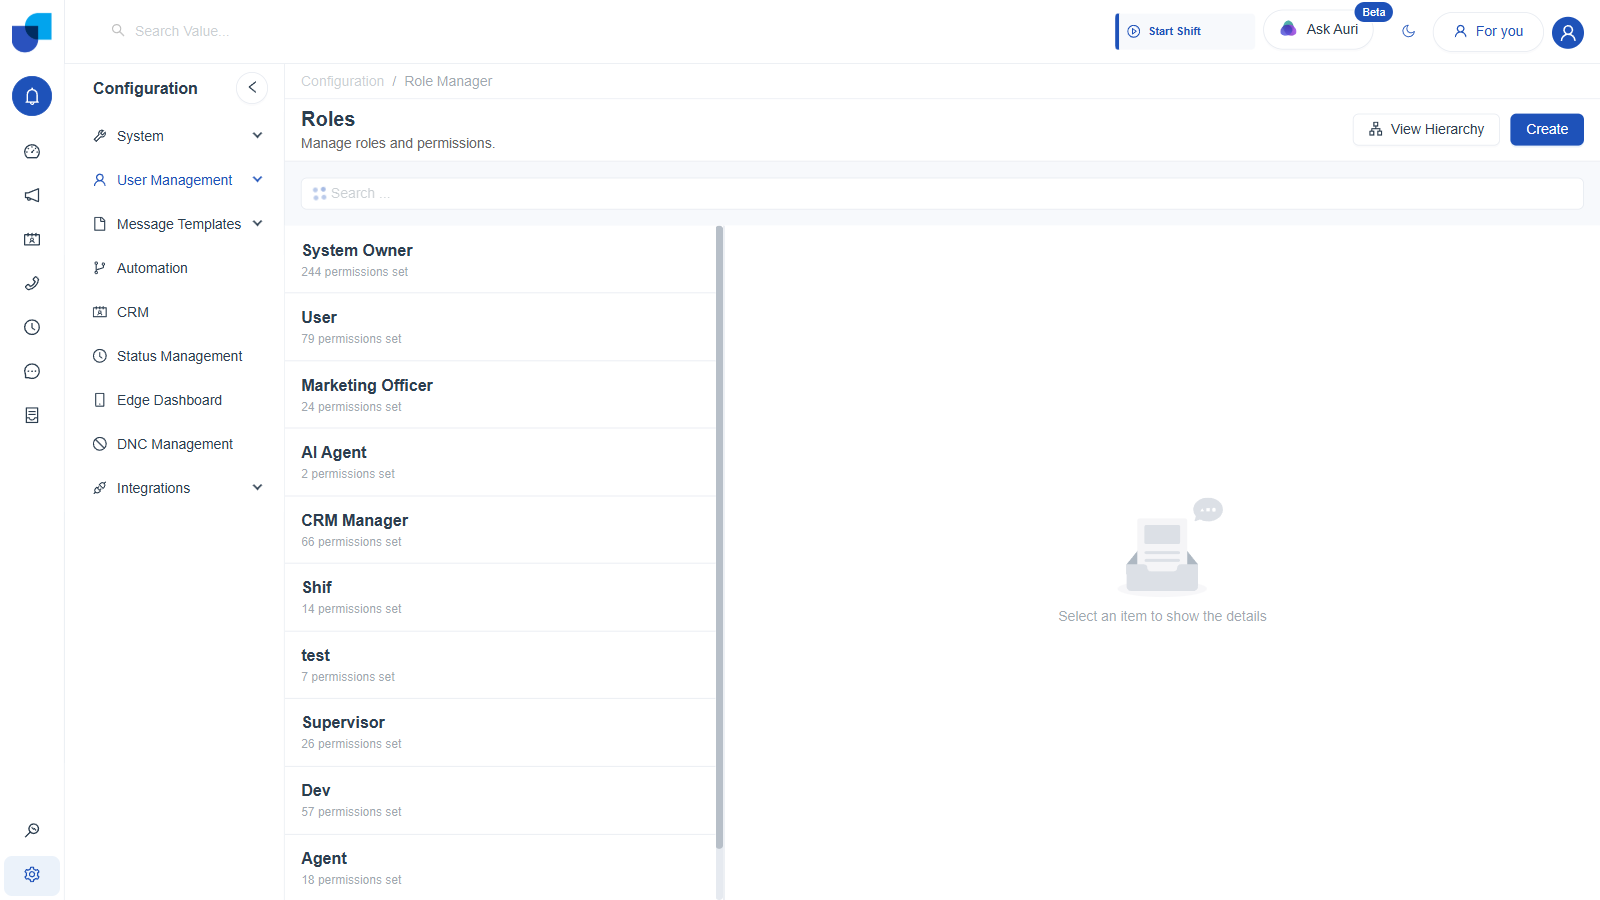
Figure 1. The Roles screen before any role is selected.
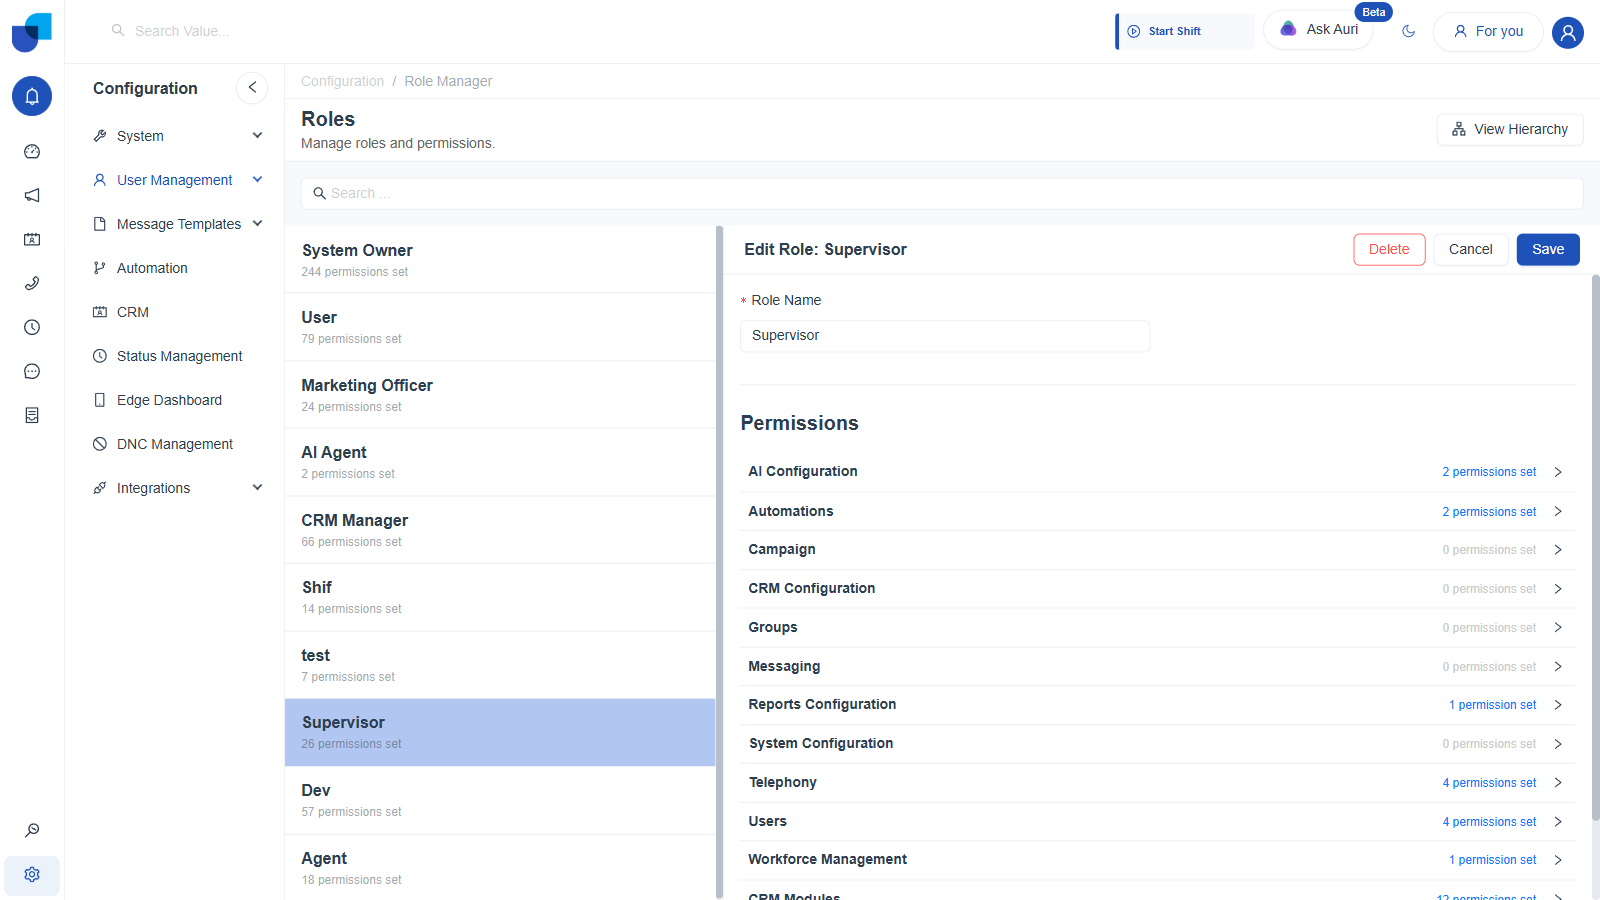
Figure 2. A role selected (Supervisor): Edit Role opens with every permission category collapsed, each showing its own count.
Automations Permissions
Determines whether this Role can use the Automations feature at all, and how far into it. Unlike CRM, Automations has no per-module breakdown. It is a single flat set of three permissions.
- Expand Automations. Reveals three independent Yes/No switches, plus a Clear All link.
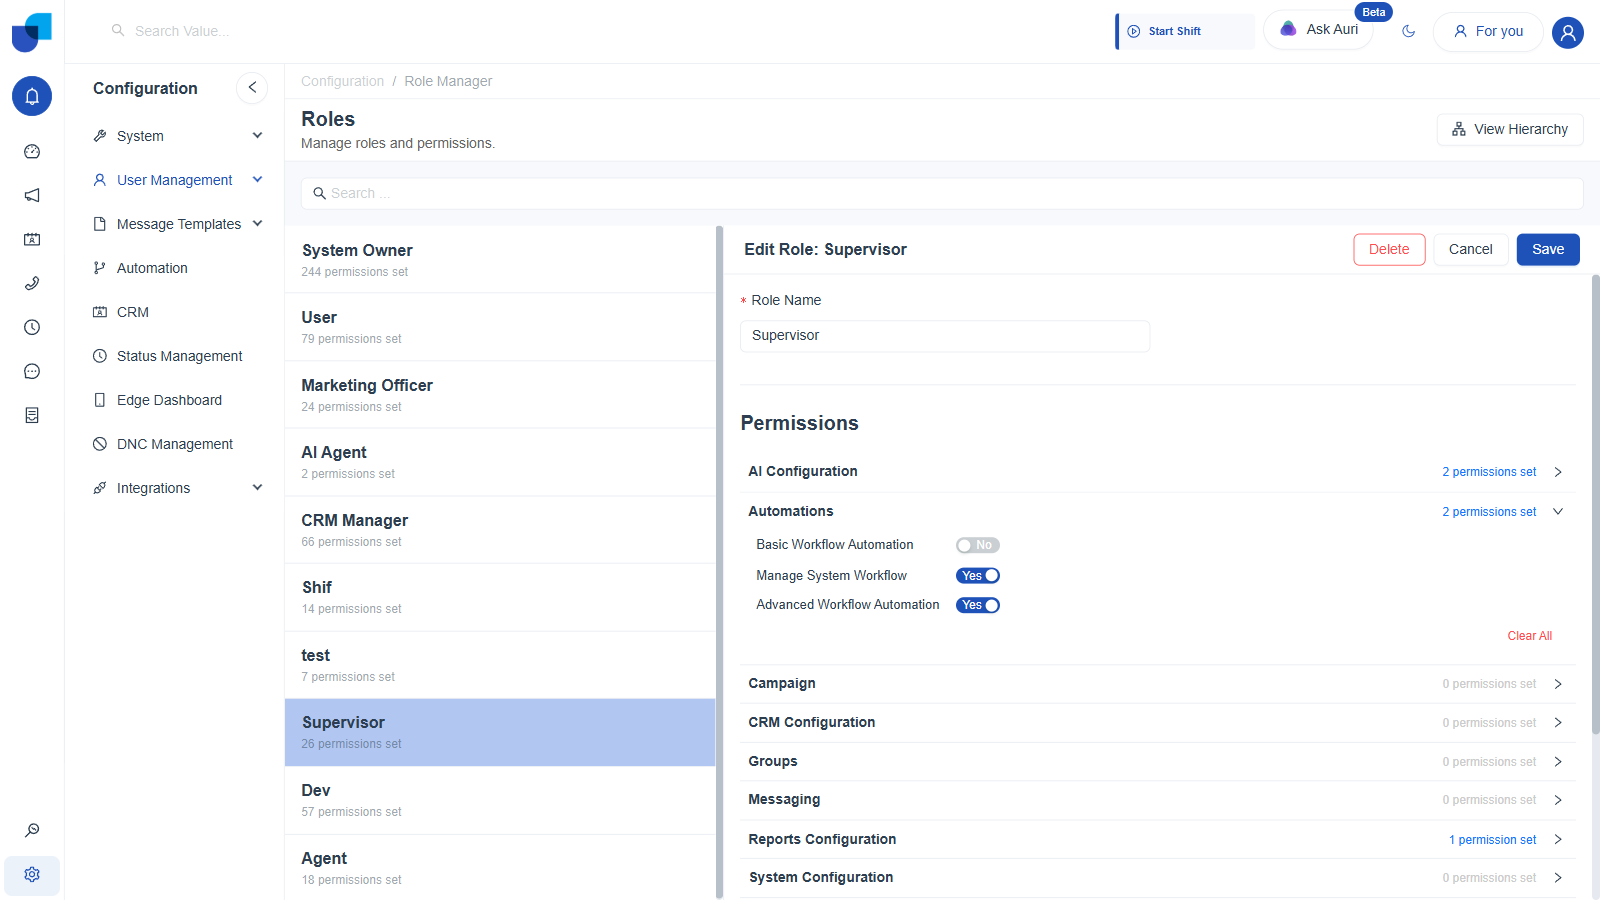
Figure 3. Automations expanded: three toggles, Basic Workflow Automation, Manage System Workflow, and Advanced Workflow Automation.
| Permission | What it allows |
|---|---|
Basic Workflow Automation | Not confirmed directly. No tooltip is shown in the editor. |
Manage System Workflow | Not confirmed directly. No tooltip is shown in the editor. |
Advanced Workflow Automation | Not confirmed directly. No tooltip is shown in the editor. |
Basic Workflow Automation and Advanced Workflow Automation are mutually exclusive. Confirmed live by switching each one on in turn: turning Basic Workflow Automation on immediately turns Advanced Workflow Automation off, and turning Advanced Workflow Automation on immediately turns Basic Workflow Automation off. Manage System Workflow is unaffected either way and toggles independently. A role can never show both Basic Workflow Automation and Advanced Workflow Automation as Yes at the same time.
Built-in Roles
Built-in roles such as System Owner show their Automations permissions the same way, but they are read-only and cannot be changed.
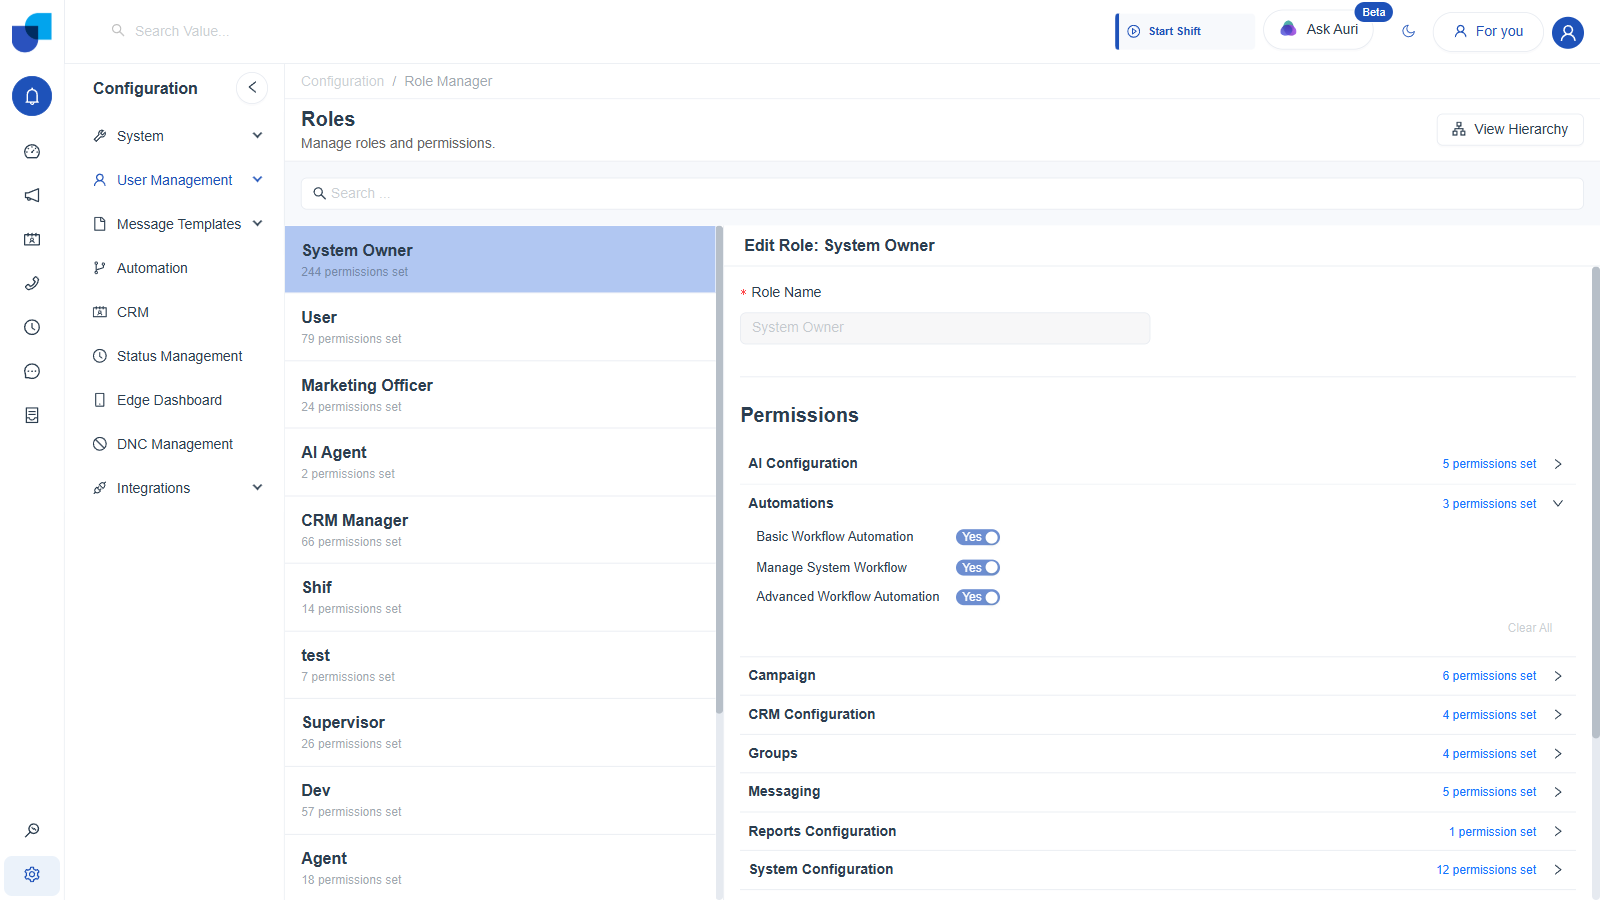
Figure 4. Automations permissions on System Owner, a built-in role whose permissions are read-only.
Changing a Permission
- Click a role, then expand Automations. Only available on a role the organization created itself. Built-in roles like System Owner are read-only, as noted above.
- Click a toggle to switch it between Yes and No.
- Click Save, in the top right of the Edit Role panel. Clicking Cancel instead discards the change. Delete, beside it, removes the entire role.
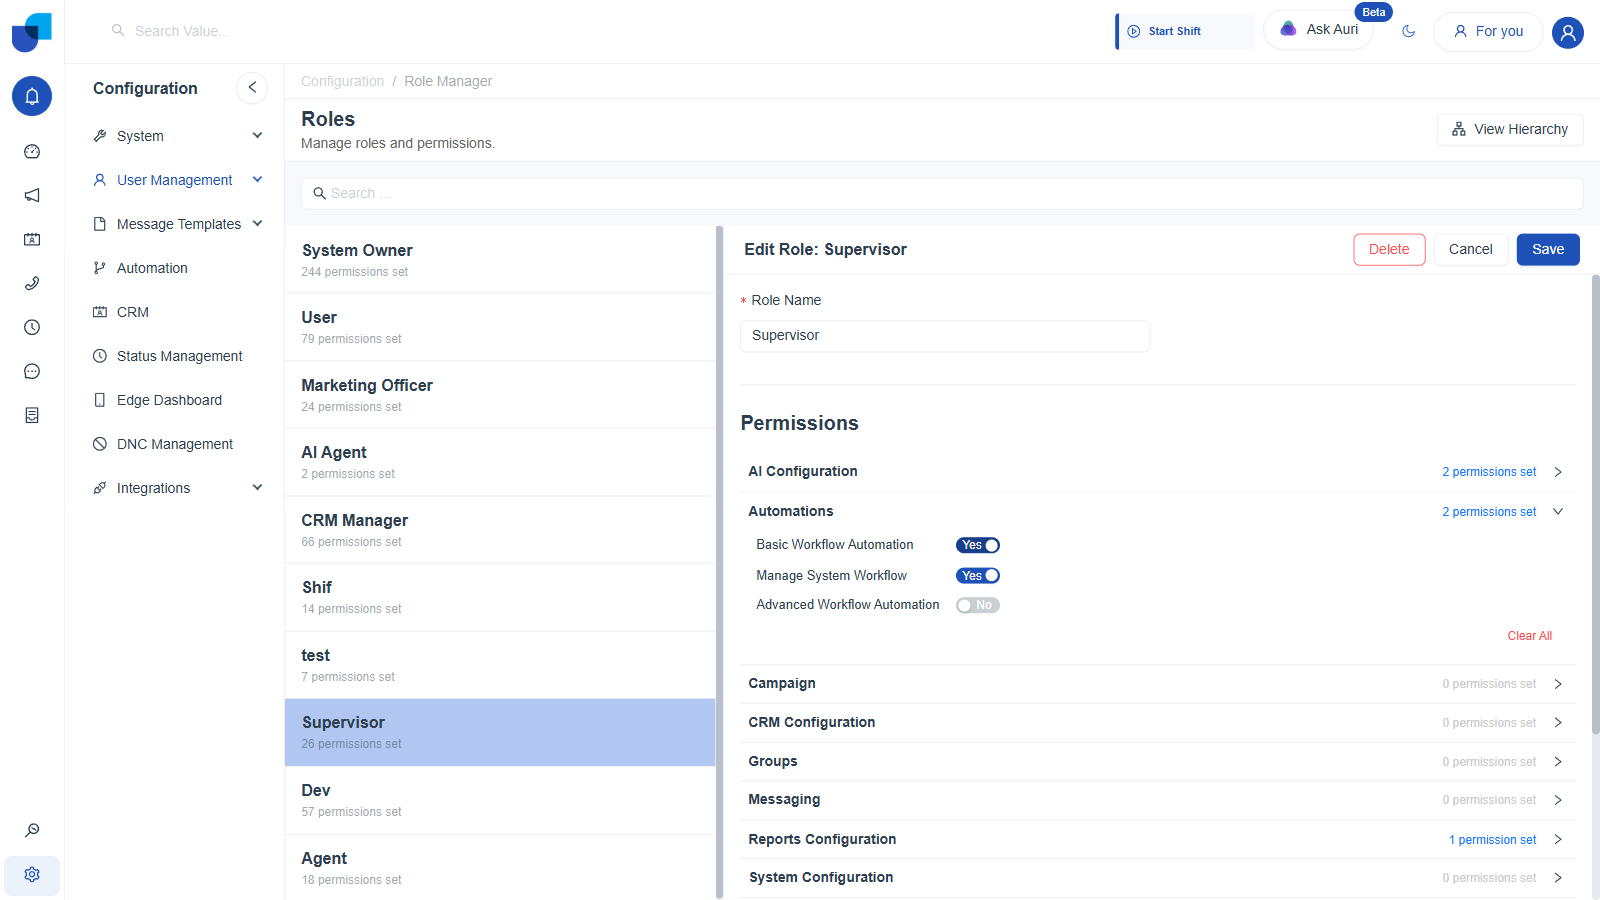
Figure 5. Clicking Basic Workflow Automation's toggle on the Supervisor role, demonstrating the mutual exclusivity above.
A Clear All link sets all three toggles to No at once. Use it instead of unchecking each one individually.