Getting Started
Authentication
Sign in for the first time and prepare the platform for your team.
Before You Begin
What you need depends on how your account was created.
| If your account was | You need |
|---|---|
| Invited by email | The invitation email. It holds the link to set your password. |
| Synced from 3CX | Your extension number and 3CX password, or the Self Registration option if it is on. |
| Synced from LDAP | Your directory account. Use Login with AD. |
| Linked to Google, Microsoft or SSO | Your company account for that provider. |
Your First Sign In
- Open the platform address in your browser. The Login page opens.
- Choose a method. The default form takes an email and a password. Other methods are buttons under Or login with.
- Enter your details and click the main button. The button is named after the method, for example Login with Password.
- Enter the one time password if one is asked. It appears when Two Factor Authentication is on for your account.
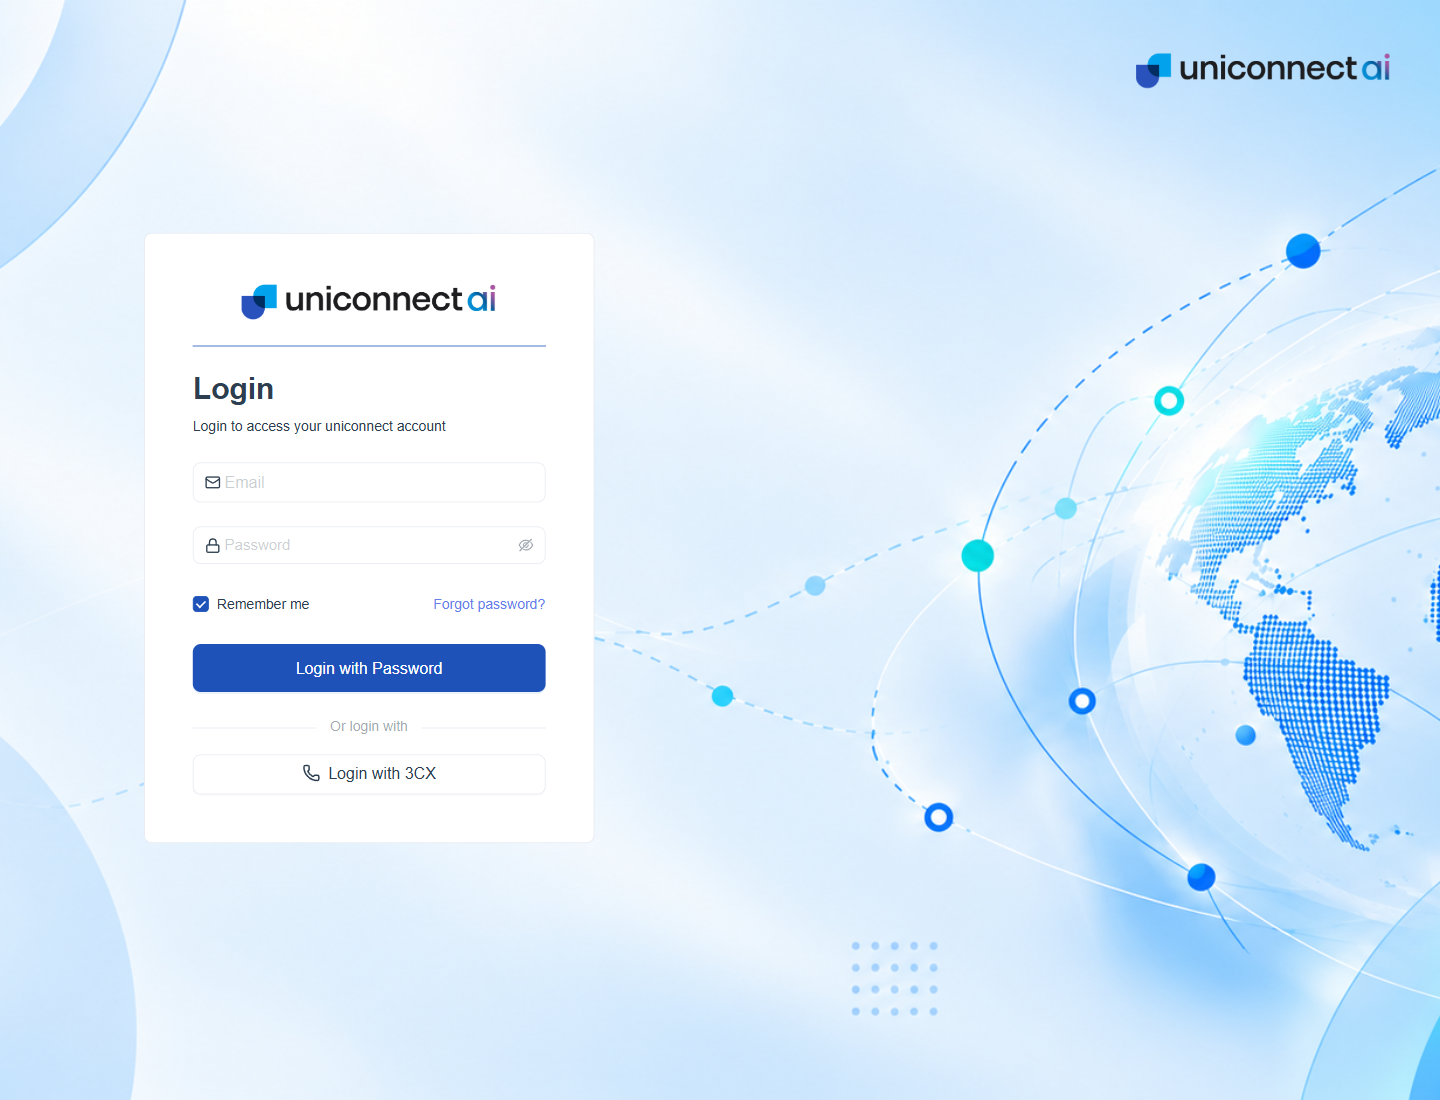
Figure 1. The Login page. Enter your email and password, then click Login with Password.
Info: If this is your first visit and you were invited, open the invitation email first and set your password. The steps are in Email Login.
Set Up for Administrators
- Decide which methods your team will use. Password, 3CX, LDAP and single sign on can run side by side.
- Turn the methods on. 3CX and LDAP are plugins. Single sign on providers are listed in Single Sign On Options.
- Review the limits. Set the invitation expiry window and the one time password limits. See Configuration.
- Invite your people. Create each user and send the invitation from Configuration, User Management, Users.
- Turn on Two Factor Authentication for sensitive accounts. Start with supervisors and administrators.
What to Read Next
- Users. User Sign In explains every control on the Login page.
- Administrators. Configuration lists every setting that affects sign in.
- Problems. Troubleshooting lists common symptoms and fixes.