Webhooks
What a Webhook Is
A webhook is an address on your UNICONNECT AI that an outside system can post to when something happens. In the example, the policy system posts a renewal notice to a webhook whenever a customer's policy is about to renew. The Webhooks screen is described as Manage webhooks and event subscriptions.
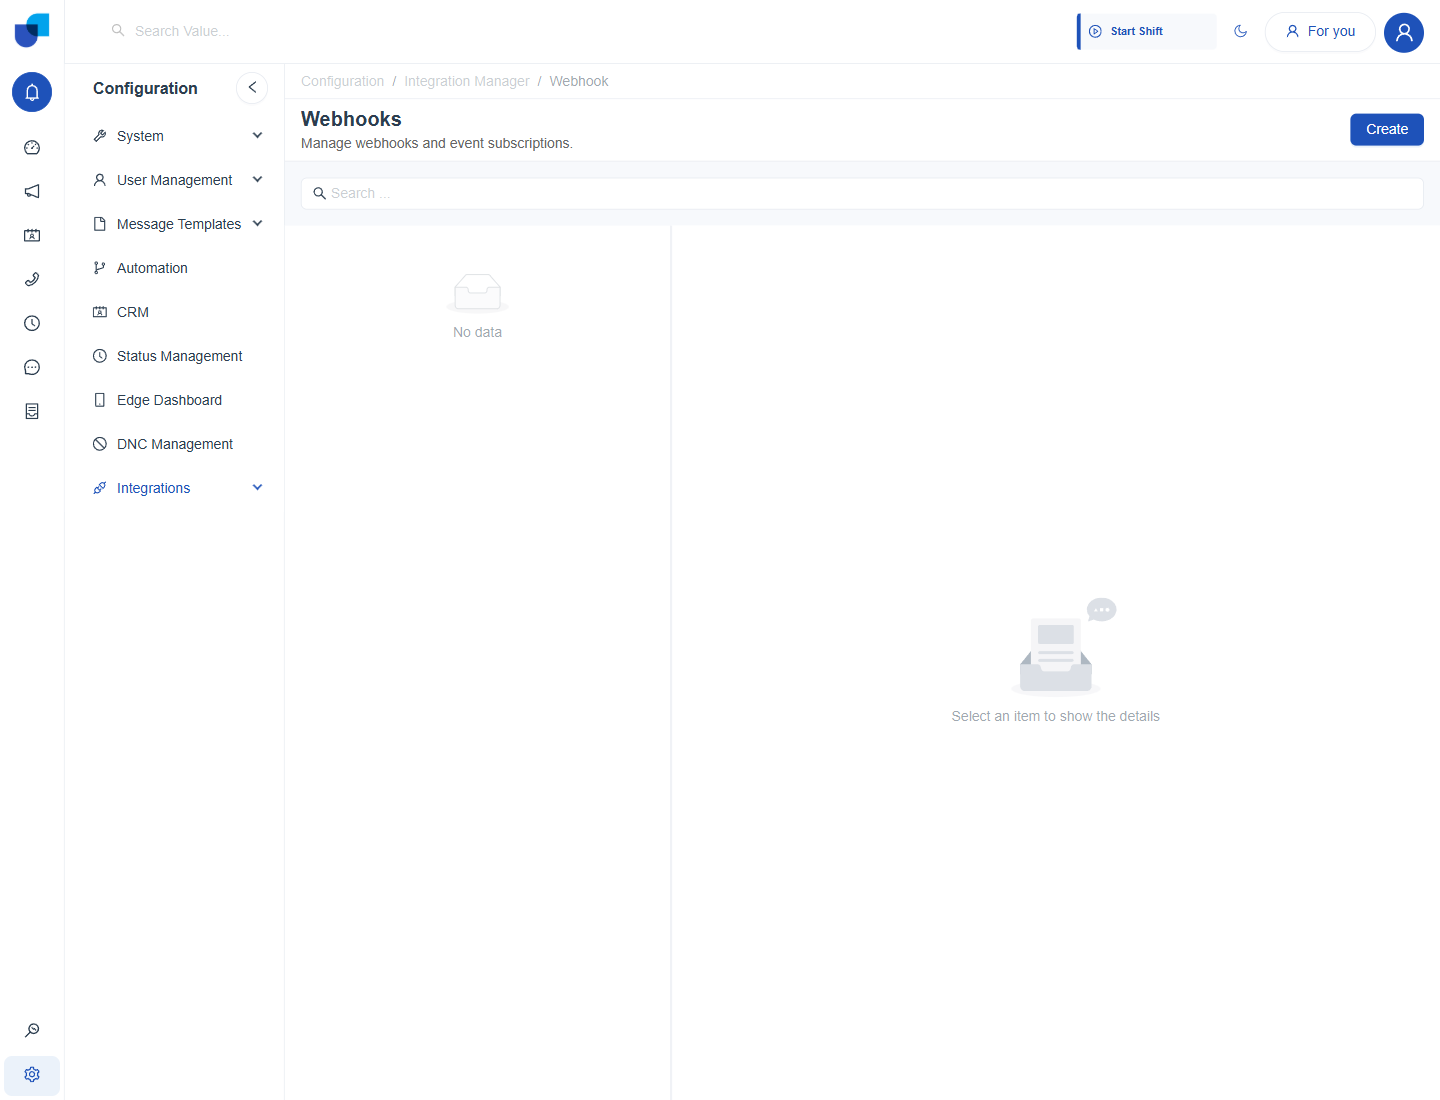
Figure 1. The Webhooks screen, with the list of existing webhooks and a Create button.
Creating a Webhook
- Open Configuration → Integrations → Webhook.
- Click Create.
- Enter a Name and a Description. The name is required. For example Policy Renewal Notice.
- Paste a sample payload into the JSON Input box. The Schema Editor fills in from it.
- Check the schema, then click Create Webhook.
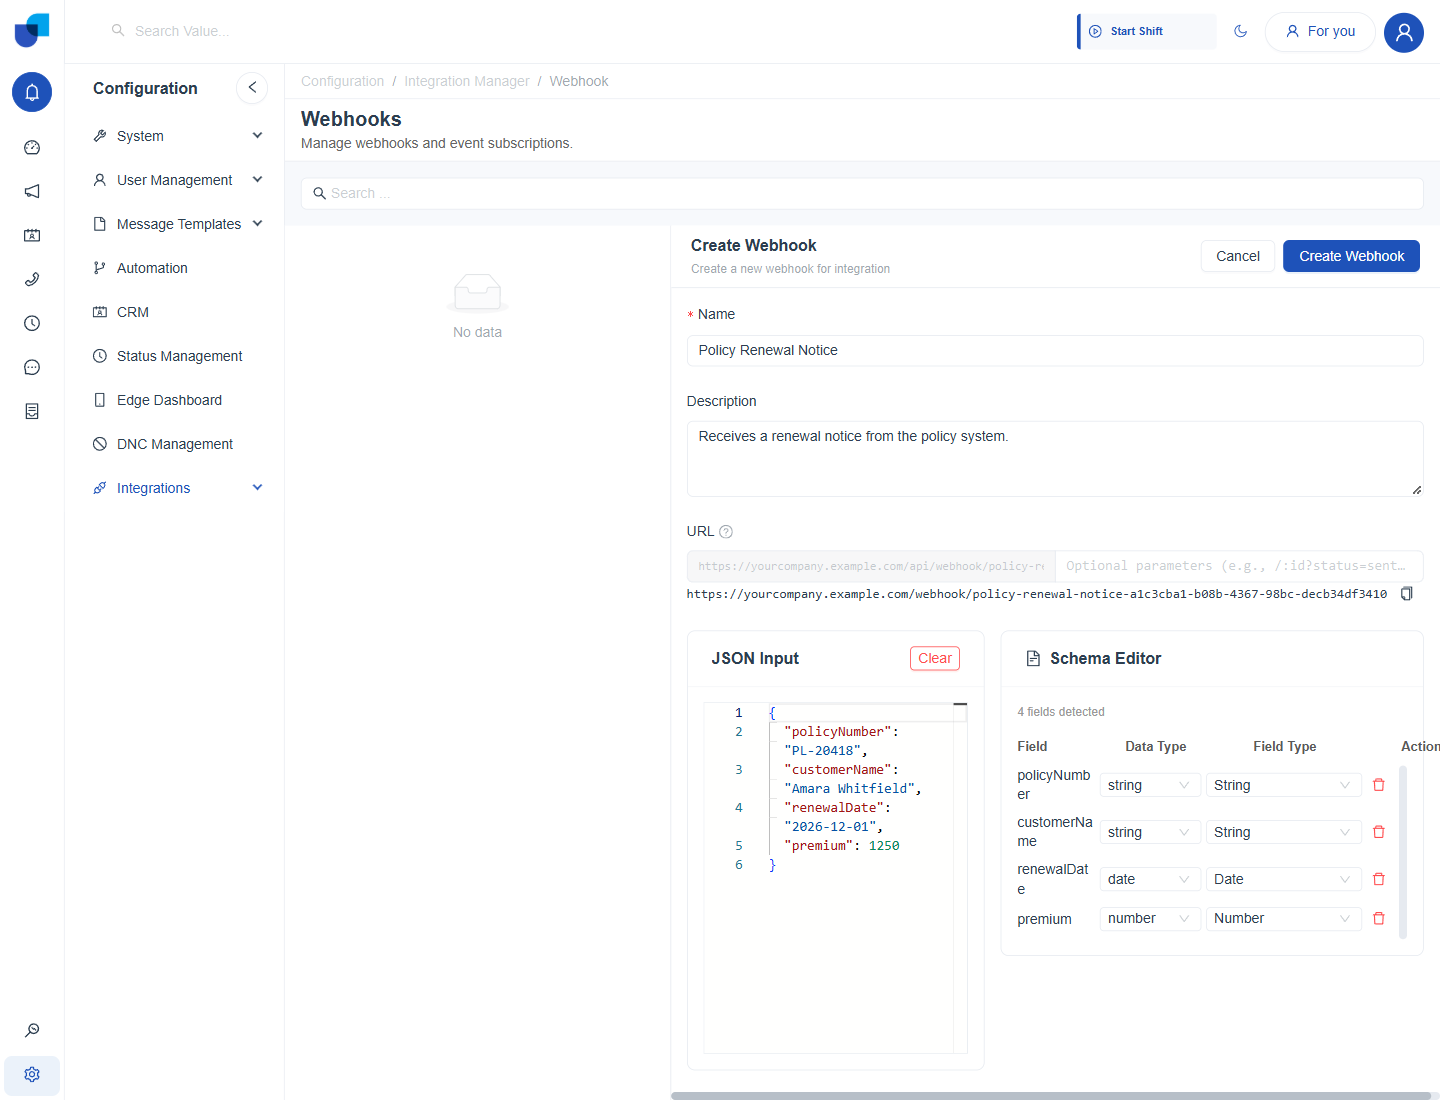
Figure 2. The Create Webhook form. The address is generated from the name, and the Schema Editor lists the fields detected in the sample payload.
| Part | Purpose |
|---|---|
| Name | Required. It is also used to build the webhook address. |
| Description | A note on what the webhook receives. |
| URL | The address the outside system posts to. It is generated for you and has a copy icon. An optional field beside it accepts test parameters such as /123?lg=en. |
| JSON Input | A sample of the payload the outside system sends. Clear removes it. |
| Schema Editor | The fields detected in the sample, each with a Data Type and a Field Type that you can change, and a delete icon. |
After the webhook is created, it appears in the list with a green mark. Click it to open the Edit Webhook panel. The name is locked after creation, the description, sample payload and schema can be changed with Save Changes, and Delete removes the webhook.
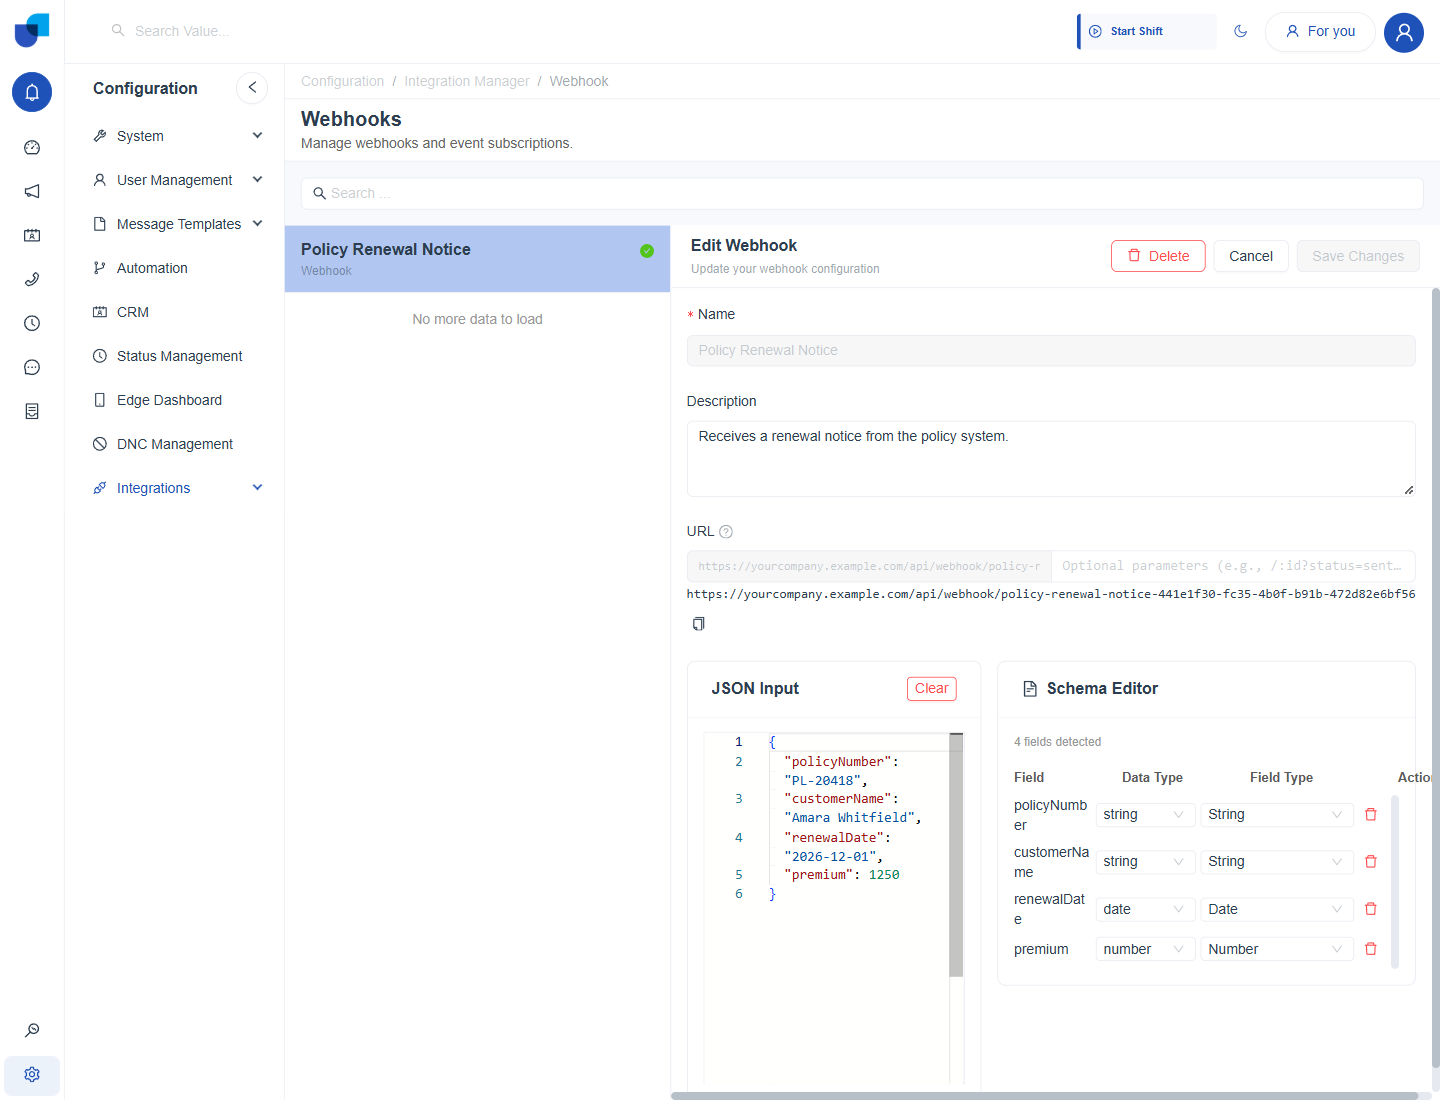
Figure 3. The Edit Webhook panel for a saved webhook. The name is read only.
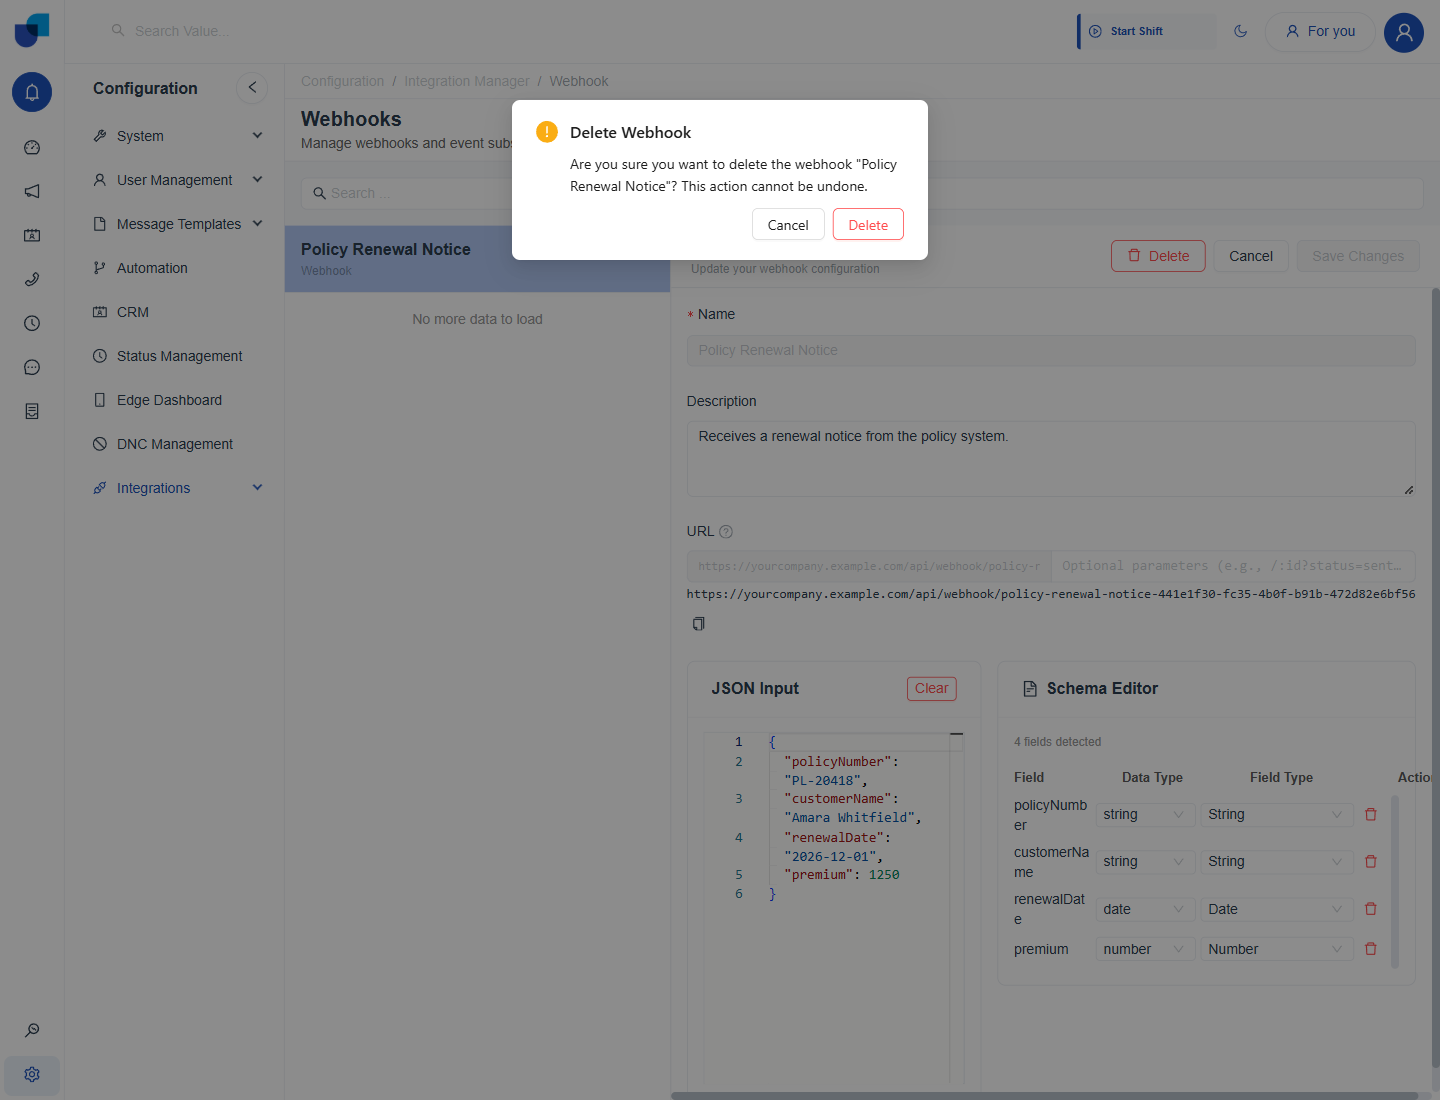
Figure 4. The confirmation shown when a webhook is deleted. The action cannot be undone.
The JSON Input and Schema
Paste a real example of what the outside system sends. The Schema Editor reads it and lists the fields it finds. In the example, the sample below produces four fields: policyNumber and customerName as strings, renewalDate as a date, and premium as a number.
{
  "policyNumber": "PL-20418",
  "customerName": "Amara Whitfield",
  "renewalDate": "2026-12-01",
  "premium": 1250
}
Use a complete sample that includes every field the outside system can send. A field missing from the sample is missing from the schema.
Using the Webhook
Give the generated address to the outside system. Workflows can start from webhook events. How an event based webhook trigger is set up is covered in Event-Based Workflows.
The webhook address accepts data from outside, so treat it like a credential. Share it only with the system that needs it. Managing webhooks needs the Webhook permission. See Integrations Permissions.