Getting Started
User Management
The order that gets a new team signed in quickly.
Before You Begin
You need a role that can open Configuration, User Management. The System Owner role has every permission. Decide three things first.
- Which roles you need. The platform starts with System Owner, User and Contact Center Supervisor.
- How people will sign in. Email and password, 3CX, a directory or single sign on.
- How teams are organized. Each team becomes a group.
Set Up Your Team
- Review the roles. Open Configuration, User Management, Roles. Create a new role only when the three standard roles do not fit. See Roles.
- Turn on syncing if you use 3CX or a directory. Synced people appear in the Users list automatically. See User Syncing.
- Create the remaining users. Open Users, click Create, fill in the form and save. An invitation email goes to each person. See Users.
- Create groups. Open Groups, click Create, name the group and add its members. See Groups.
- Turn on Two Factor Authentication for supervisors and administrators. See Two Factor Authentication for Users.
- Ask everyone to finish their profile. People add a photo, a phone number and a preferred device. See User Profile.
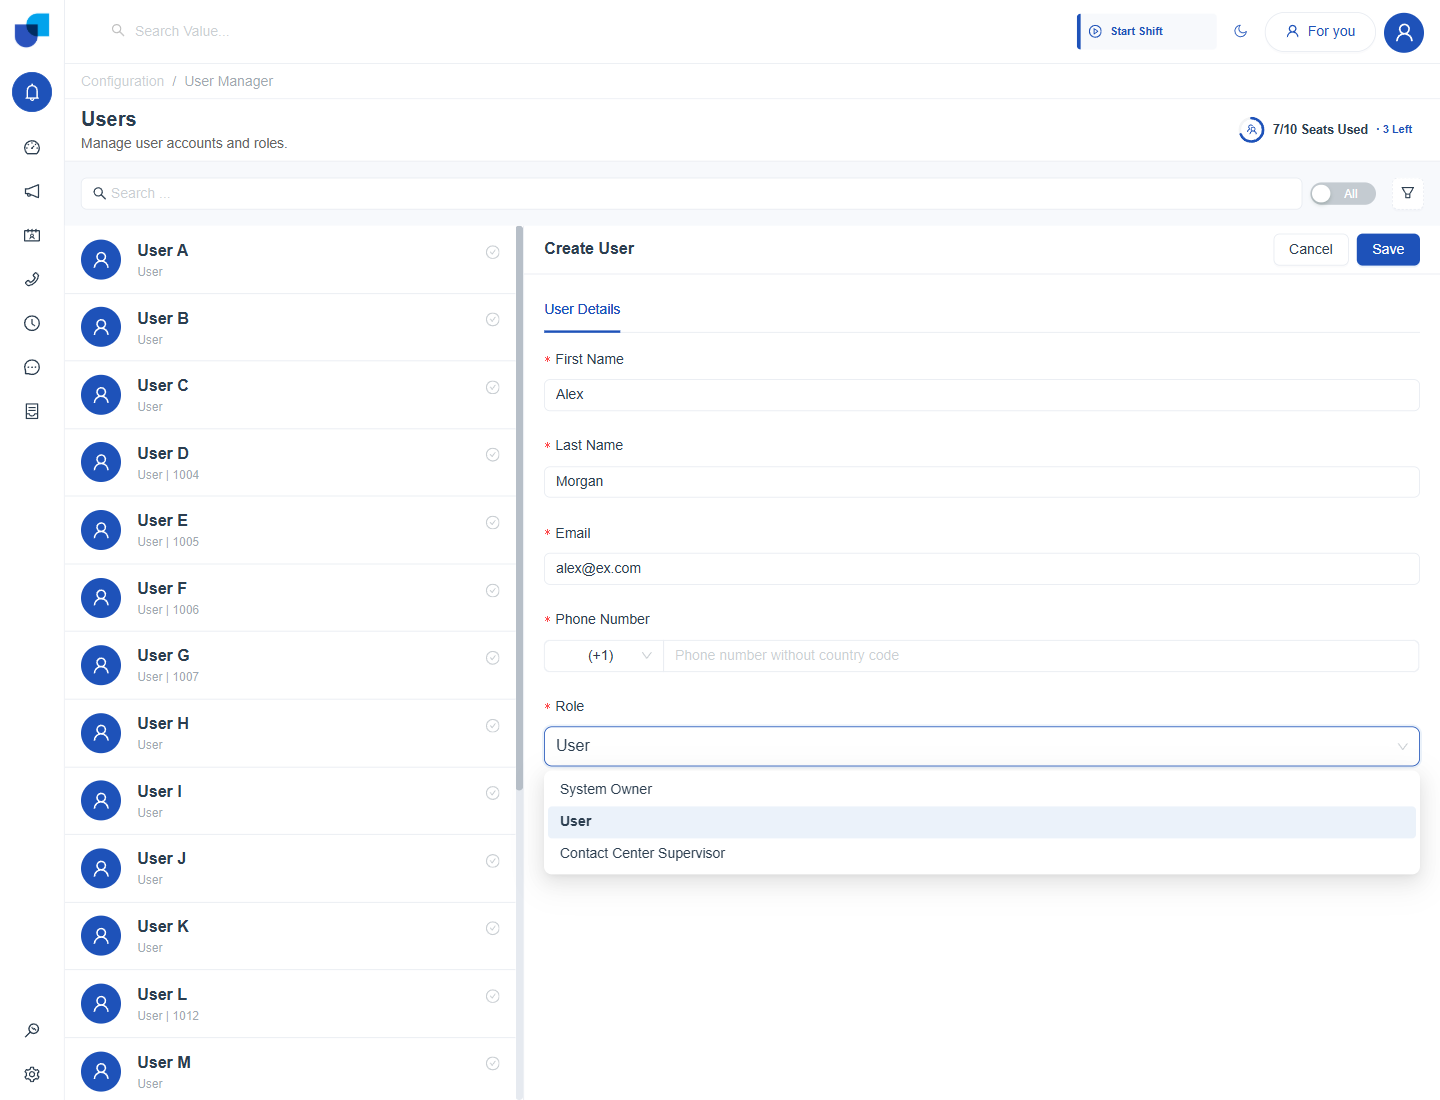
Figure 1. The Create User form, filled in for a new user named Alex Morgan with the User role.
Check Your Work
- Status. Invited people change to Registered after they set a password.
- Seats. The seat counter at the top right shows how many seats remain.
- Groups. Each group lists the members you expect.
Tip: Start with one test group of two or three people. Once the invitation and sign in work, invite everyone else.
What to Read Next
- Daily tasks. Users covers searching, editing and deactivating.
- Access control. Roles and Permissions.
- Sign in. The Authentication guides, starting with User Sign In.