Two Factor Authentication for Users
User Management
Require a one time password at sign in for the accounts that need it.
Who Can Turn It On
Two Factor Authentication is set for each person. Two permissions in the Users group of a role control it.
| Permission | What it allows |
|---|---|
| Update User | Edit another user, including the Enable 2FA tick box. |
| Enable personal 2FA | Turn Two Factor Authentication on or off for your own account. |
Turning It On for a User
- Open Configuration, User Management, Users.
- Select the person. The panel shows 2FA Enabled as Yes or No.
- Click Edit.
- Check the Phone field. The one time password goes to this number.
- Tick Enable 2FA.
- Click Save.
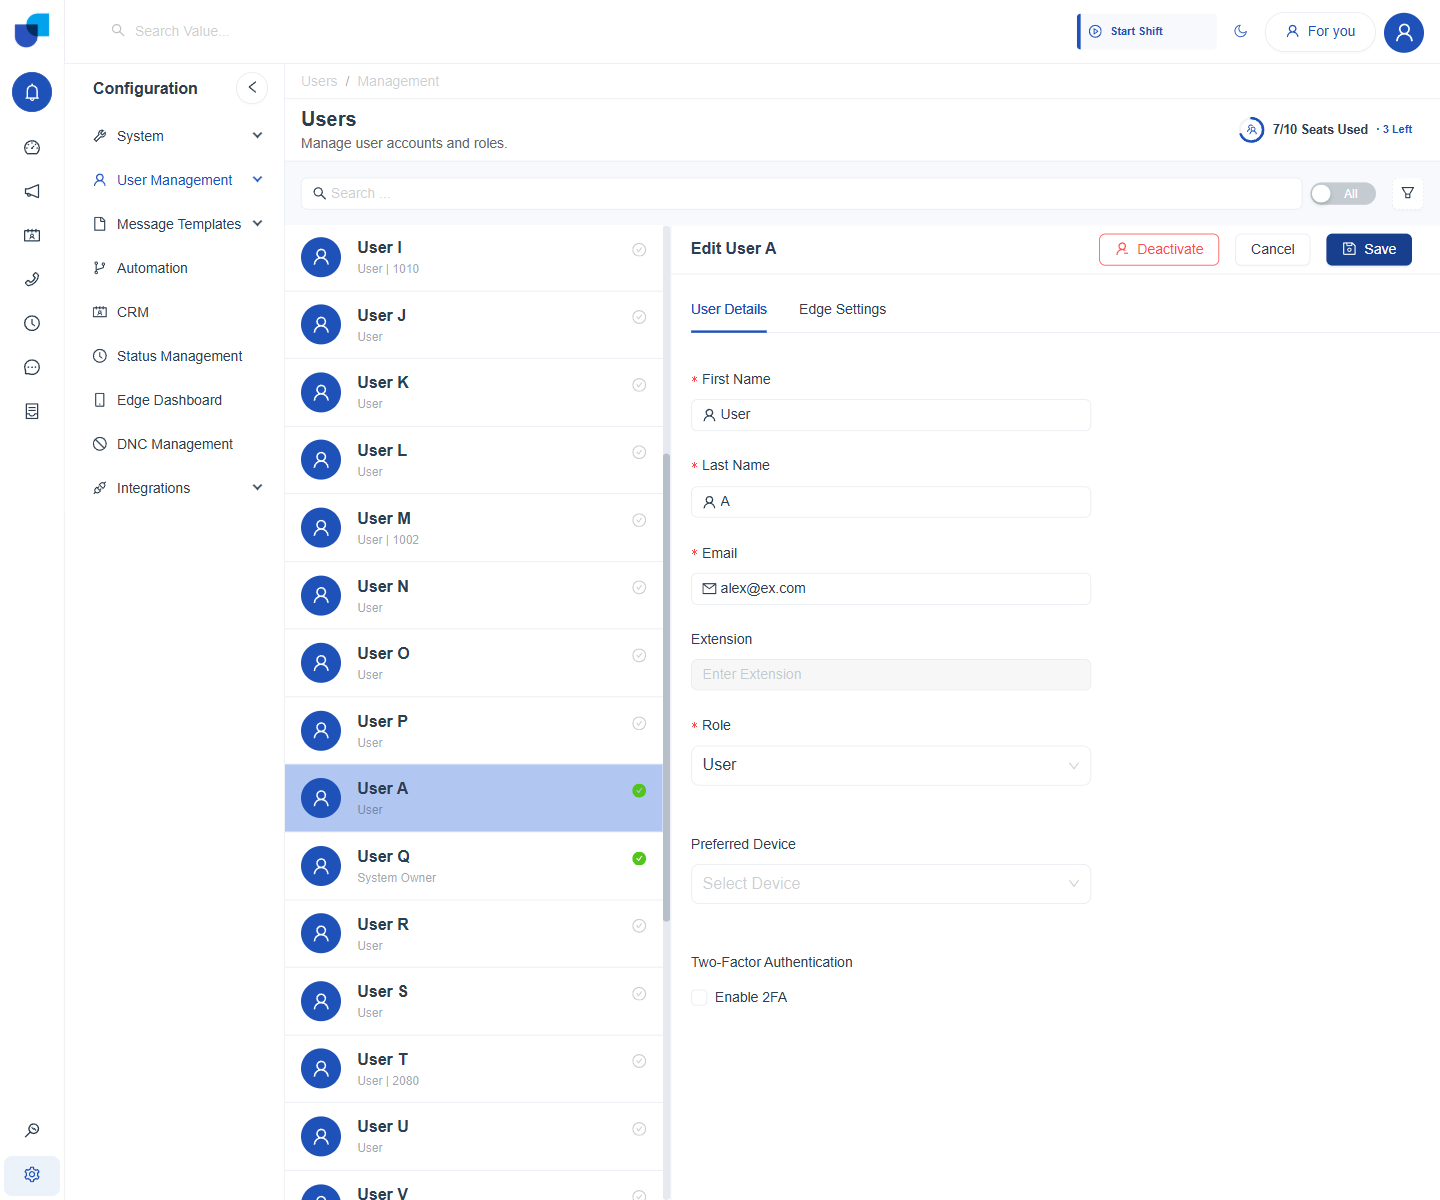
Figure 1. The Edit User form with the Enable 2FA tick box under Two Factor Authentication.
The same tick box is on the Create User form, so a new user can start with Two Factor Authentication already on.
Turning It On for Yourself
- Open your profile.
- On the User Details tab, scroll to Two Factor Authentication.
- Tick Enable 2FA.
- Click Save.
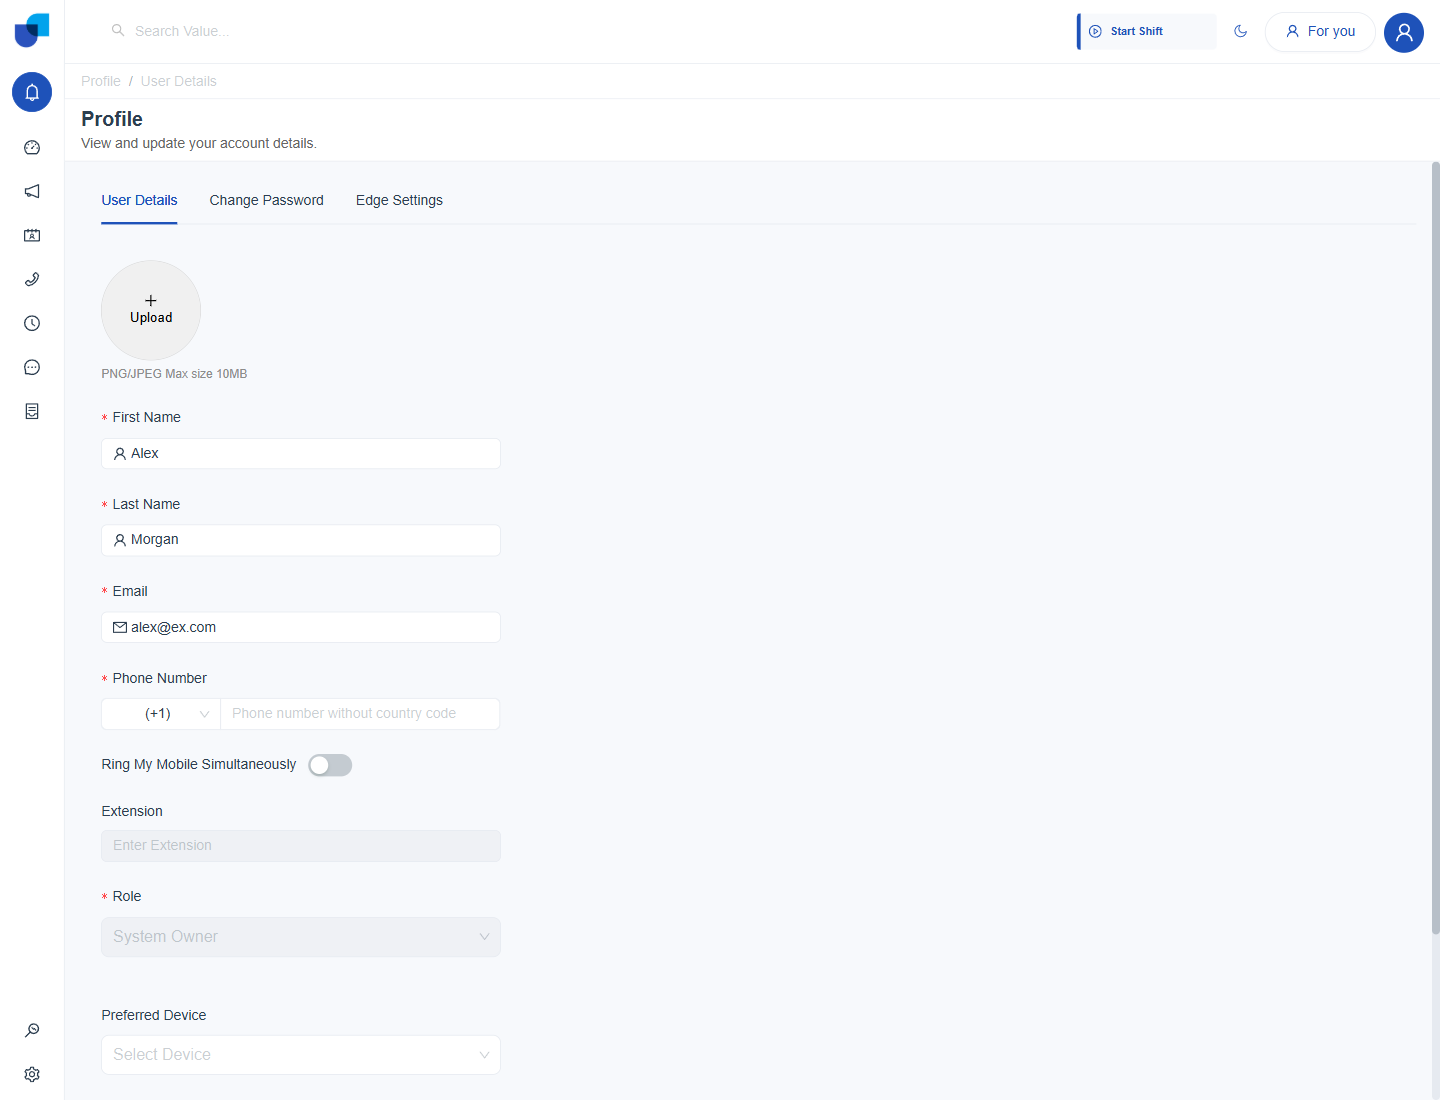
Figure 2. The User Details tab of the profile. The Two Factor Authentication section is at the bottom of the form.
Info: What a person sees at sign in, how codes are entered and resent, and how the attempt limits work are described in Two Factor Authentication.
Checking the Setting
- One person. The 2FA Enabled field of the User Details panel.
- Many people. Use the Users filter and set 2FA Enabled to No to list accounts without a second step.
Important: A person without a working phone number cannot receive the code. Check the number before you turn the setting on.