Getting Started
Edge Softphone
What You Need
Edge runs on the agent's own Windows PC and signs in to Uniconnect AI. Check each item below before you install, because most first login problems come from the network or the Uniconnect AI version, not from the app. Production licences need Uniconnect AI 1.3.0 or later.
| Item | Requirement |
|---|---|
| OS | Windows 10 version 1809 (build 17763) or later, 64-bit. |
| Network | HTTPS access to your Uniconnect AI URL, reachability to the 3CX registrar host, and WebSocket (wss://) traffic allowed. |
| SIP | The default local SIP listen port from the provisioned configuration, and an RTP start port range from configuration (default 17384). |
| Audio | A microphone and a speaker or headset. |
| Account | A Uniconnect AI user with an extension, on a Uniconnect AI version that Edge supports. |
Installing Edge
Edge is installed from the Microsoft Store (MSIX). The Store delivers updates, and Edge shows an in-app Update available prompt.
- Install Uniconnect Edge. Open the Microsoft Store, search for Uniconnect Edge and choose Install.
- Launch Uniconnect Edge. Open it from the Start menu.
- Sign in. The login window appears. See Logging In below.
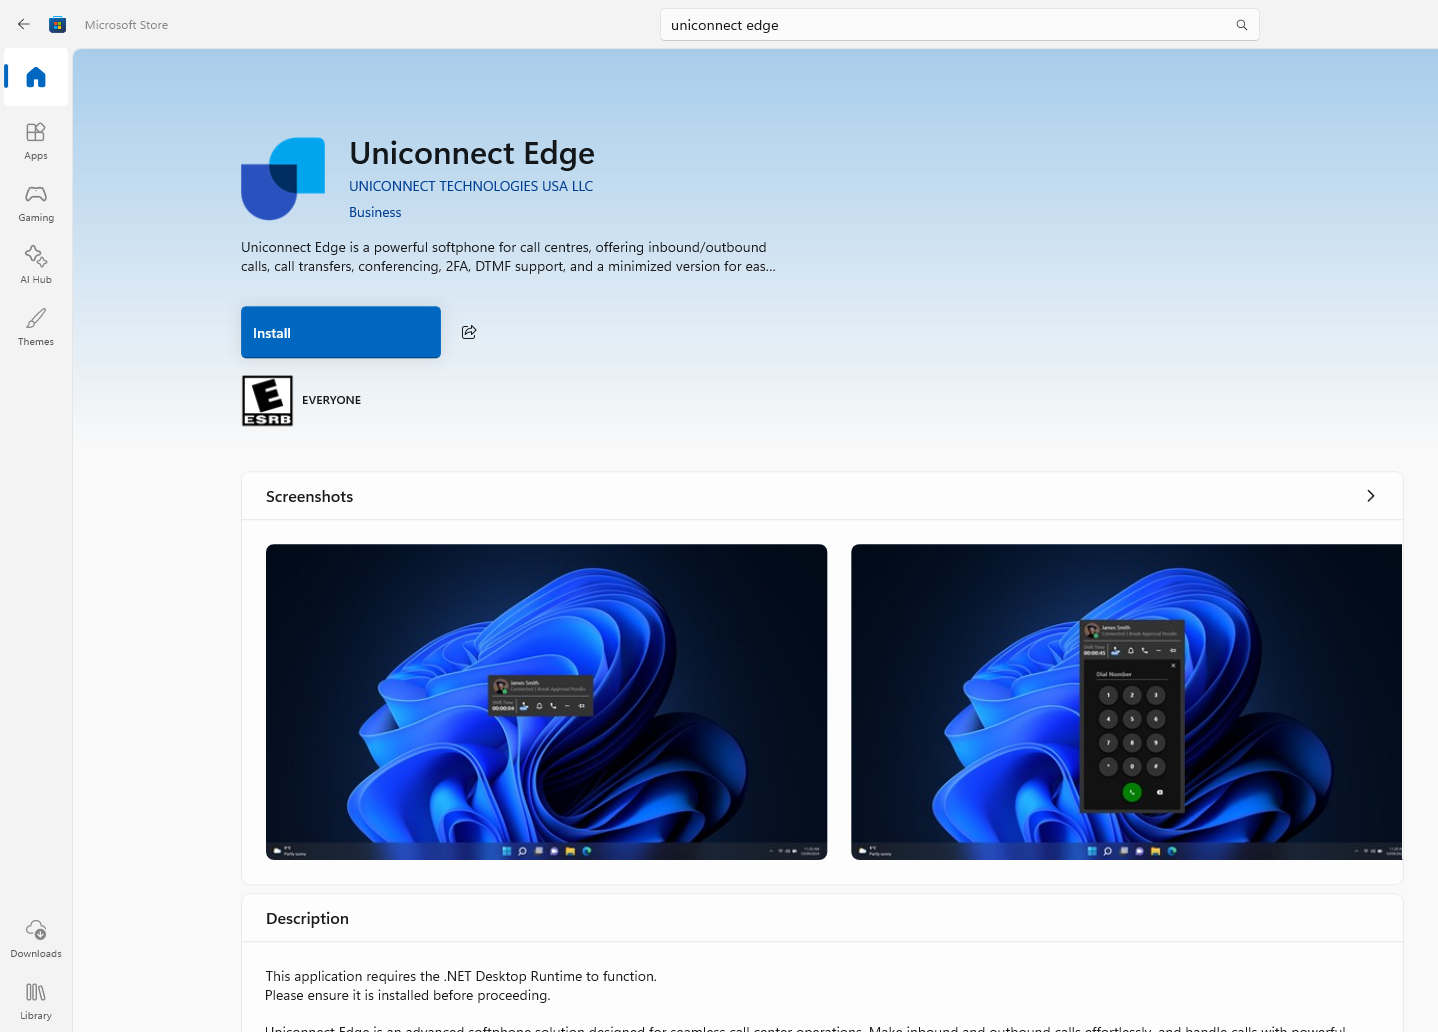
Figure 1. Installing Uniconnect Edge from the Microsoft Store.
Where Edge Keeps Its Data
On first run Edge creates its data folder and copies the default appsettings.json into it. Support will often ask for the log files, so it helps to know where they live.
| Data | Location |
|---|---|
| Application settings (user override) | %LOCALAPPDATA%\Uniconnect Edge\appsettings.json |
| Saved logins (encrypted) | %LOCALAPPDATA%\Uniconnect Edge\Settings\userProfiles.dat |
| Edge logs | %LOCALAPPDATA%\Uniconnect Edge\Logs\Uniconnect Edge Log-<date>.txt. Logs roll at 100 MB per file and the last 10 files are kept. |
| SIP SDK logs | %LOCALAPPDATA%\Uniconnect Edge\Logs\Voip Sdk Log |
Updates
After login, Edge compares its own version with the Uniconnect AI version you connected to. If Edge is older and the Store has a newer package, an Update available window appears with two buttons, Later and Update now. You can switch update prompts off by setting AppUpdate:Enabled = false in appsettings.json.
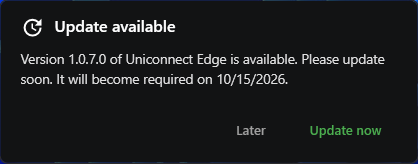
Figure 2. The Update available prompt, with Later and Update now.
Uninstalling Edge
- Log out and Exit. Choose Exit from the tray menu so the SIP registration is released.
- Uninstall the app. Go to Windows Settings, then Apps, then Installed apps, find Uniconnect Edge and choose Uninstall. You can also uninstall from the Start menu entry.
- Remove leftover data (optional). Delete
%LOCALAPPDATA%\Uniconnect Edge. This also removes saved logins and logs.
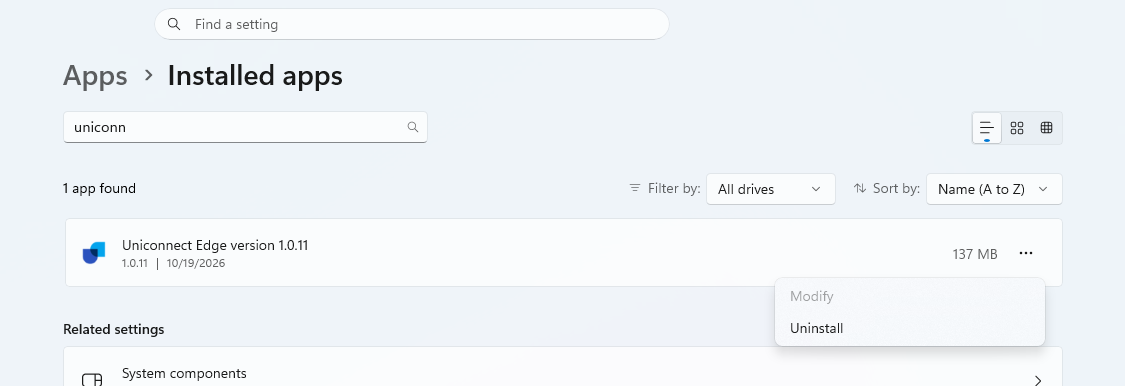
Figure 3. Uninstalling Uniconnect Edge from Windows Settings.
Logging In
Edge signs in to Uniconnect AI. Depending on how the administrator set up the tenant, an agent can use a Uniconnect account (email and password), a 3CX account (extension and password), or both. Only the enabled methods are shown.
Saved logins
If you ticked Remember me on an earlier login, the first screen lists your saved profiles with a name and a Uniconnect URL.
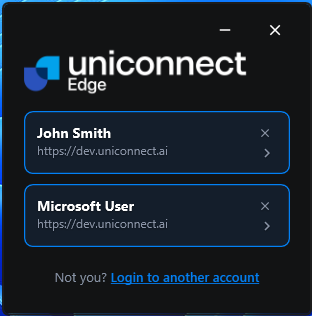
Figure 4. The saved logins list.
- Click a profile to sign in at once. Edge uses the stored refresh token, so there is no password prompt and no 2FA.
- Click the X on a profile to remove it from this PC.
- Login to another account opens the URL screen for a new login.
Before it completes a saved login, Edge checks that the stored URL is valid, that the Uniconnect AI version is compatible, and that the login method you used is still enabled. If the administrator disabled it, you see "3CX login option is not available" or "Uniconnect login option is not available" and Edge takes you to the login form. Profile photos are not stored. They are downloaded again at each login. If a saved login does nothing, the refresh token has expired. Choose Login to another account and sign in again.
New login
- Enter the Uniconnect URL. For example
https://yourcompany.uniconnect.ai, then choose Next. Previously used URLs are suggested. The URL must be a valid http or https address, otherwise you see "Please enter a valid URL". Edge reads the server version and licence type and checks compatibility. A server that is too old shows "The Uniconnect AI version at this URL is not compatible with Edge Softphone. Update the Uniconnect AI version to continue." - Choose a tab. The Uniconnect tab asks for an email address and a password. The 3CX tab asks for an extension and a password.
- Decide on Remember me (optional). Tick it to save the profile on this PC. A login without the tick deletes any profile previously saved for that user.
- Click Login. If 2FA is enabled for the account the OTP screen appears. Otherwise Edge opens the main window.
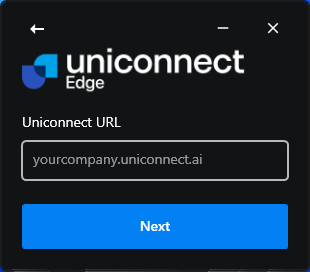
Figure 5. Step one of a new login: the Uniconnect URL.
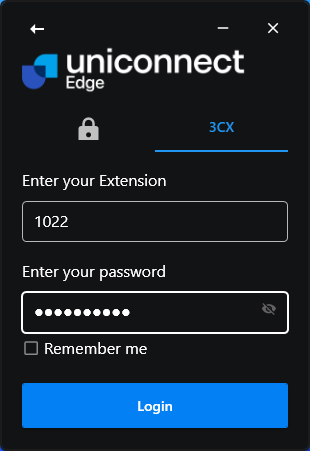
Figure 6. The 3CX tab, with extension and password.
Use the back arrow in the header to go back one step. The eye icon in the password box shows the password. Edge validates each field and shows "Please enter a valid email address.", "Please enter a valid extension." or "Please enter the password." when one is wrong or empty.
Two Factor Authentication
When the sign-in response says 2FA is required, Edge shows an OTP entry screen with a countdown. The administrator controls the behaviour in Uniconnect AI with three settings.
| Setting | Effect in Edge |
|---|---|
| otp_reset_interval | The OTP lifetime. The on-screen timer counts down. At 00:00:00 the Next button is disabled and Resend becomes available. |
| otp_attempt_limit | The number of wrong entries allowed. Each failure shows "Invalid OTP You have only N attempts left". |
| otp_attempt_block_time | The lock period in minutes. After the last failed attempt Edge shows "Maximum Attempt Count Get Exceeded" and locks the screen for this period. |
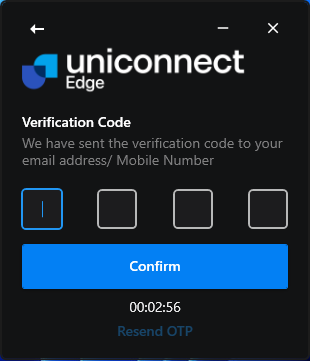
Figure 7. The OTP verification screen with its countdown.
- Resend OTP requests a new code and resets the attempt counter.
- The back arrow returns to the password screen and stops the timer.
After You Log In
Edge loads the agent profile, photo and extension, connects to the real time services and opens the main window in Normal mode with a Start Shift button. SIP is not registered until you start the shift, so the agent cannot place or receive calls yet.
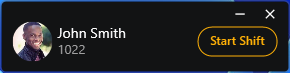
Figure 8. The main window after login, with the Start Shift button.