Getting Started
This page is the short route to a first campaign. Every campaign is created in the same Create Campaign wizard, which asks for one decision at a time across seven steps for a Voice Call campaign, or six for SMS, WhatsApp, and Email, since only Voice has a Disposition step. The full field by field flow is in Campaign Builder.
Before You Start
| You need | Why |
|---|---|
| Campaign permissions | Creating a campaign needs Manage Campaigns, and starting one needs Execute Campaigns. See Campaign Permissions. |
| An audience | Either a CSV file of contacts, or a CRM module such as Leads or Contacts that already holds them. A saved filter on that module can narrow it. See Campaign Filters. |
| An agent group | A Voice Call campaign that uses Agent handling must be given the group of agents who work it. |
| A sending address | An Email campaign needs a From Email address configured for the organization. |
The Seven Steps at a Glance
| Step | What it decides | Covered in |
|---|---|---|
| 1. Channel | How the campaign reaches contacts: Voice Call, SMS, WhatsApp, or Email. It cannot be changed after saving. | Campaign Channels |
| 2. Details | The campaign's title and its type, Transactional or Promotional. | Campaign Builder |
| 3. Audience | Which contacts the campaign works through, and which field it dials or messages. | Campaign Builder |
| 4. Configuration | Who or what handles each contact, and how it is connected or sent. | Campaign Builder, Campaign Channels |
| 5. Disposition | Optional prefilled outcome values for each call. Voice Call only. | Dispositions |
| 6. Schedule | When the campaign starts, whether it repeats, and how failed attempts are retried. | Scheduling and Retries |
| 7. Review | A summary of every choice, and the Save button that creates the campaign. | Campaign Builder |
Create Your First Campaign
- Open Campaign and click New Campaign. The Create Campaign wizard opens on its Channel step.
- Choose a channel and click Next. Voice Call is the quickest to try. Choose carefully, because the channel is fixed once the campaign is saved.
- Name the campaign and choose its type. The title must be unique. Transactional is selected by default.
- Choose the audience. Upload a CSV, or select a CRM module and the field to dial.
- Configure how contacts are handled. For a Voice Call, choose Agent, IVR, or AI Agent, a dialing mode, and an agent group.
- Set the schedule, review, and save. Leave the optional steps at their defaults if you do not need them, check the Review summary, and click Save.
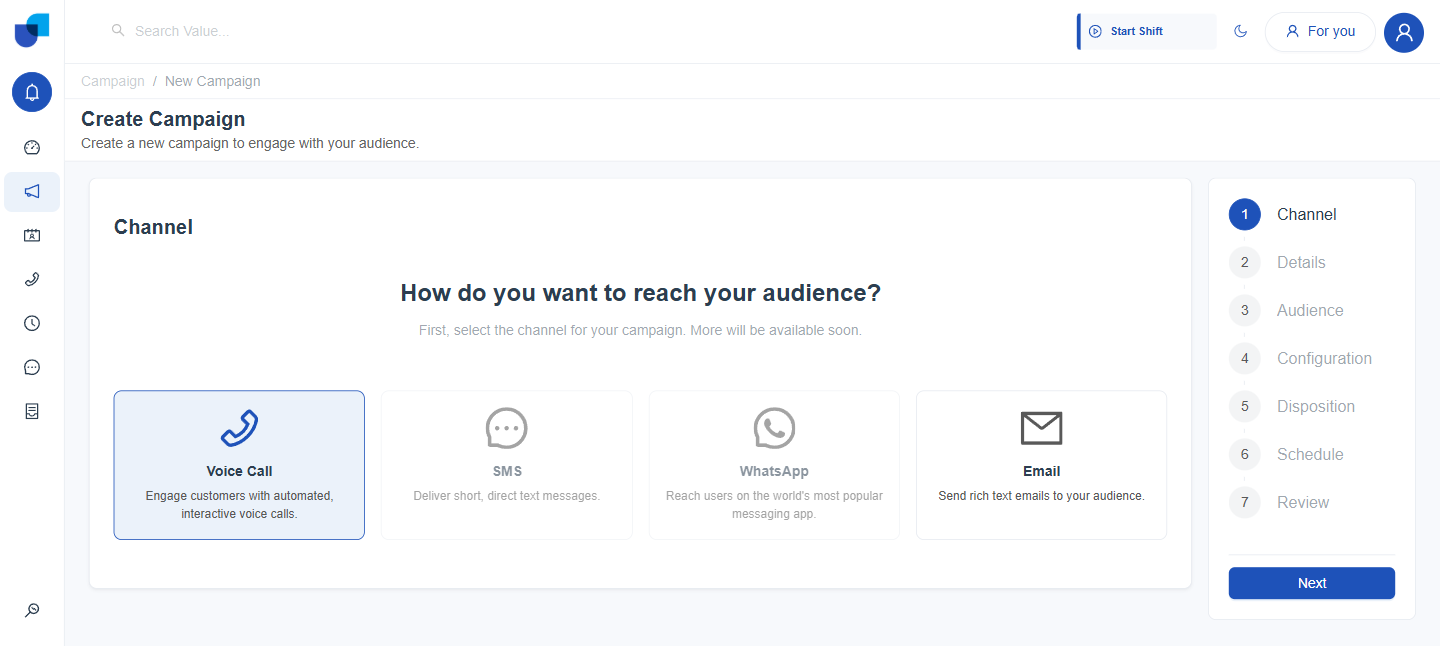
Figure 1. The Channel step is the first screen of the Create Campaign wizard, with the seven steps listed beside it.
A channel card that is greyed out is not currently enabled for the organization and cannot be selected.
After You Click Save
The Review step lists every choice made so far. Clicking Save creates the campaign with a status of Pending.
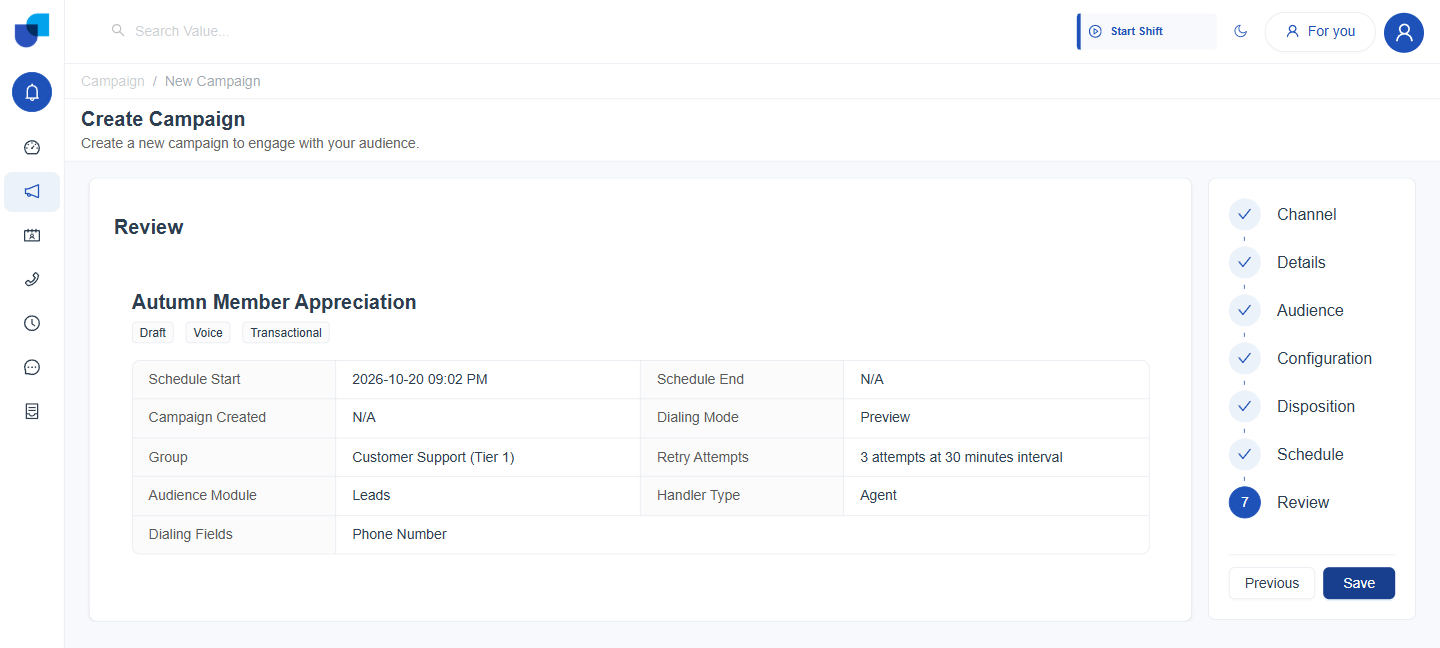
Figure 2. The Review step summarizes the campaign before it is created. The Draft badge changes to Pending after Save.
A Pending campaign does not dial or send anything until it starts, either when its Schedule Start time arrives or when someone runs it from the campaign's detail panel. Starting, pausing, and adjusting a campaign are covered in Managing Live Campaigns, and watching it work is covered in Campaign Monitoring.
Channel and Campaign Type lock in when the campaign is saved and cannot be changed afterward. To use a different channel or type, create a new campaign.
Run a first campaign against a very small audience, such as a few internal contacts, before pointing it at a full list.