Creating an API
Opening the Editor
An API is one endpoint inside a collection. The example creates List Customers and Get Customer in the PolicyHub KYC collection.
- Open the collection. Click its name in the API Integrations list. The API Requests screen opens.
- Click Create. A new request opens in the editor with the method set to GET.
- Rename it. Click the pencil icon beside the name and enter a clear name, such as List Customers.
- Set the method and the URL, then click Save.
Method and URL
Choose GET, POST, PUT, PATCH, DELETE, HEAD or OPTIONS. Then either paste a full address or start with a slash to build on the collection's base address. The base address appears in the URL bar as {{baseUrl}}, and you type only the path.
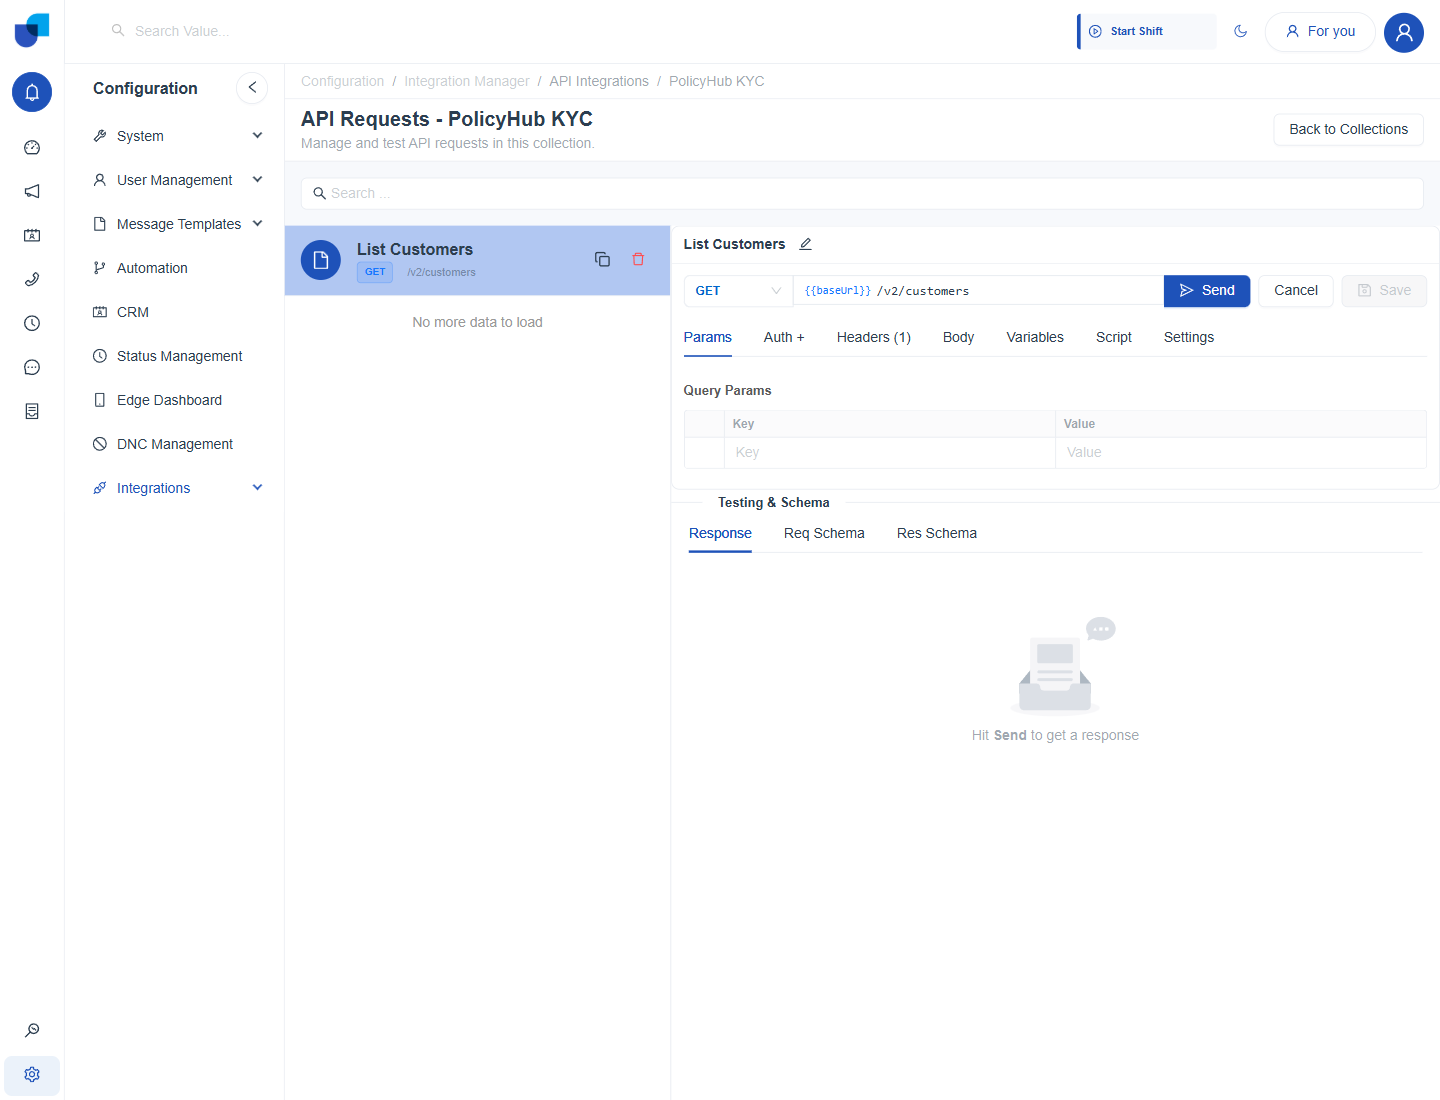
Figure 1. The List Customers request after it is saved. The path /v2/customers is built on the collection's base address.
The Editor Tabs
| Tab | What it does |
|---|---|
| Params | Query string parameters for this API. Default Params from the collection are inherited. |
| Auth | Uses the collection's authentication by default. Turn on Override Collection Auth only when this API needs different credentials. |
| Headers | Headers for this API. The collection's default headers are inherited. |
| Body | The request body for POST, PUT and PATCH, as JSON, form data or raw text. |
| Variables | Placeholders used anywhere in this API. See Variables. |
| Script | This API's own Pre Script and Post Script. See Pre and Post Scripts. |
| Settings | Options such as saving a media response, for APIs that return a file instead of JSON. |
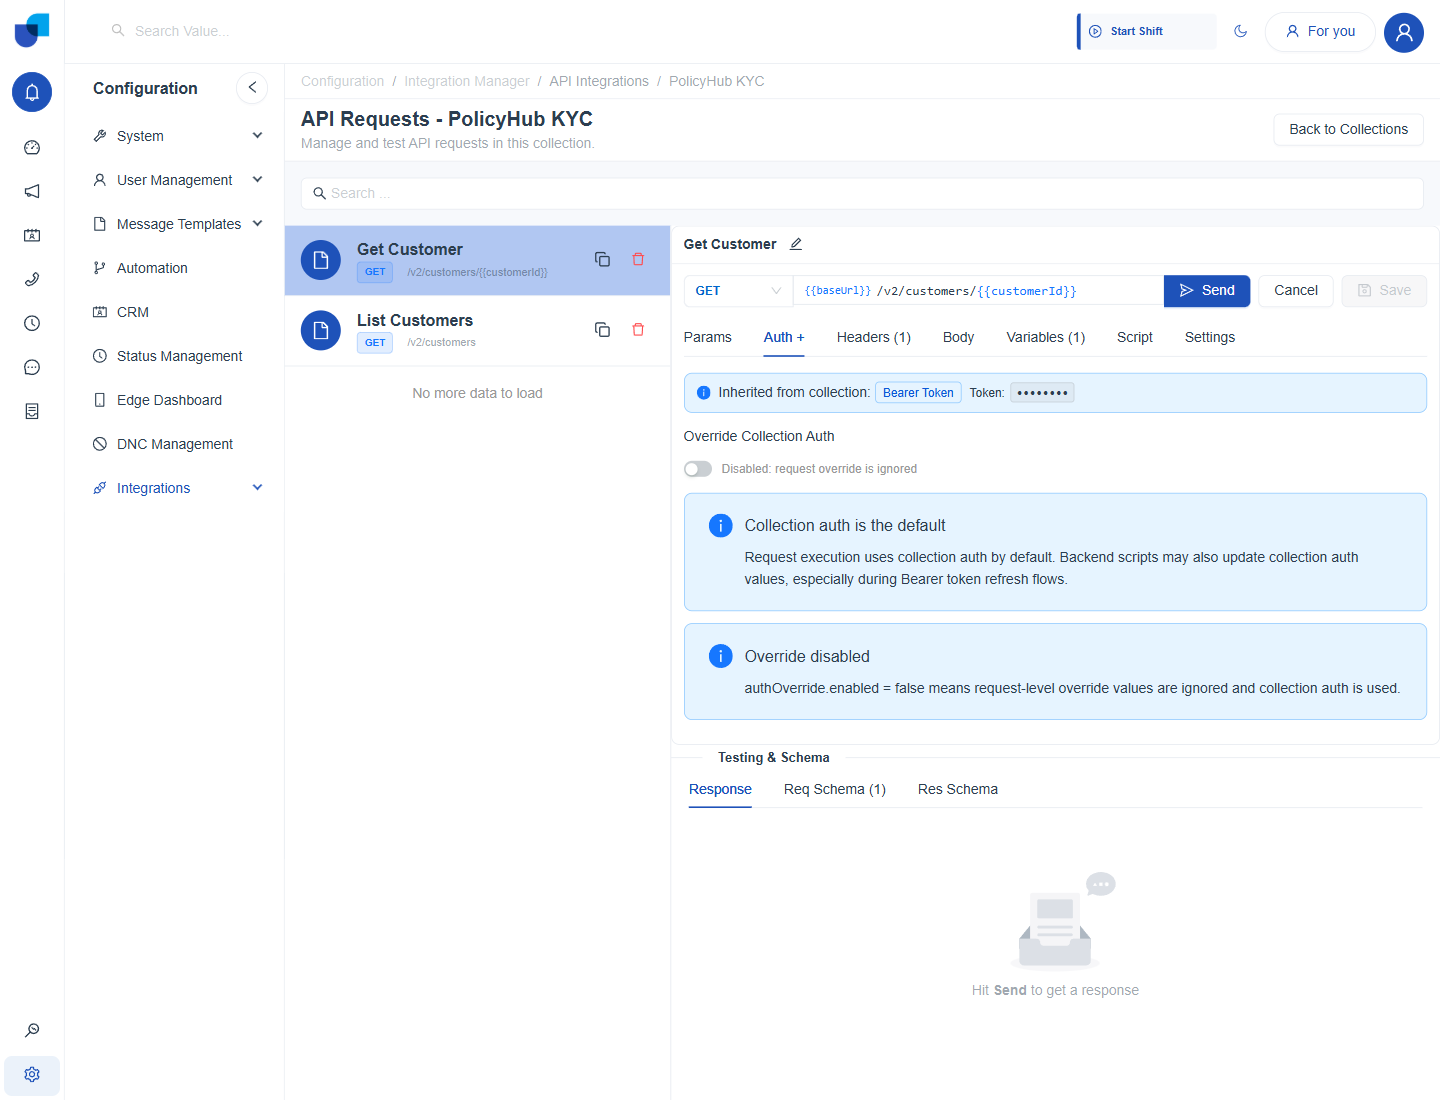
Figure 2. The Auth tab. The API uses the collection's Bearer Token, and the override switch is off.
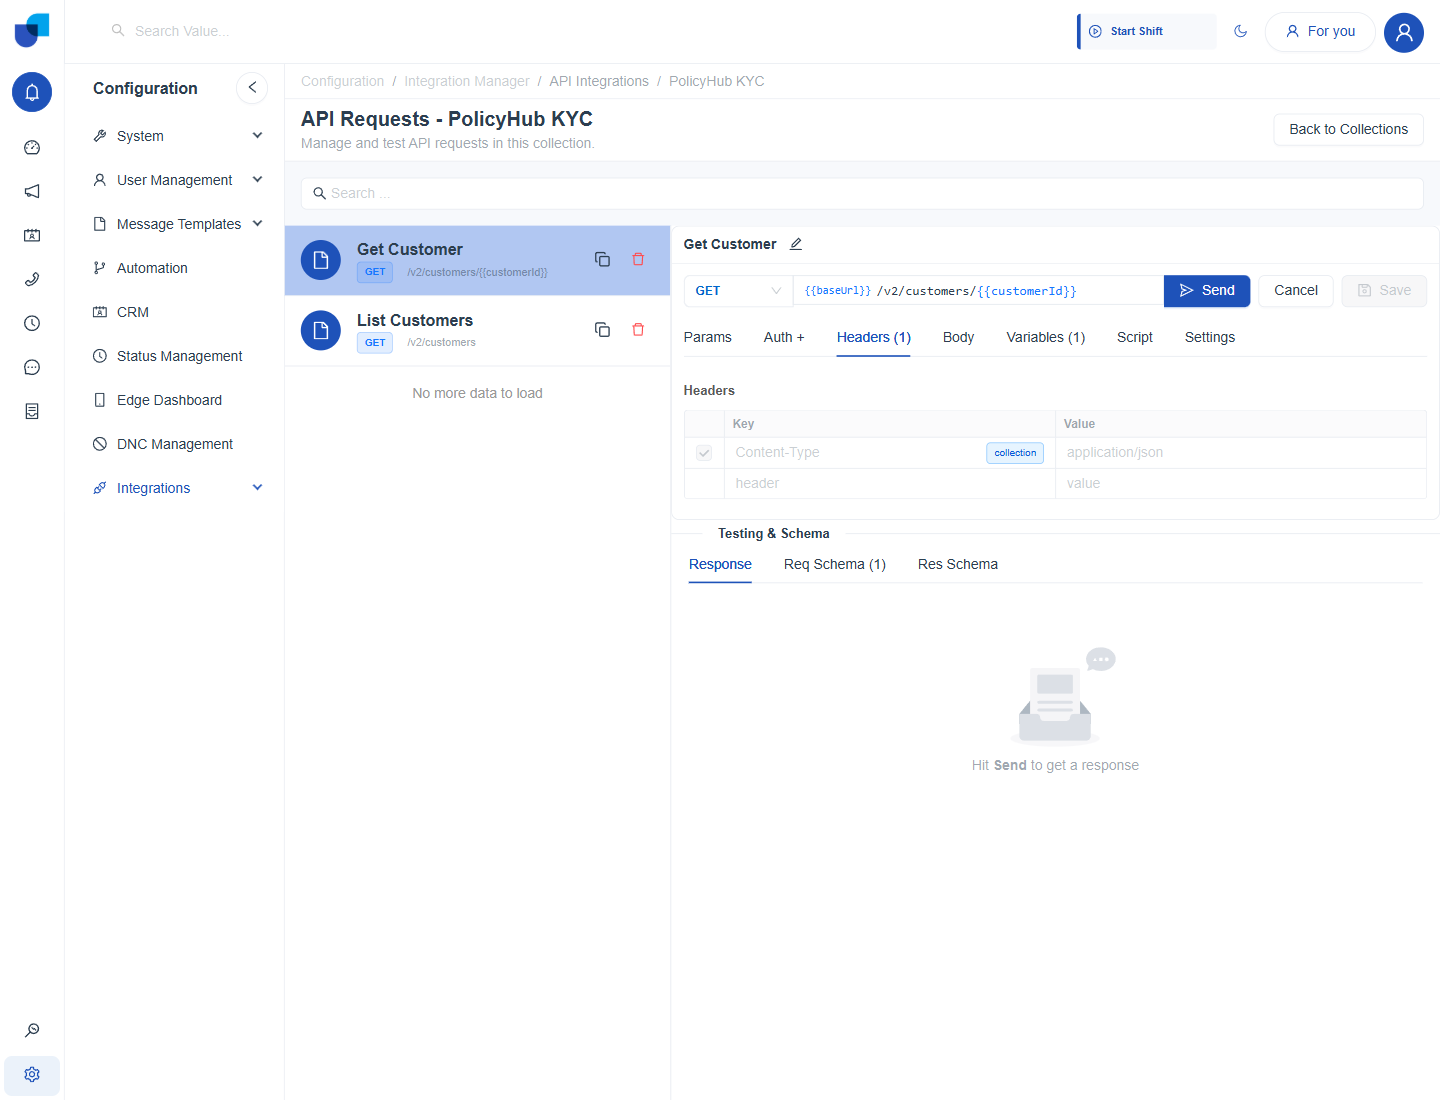
Figure 3. The Headers tab, where the collection's Content-Type header is shown as inherited.
Testing and Schemas
Use Send to run the API and see the result in the Testing and Schema area below the editor. The Response tab shows the final status, such as 200 OK, the time taken and the size. Its Body tab shows the response after the Post Script has run, and the API Response, Headers and Final Request tabs show the raw reply, the headers and the request that was sent.
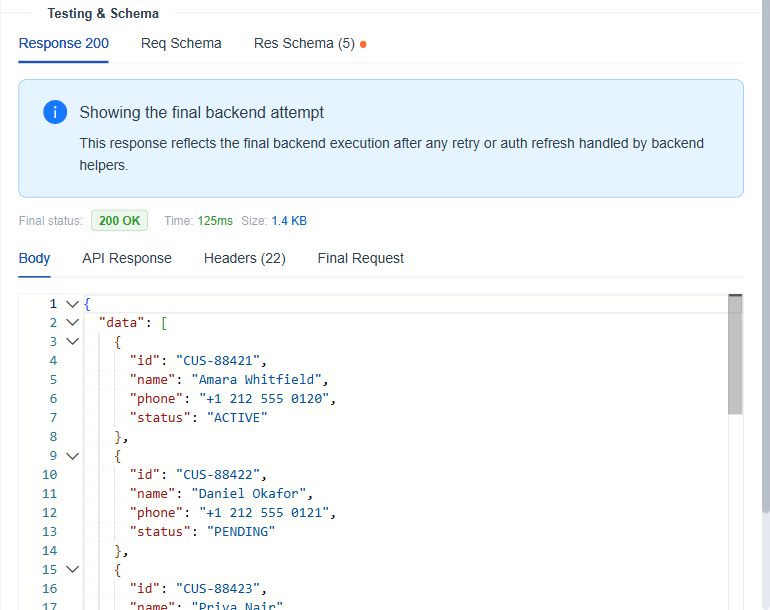
Figure 4. The Response tab after Send. The Body tab shows the reshaped response with a data array of customers.
Send runs the saved version of the API. Save the API after you change a script, then click Send again, or the response will not reflect the change.
Request and Response Schemas
Each Send fills the Req Schema and Res Schema tabs. The Schema Editor lists every field detected in the JSON, with its data type and field type, and you can change a type or delete a field. An orange dot on a tab means the schema has changes that are not saved yet, so click Save to store them.
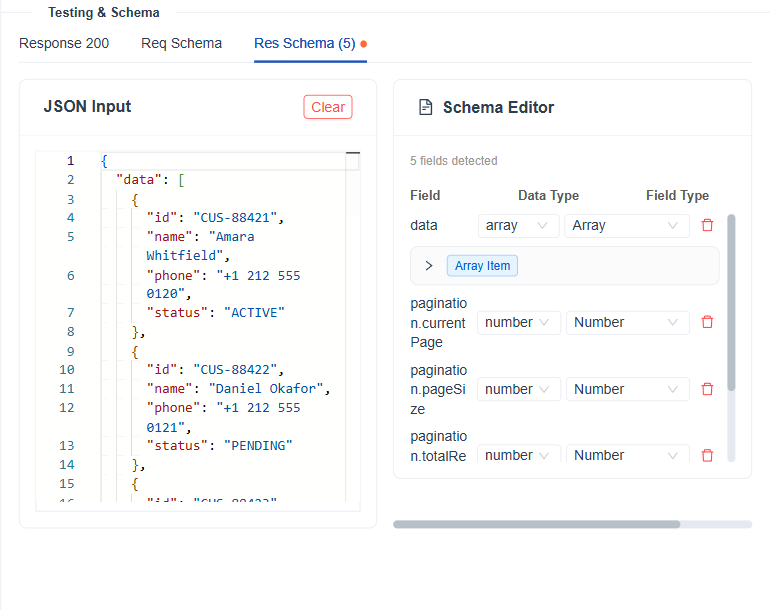
Figure 5. The Res Schema tab. The Schema Editor detected five fields from the reshaped response.
The saved response schema is what the CRM checks when an API is assigned to an external module. See Response Format the CRM Requires.
Create the login API first if the outside system needs one, and test it with Send before building the rest.