How to Configure the Telephony Use Case in UNICONNECT AI
This page is the technical companion to Telephony Use Case Scenario. It assumes the prerequisites in Telephony Getting Started are met. The steps run in the order a person follows them, and each part names the requirement from the scenario that it meets.
Part 1: Connect the Phone System
Requirement: one phone system and one CRM
Everything else depends on the 3CX connection. The full steps and the field reference are in 3CX Plugin Configuration.
- Create the API key on the 3CX server. Give it the access the guide lists.
- Open Configuration → System → Plugins and choose 3CX.
- Enter the Host, Client Id and Api Key. Set the Data Sync Interval and decide on Enable 3CX Login, Self Registration and Historical Data Import.
- Turn the plugin on and click Save Configuration.
Part 2: Sync the Agents
Requirement: one phone system and one CRM
Each agent needs a synced extension. See 3CX User Sync.
- Open Configuration → User Management → 3CX. Check Seats Used before syncing.
- Click Sync. Marcus Webb's extension, 1018, appears as a user.
- Open Users and check each person's extension, role and status. Use Activate where a user is not yet active.
Part 3: Set Up Statuses
Requirement: agents who are ready
Presence statuses control who receives calls. See Status Management with 3CX.
- Open Configuration → Status Management.
- Check that Available allows External Calls and keeps the agent logged into queues.
- Check that break statuses log the agent out of queues.
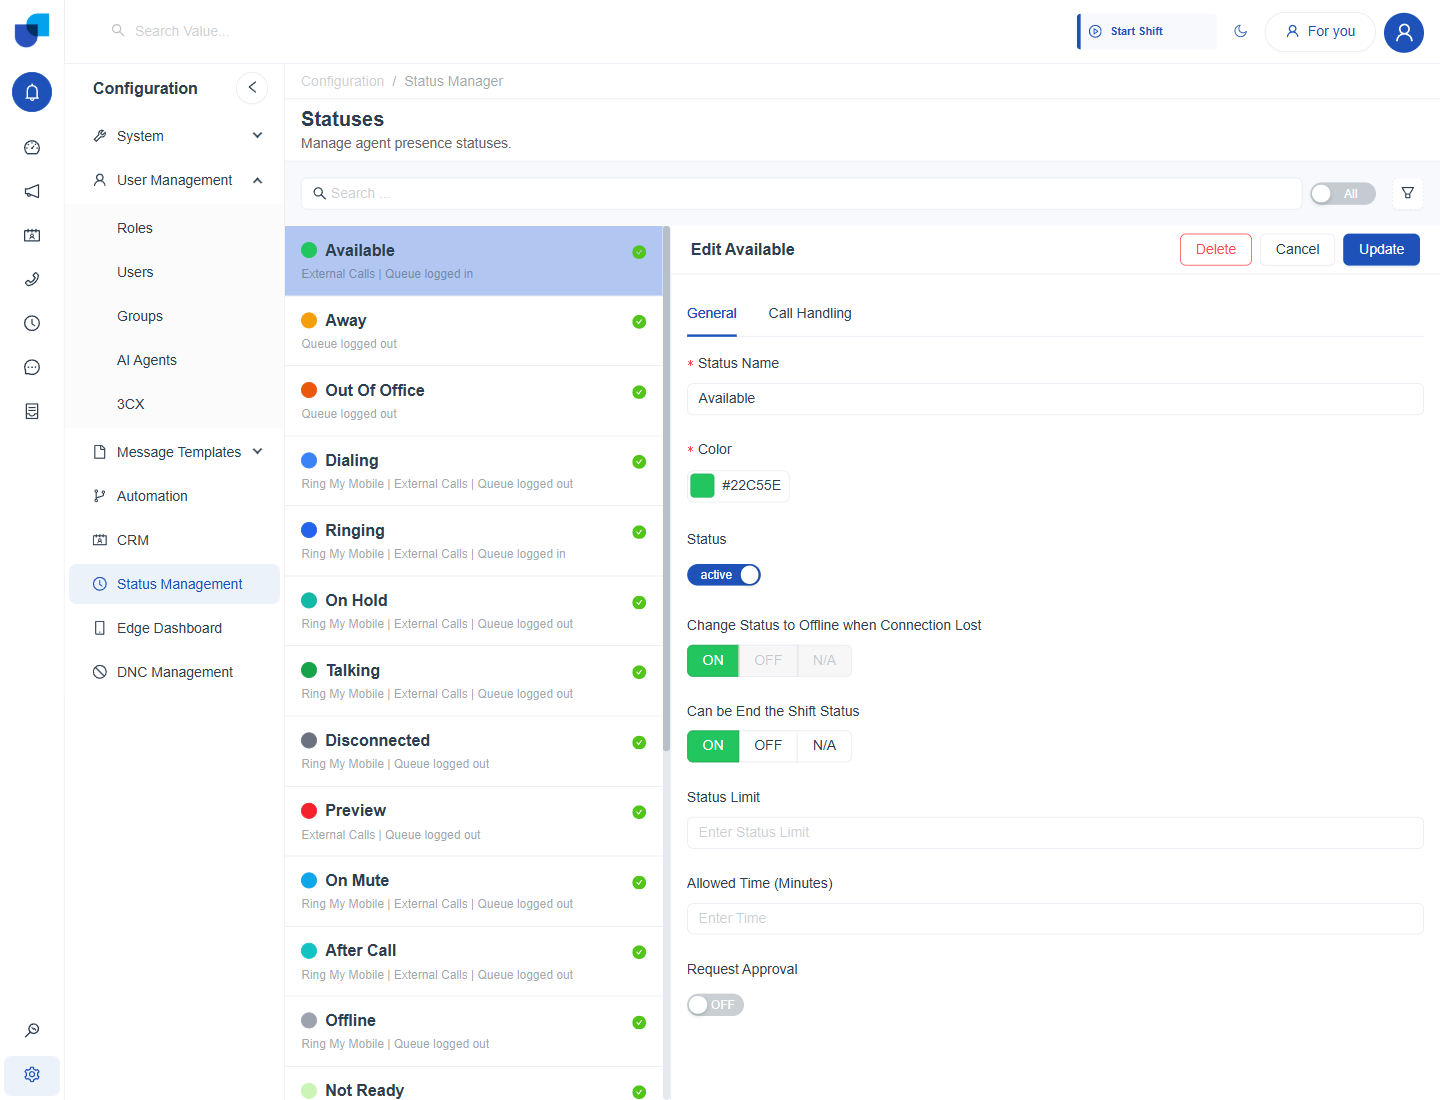
Figure 1. The Statuses page. Available keeps the agent logged into queues, and Away takes them out.
Part 4: Build the Queues and Hand Off After Hours
Requirement: the right team for the right call
See Group Management with 3CX Queues and Ring Groups and Number Handling with AI Agent.
- Open Configuration → User Management → Groups.
- Open the Loan Servicing queue and check its members. Add or remove agents so it matches the team.
- Open the Collections ring group and add the collections agents.
- For after hours, create an AI Agent and assign it to the number. Define where it transfers callers who need a person.
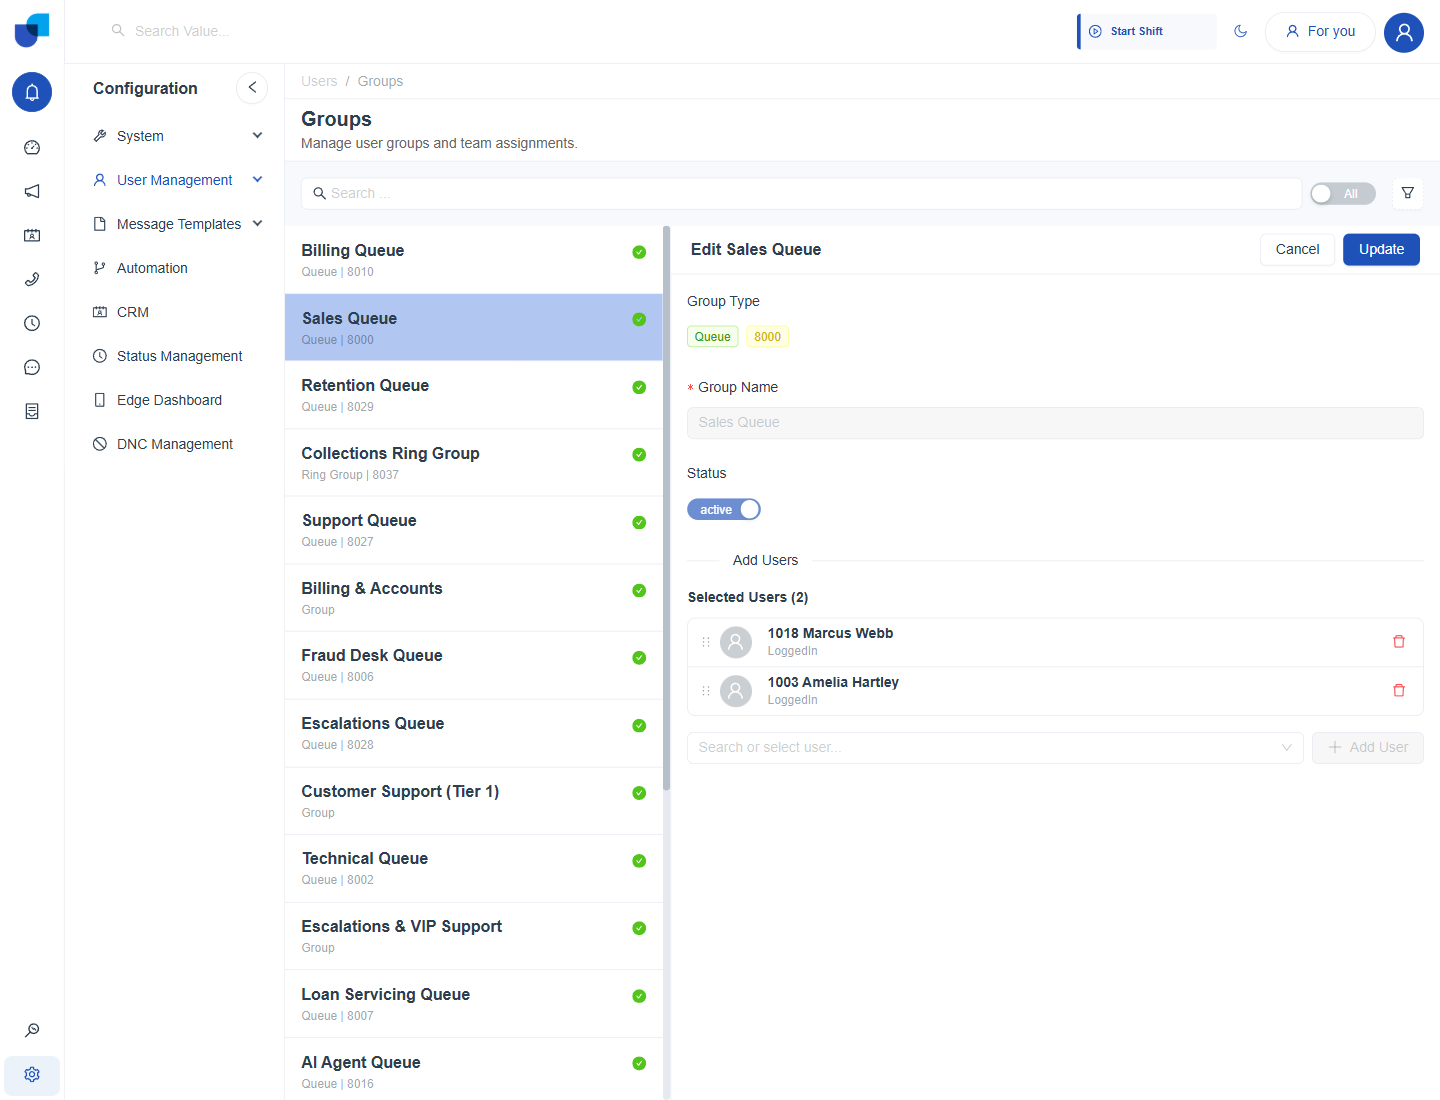
Figure 2. The Groups page, with a queue open and its members listed.
Part 5: Put the Customer on Screen
Requirement: the customer on screen
The Inbound Call Popup workflow opens a page for the user receiving the call. See System Workflows Telephony.
- Open Configuration → Automation.
- Open Inbound Call Popup and read its Designer, History and Details.
- Adjust the page it opens only if the team wants a different record. Save the change, and check History after the next call.
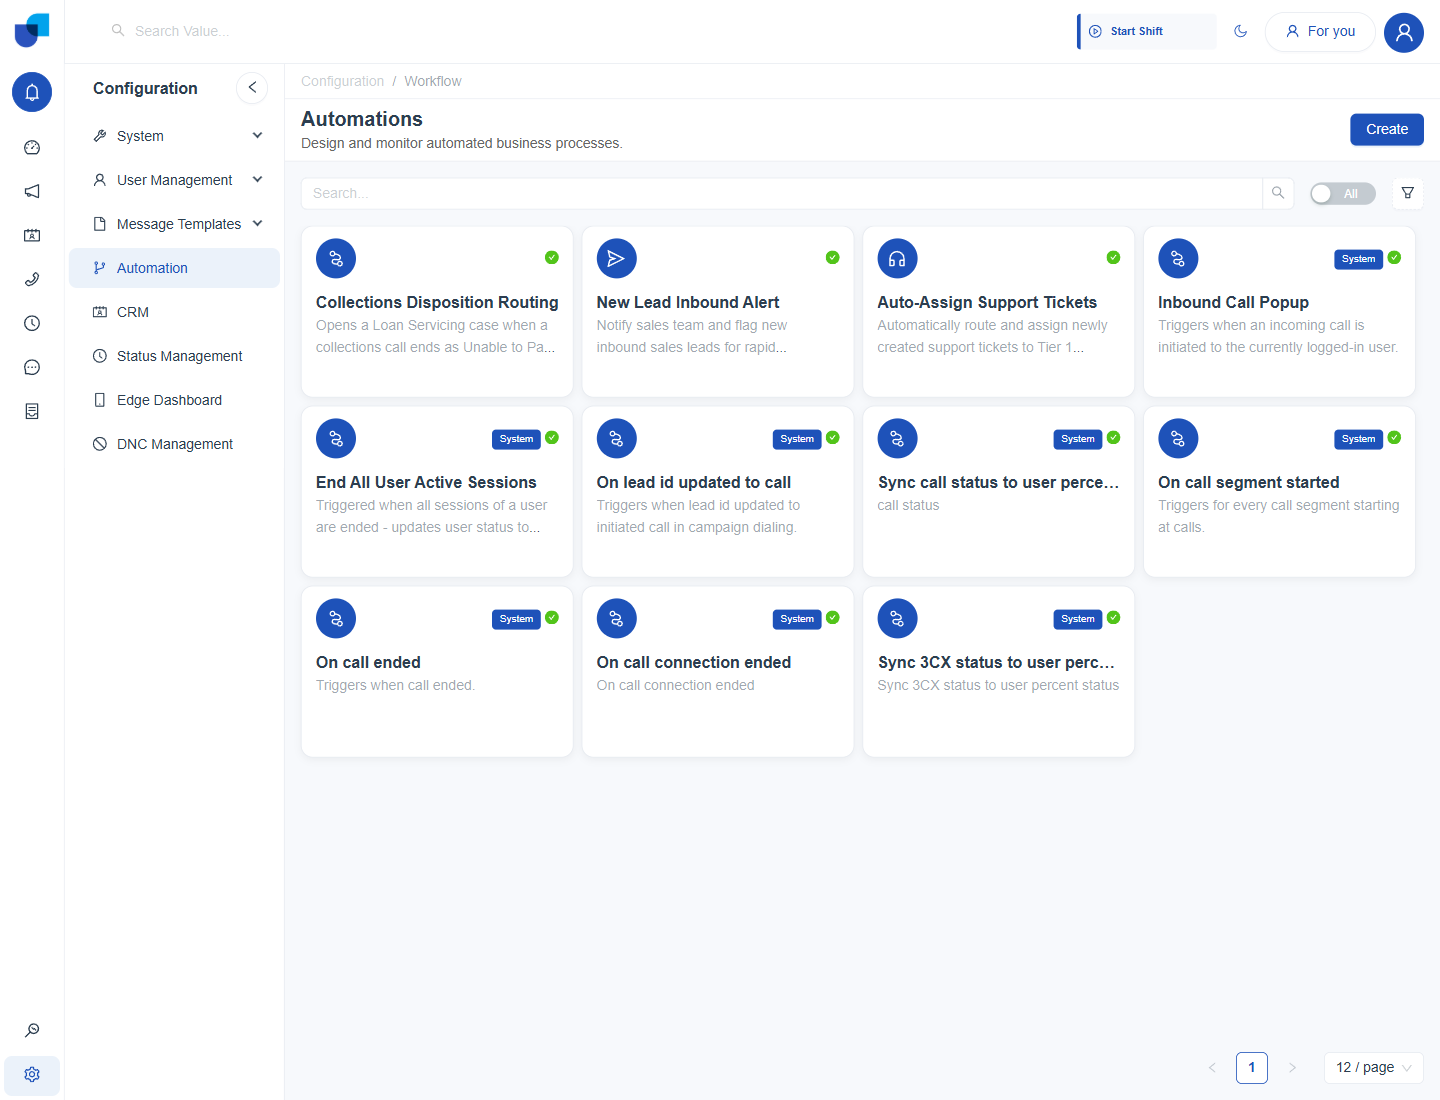
Figure 3. The Automations page, where the Inbound Call Popup and call event workflows live.
Part 6: Record Outcomes
Requirement: a record of every call, and an outcome for every conversation
Calls are stored automatically. Outcomes come from the Disposition module. See Call Records and Call Dispositions.
- Open Configuration → CRM → Disposition → Fields. Check Call Type, Disposition, Message, Follow Up Date and Assign Follow Up To.
- Open Dependencies and set which dispositions belong to inbound calls.
- Ask agents to record an outcome after each call. Marcus chooses the outcome, adds a note and sets a follow up when a payment is promised.
Part 7: Set Who Can Do What
Requirement: help for new agents, and clear limits
See Telephony Permissions and Live Call Controls.
- Open Configuration → User Management → Roles.
- Keep the built in User role for agents. It allows Make Outbound Calls and leaves supervision permissions off.
- Create or edit a supervisor role. Set Access Call Logs, Listen Call Recordings, Silent Monitoring, Call Whisper and Call Barge-In to the scope the supervisors need. Add Force Transfer only where it is required.
- Assign the roles to the users.
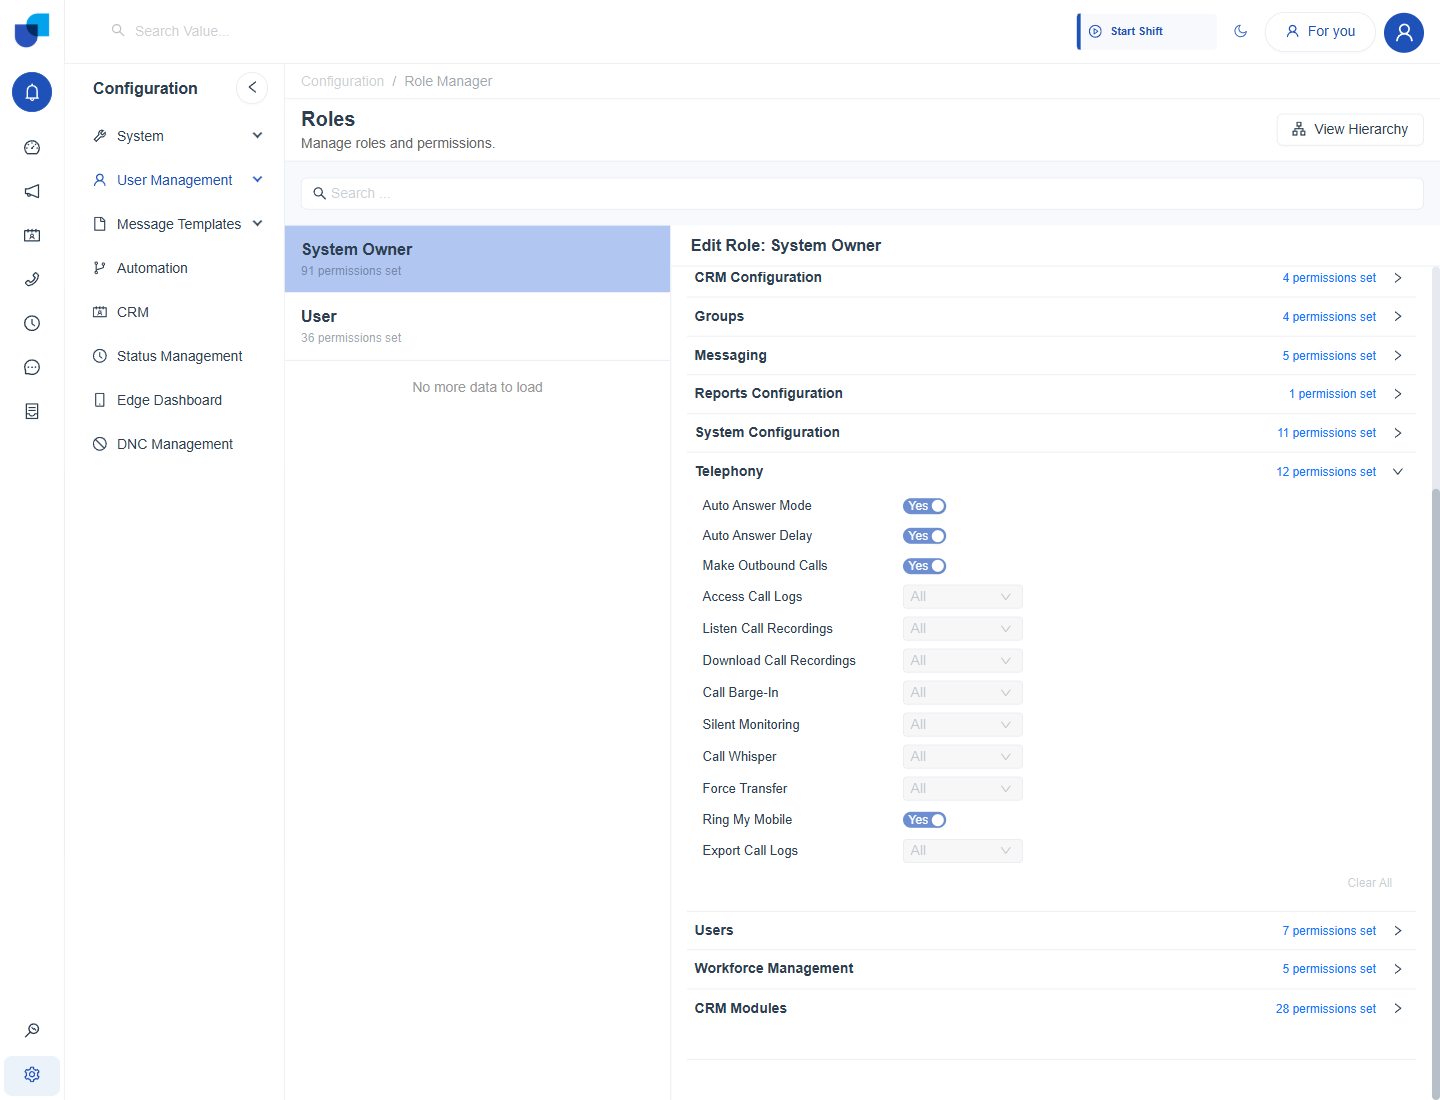
Figure 4. The Telephony permissions of a role, where supervisor access is set.
Part 8: Read the Reports
Requirement: visibility without chasing
Open Dashboards for the Inbound Live & Queue Monitor and Reports for the six Telephony reports. They are described in Telephony Reports and Dashboards.
Abandoned Calls, Queue Statistics, Activity Summary, Activity Report and Login History show a Filters card first. Click Generate Report to see the data.